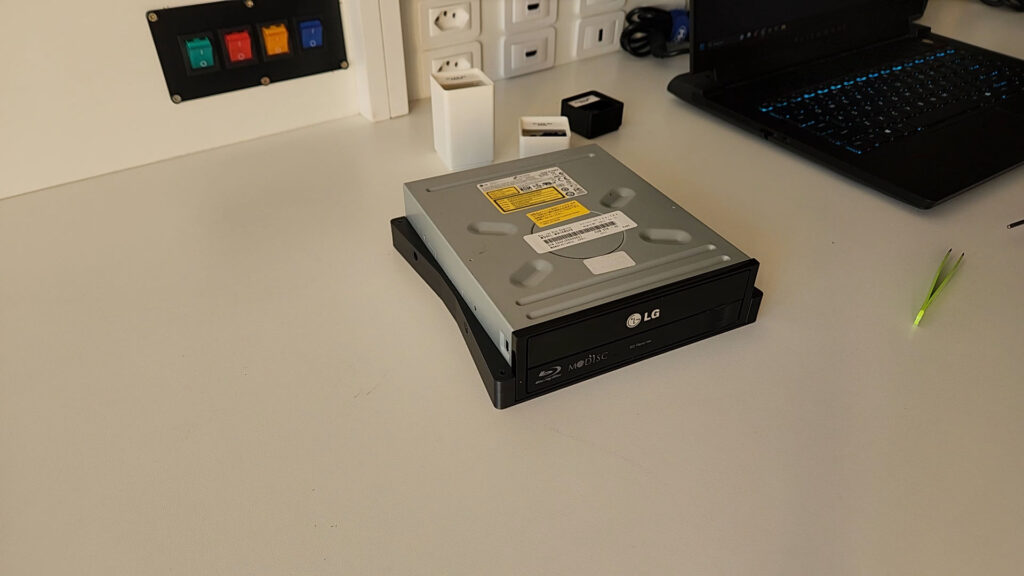
After finding a left-over BluRay drive (reader/writer) from an old desktop computer I had, I decided trying to make it work as an external USB device to use with my current laptop, which doesn’t have any optical drive. So, this post describes all the steps I took to make this idea possible.
Connection with the Laptop
First, I needed to find a way to connect the drive to the laptop. I have a USB -> SATA adapter, which I use with SSD drives for backups, and it works great, so trying to use it would be the logical step.
Unfortunately, although the Bluray drive was recognized by the laptop, it did not perform any reading operations, resulting in a timeout error after a certain time.
The reason for this is the fact that the USB 3.0 cable does not provide enough current for the drive to power heavier components, such as motors and, perhaps, the LED itself and the stabilization mechanism.
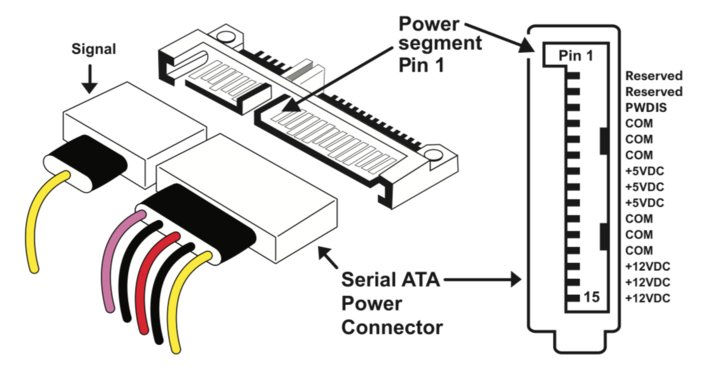
The obvious solution, in this case, would be to connect an external power supply. However, the most recent SATA drives (optical or HDDs) do not have a socket for the infamous “molex” cable. Instead, the power is provided by the SATA connector itself, which has two parts – the largest part being the power supply, as you can see in the diagram / image below:
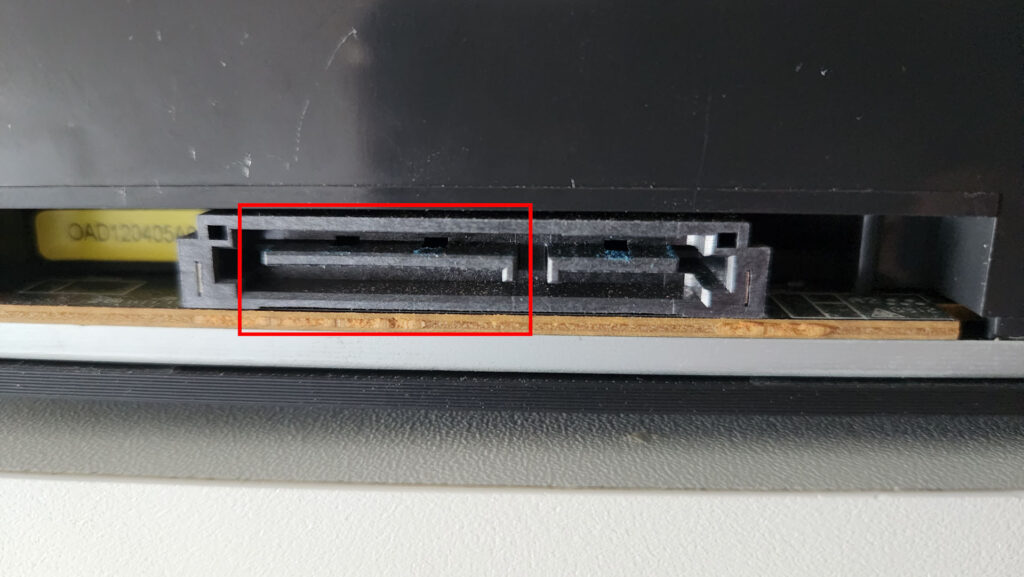
Therefore, it would be necessary to assemble an adapter, or to buy one that already has an external power supply included.
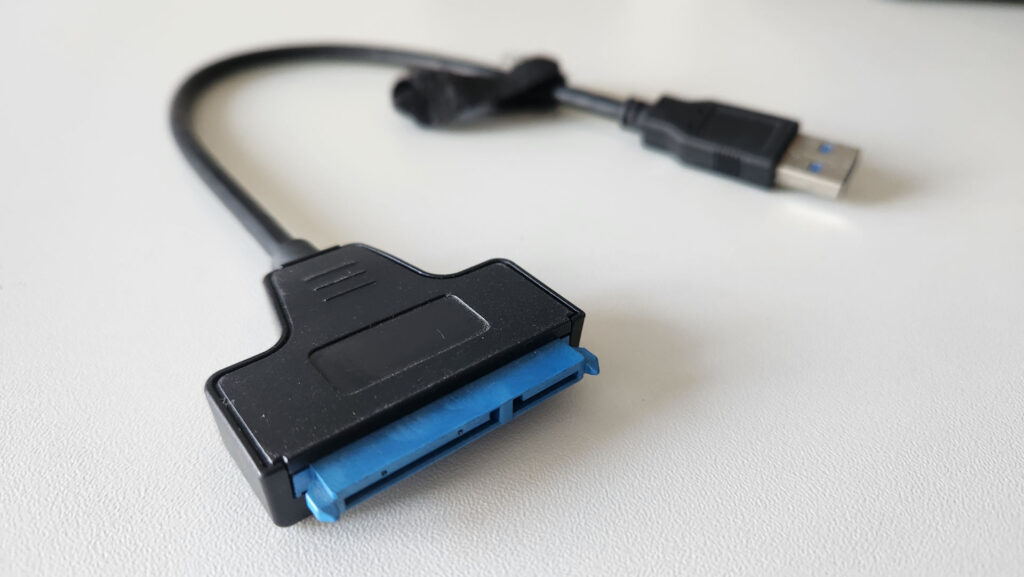
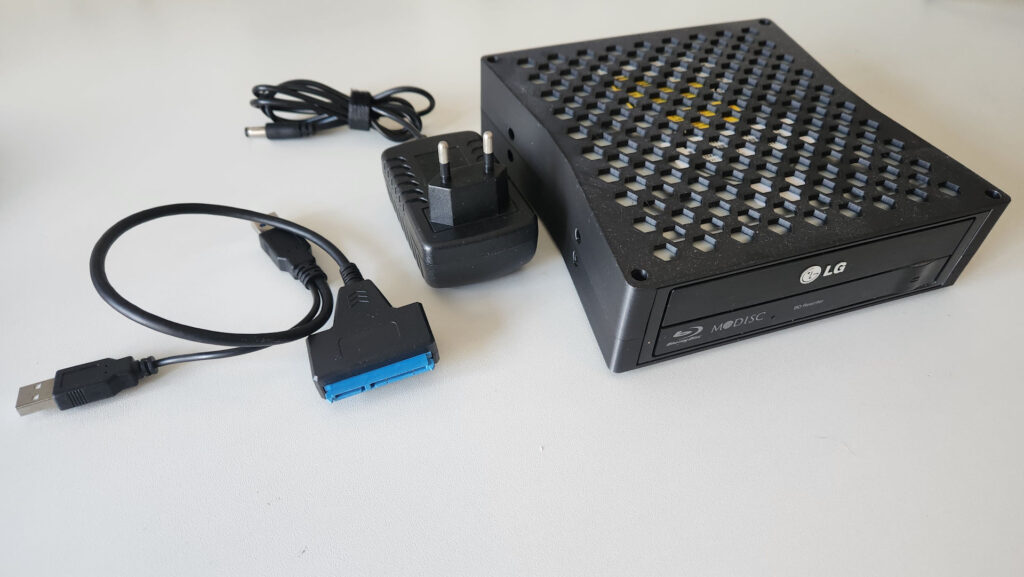
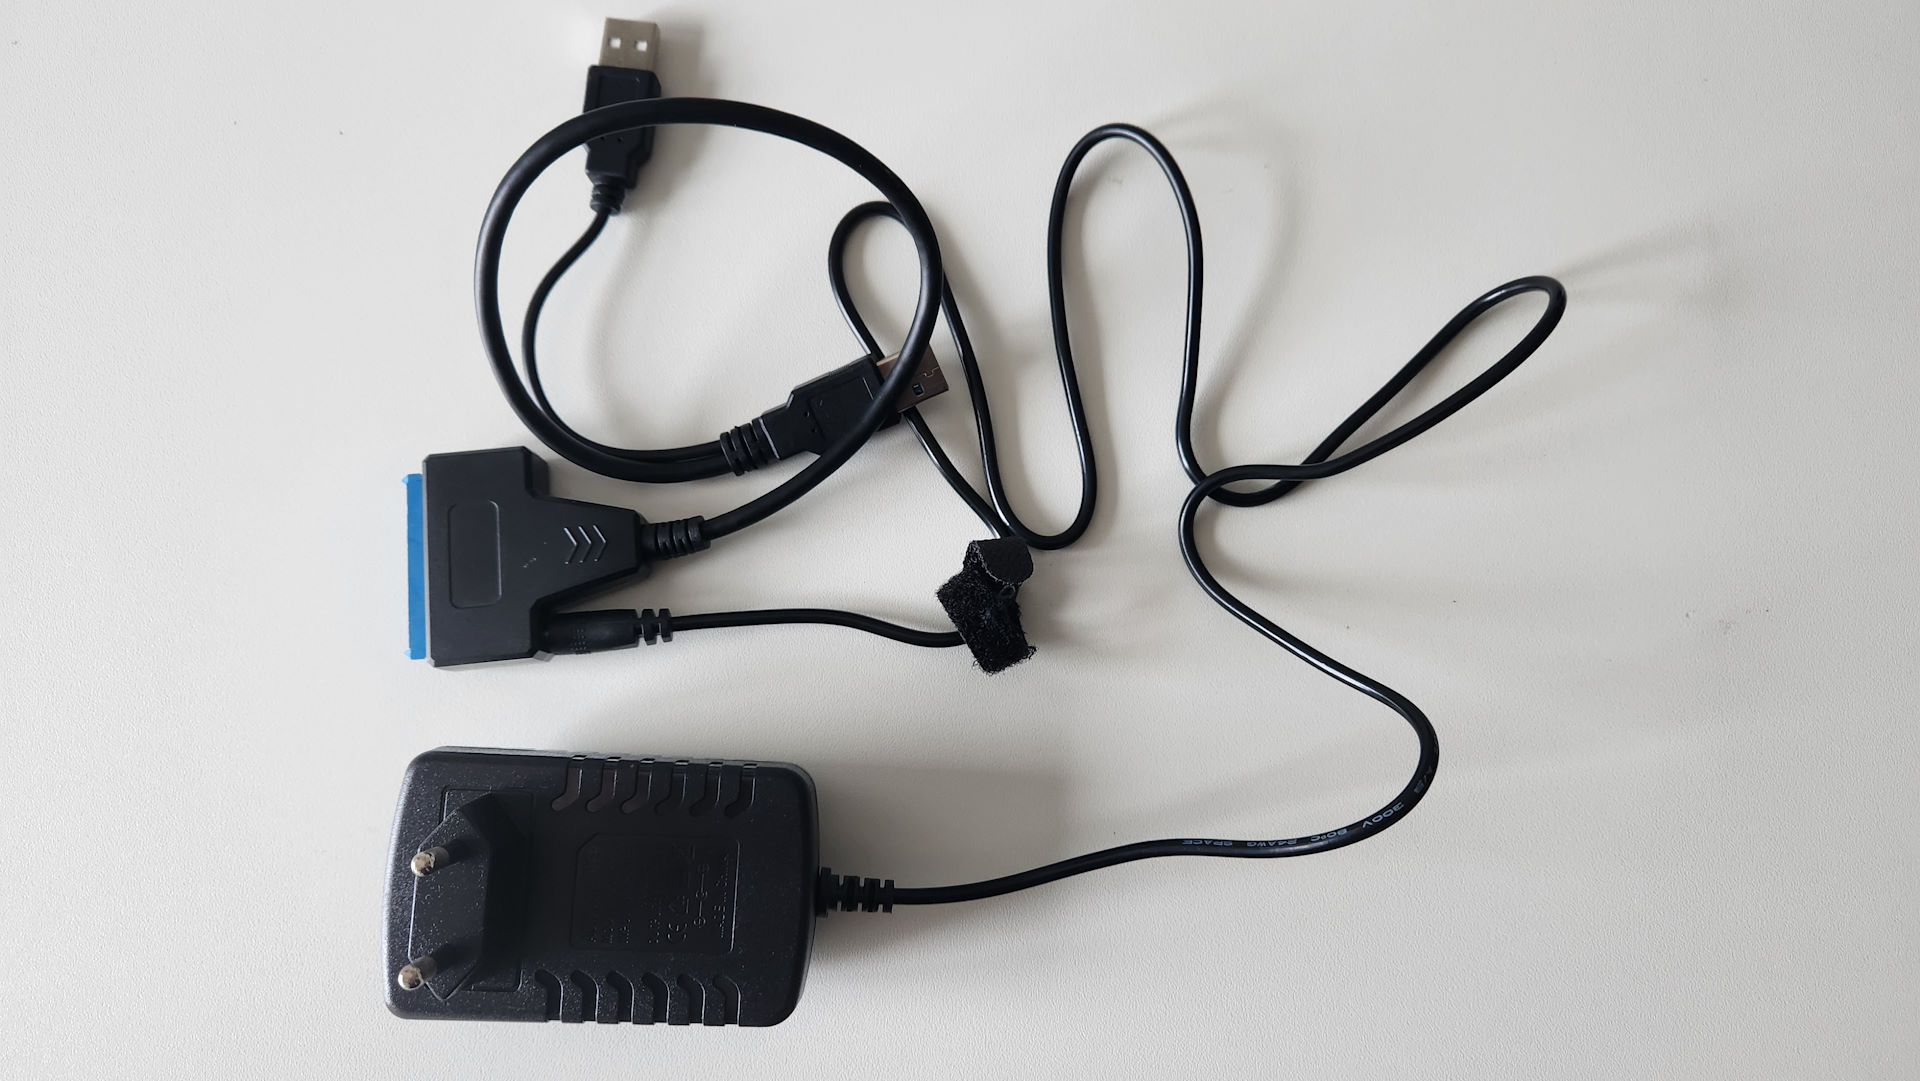
Searching AliExpress for the term “sata usb with power” literally returned countless options, of all types, colors and characteristics. But after analyzing many options, I ended up opting for the following offer:
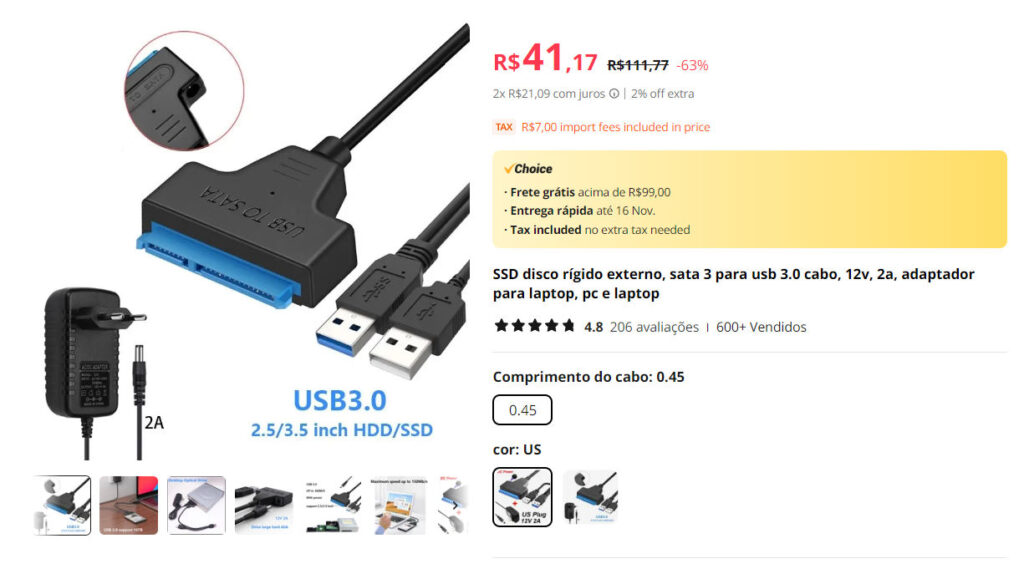
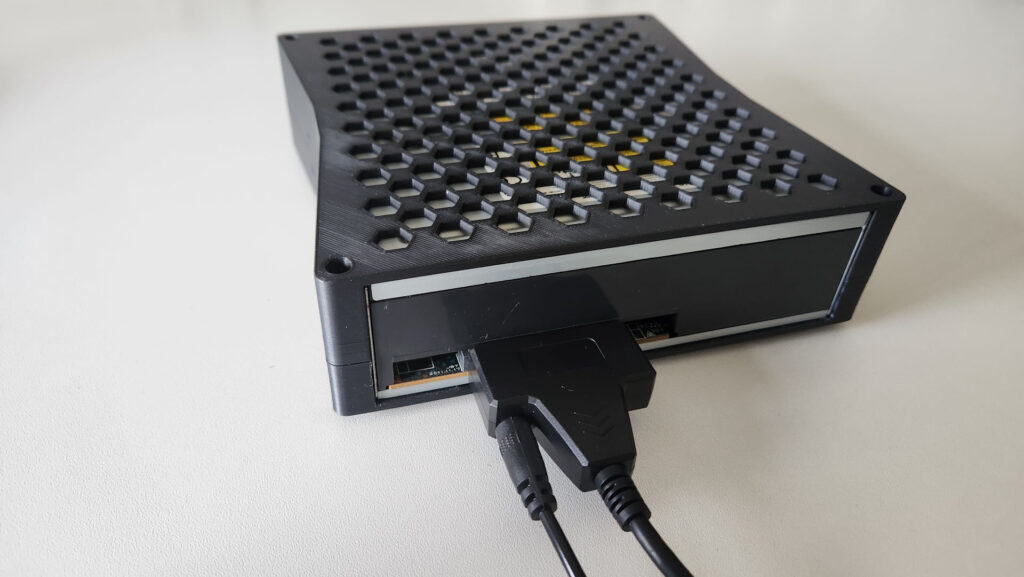
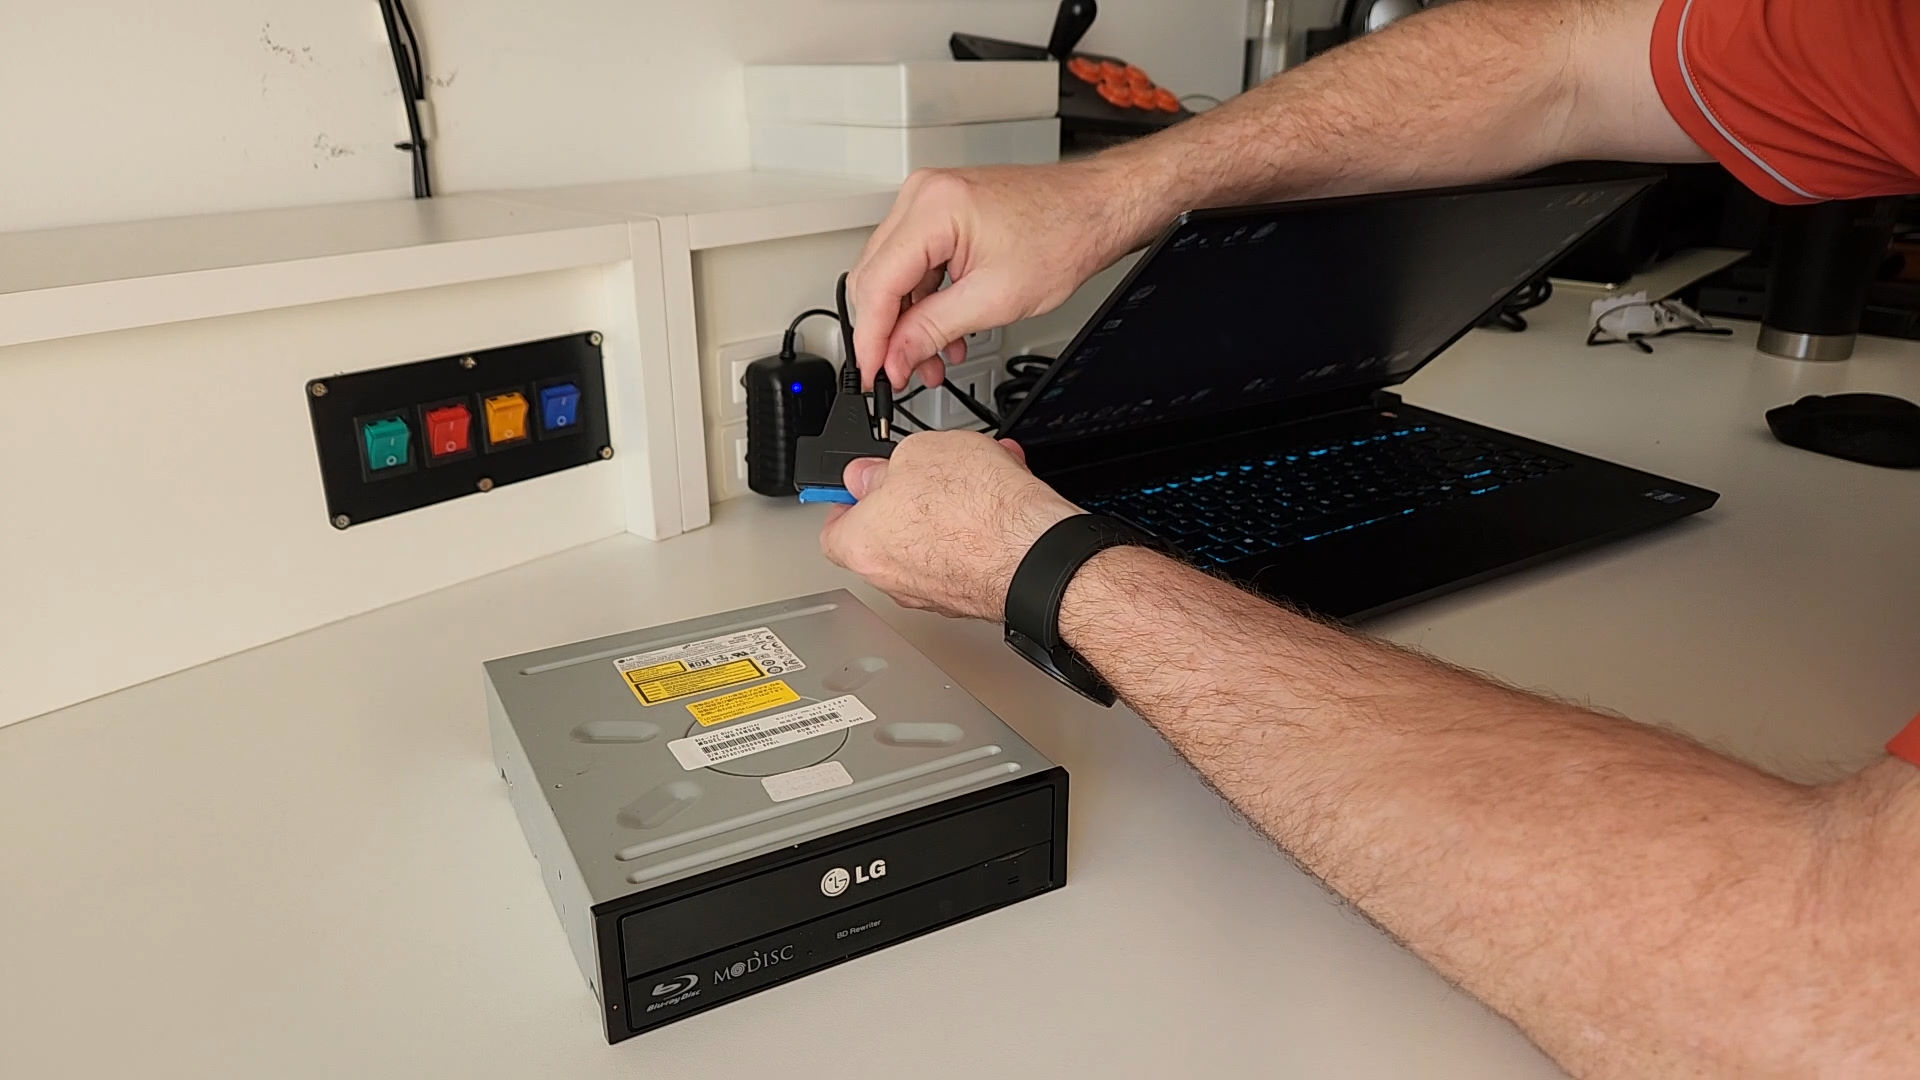
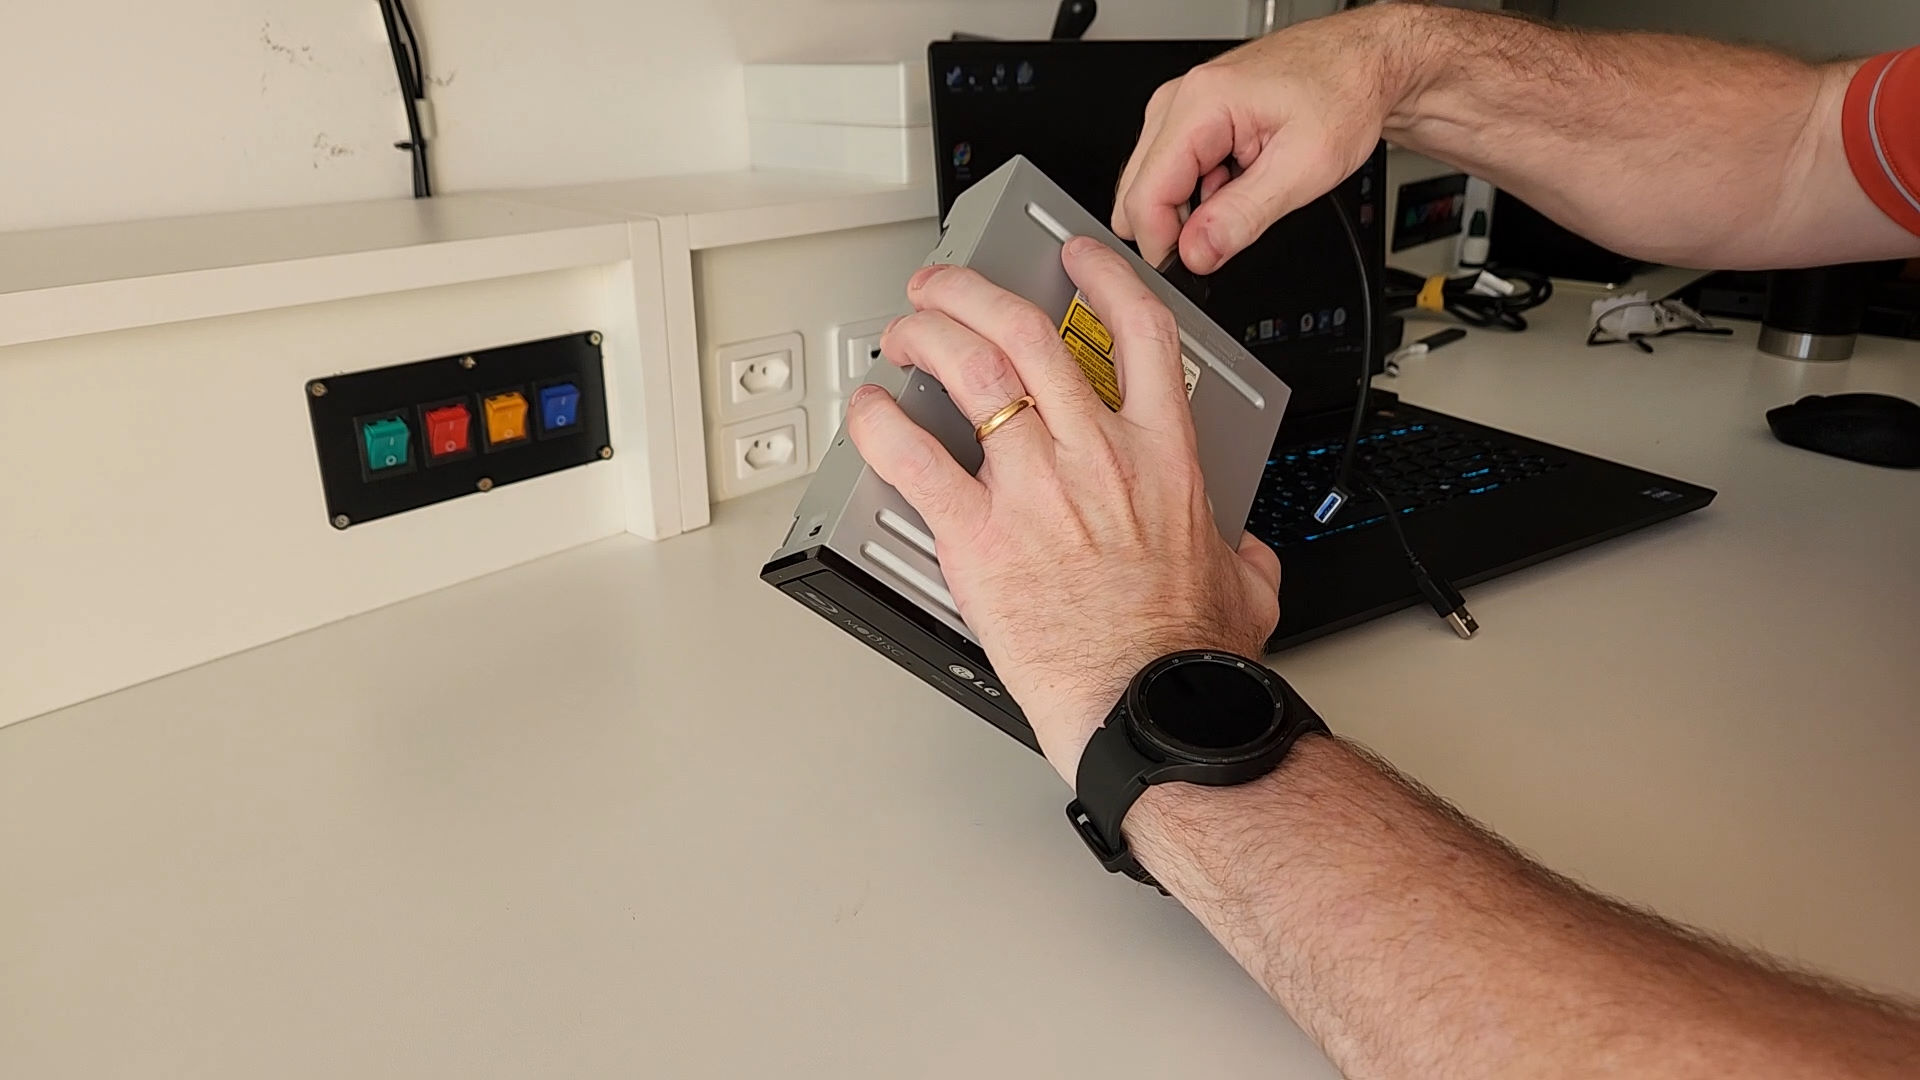
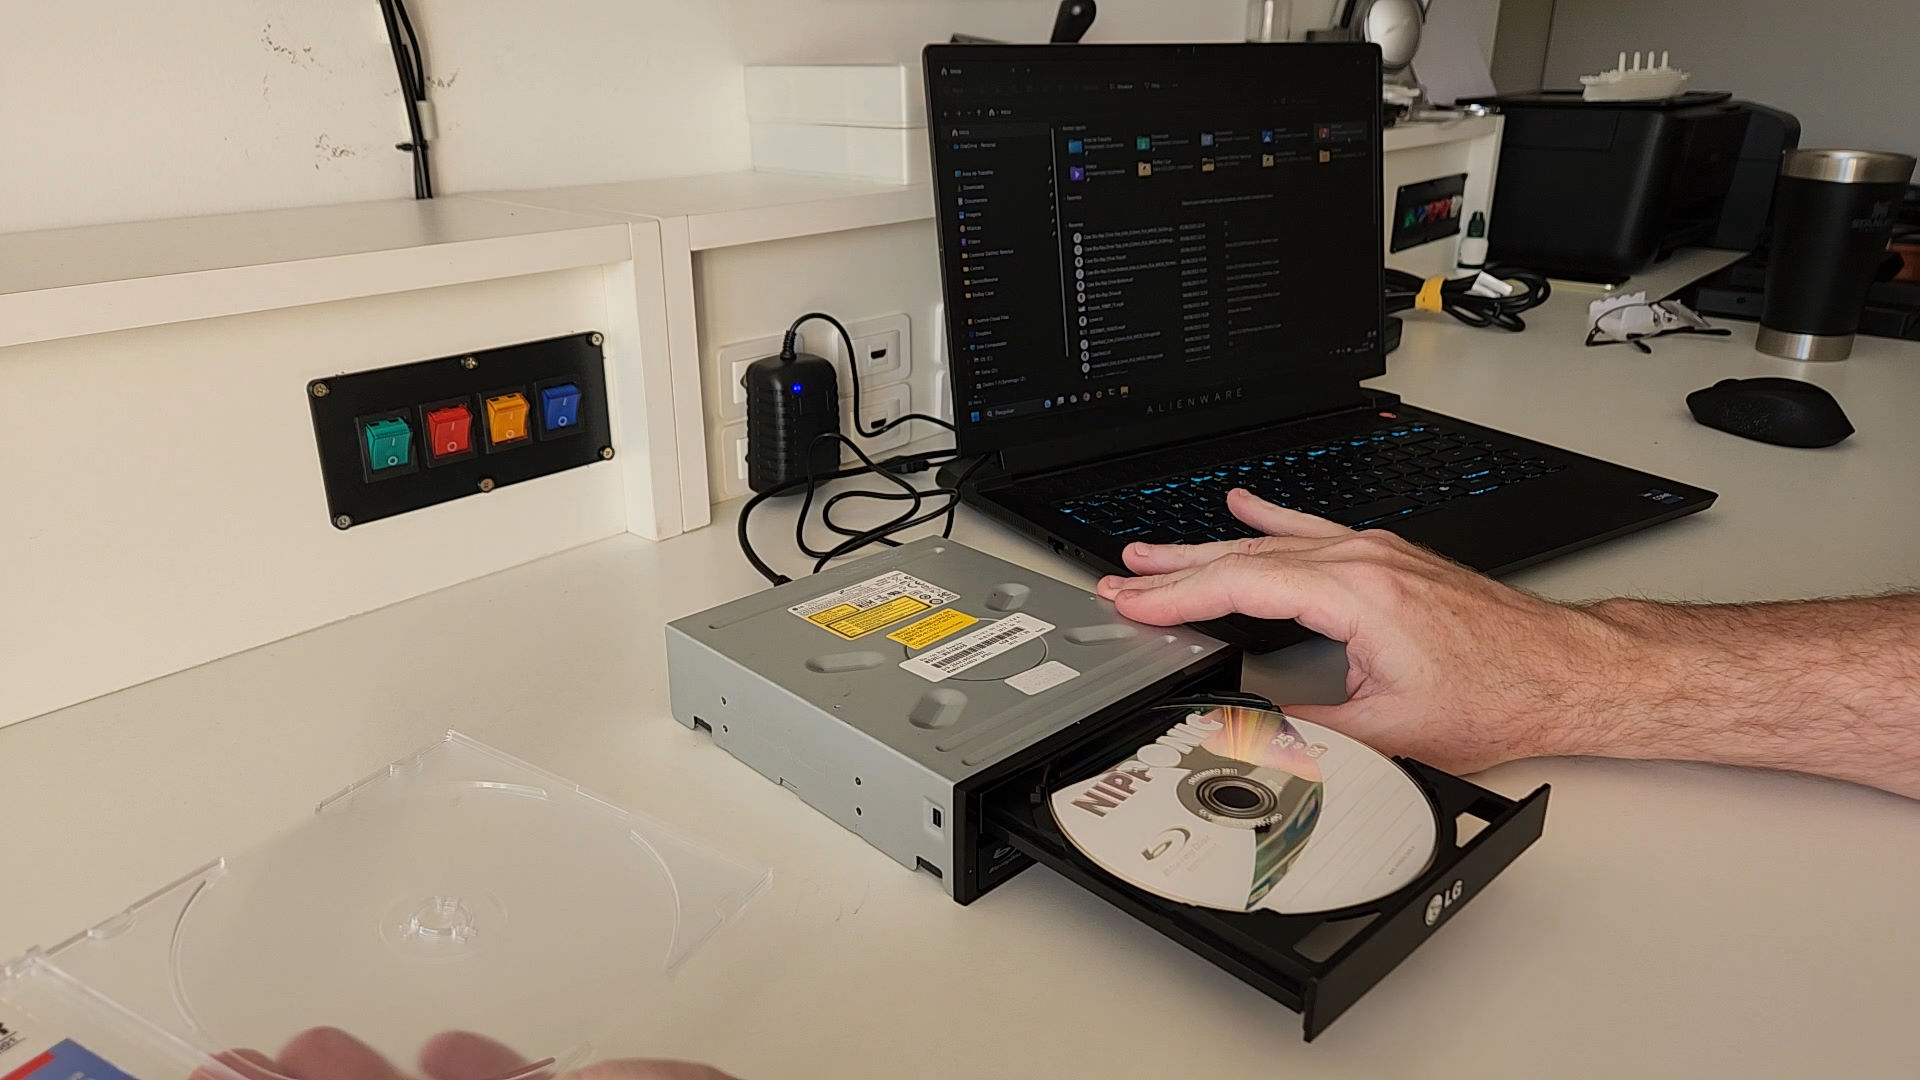
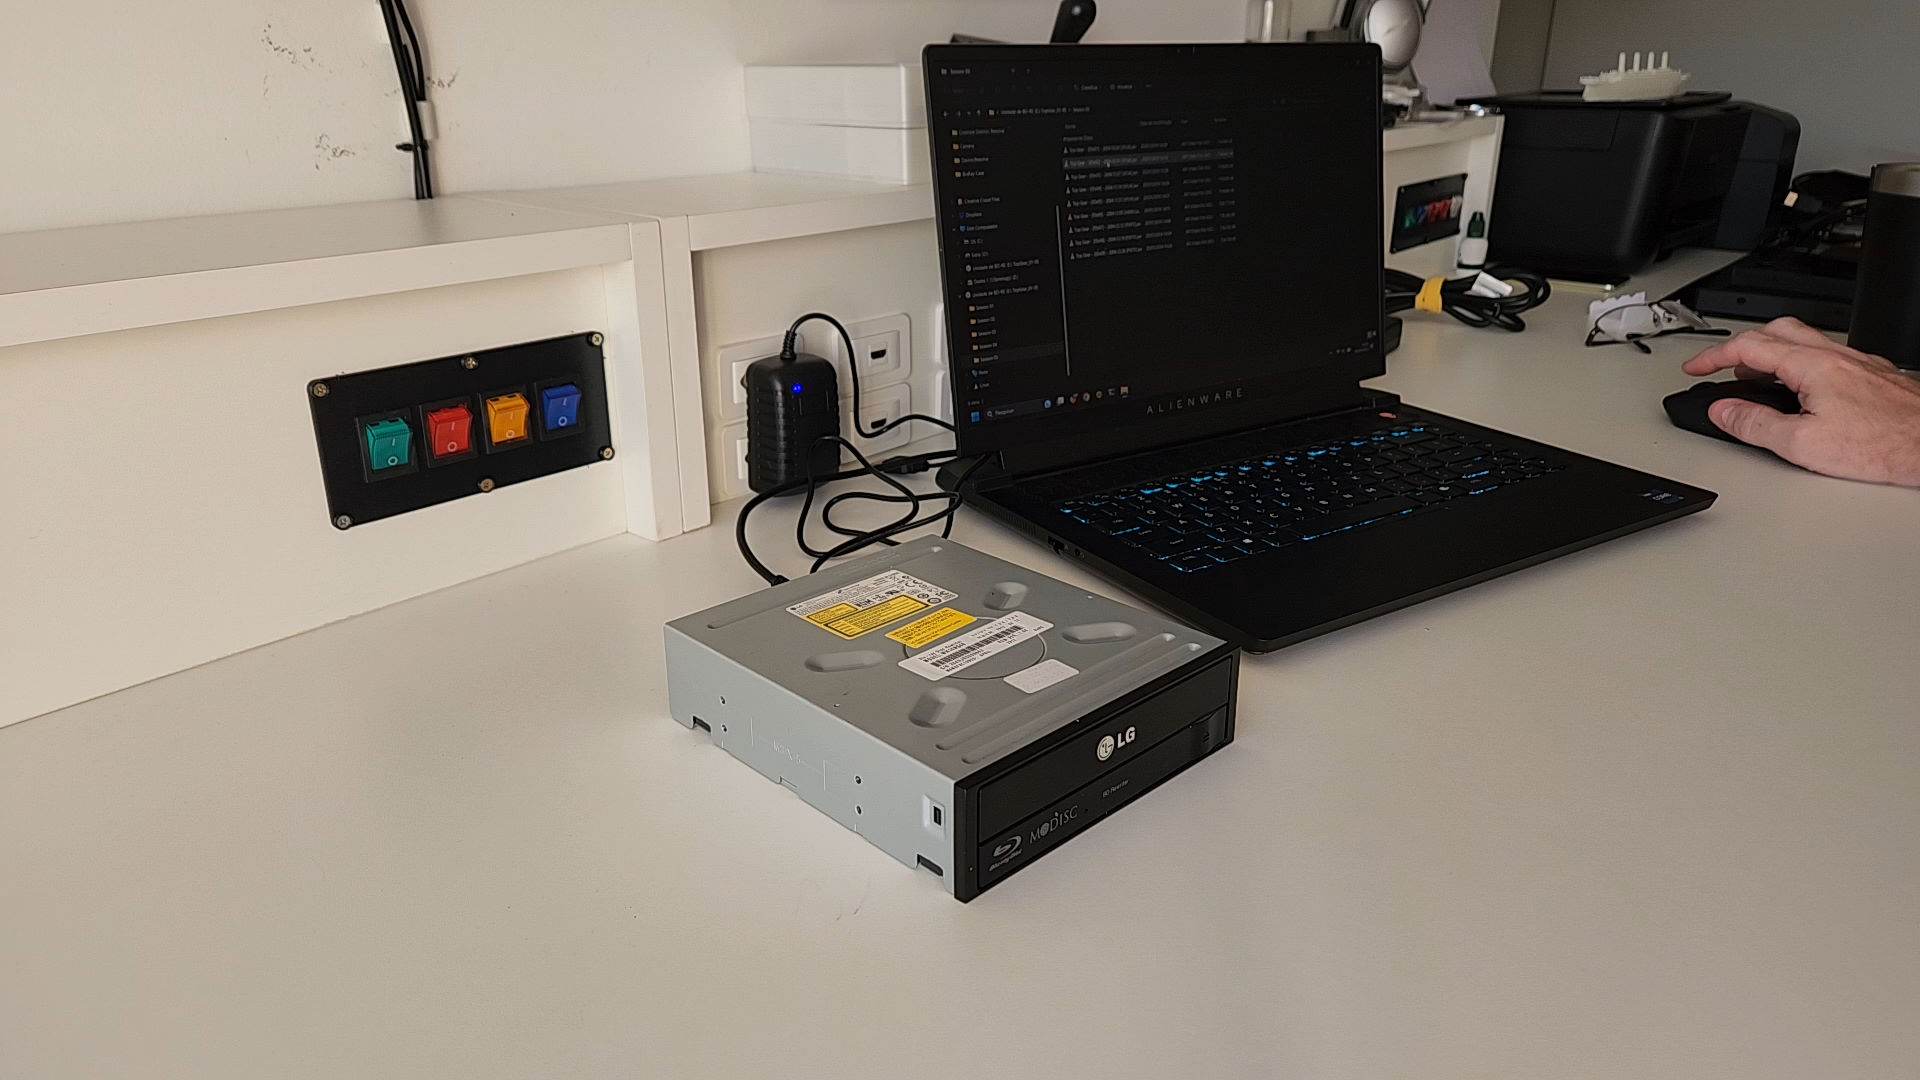
Once the order was received, after approximately 20 days, I carried out a successful test, connecting the adapter, the source and loading a file that was stored on a BluRay disc.
Drive Measurements
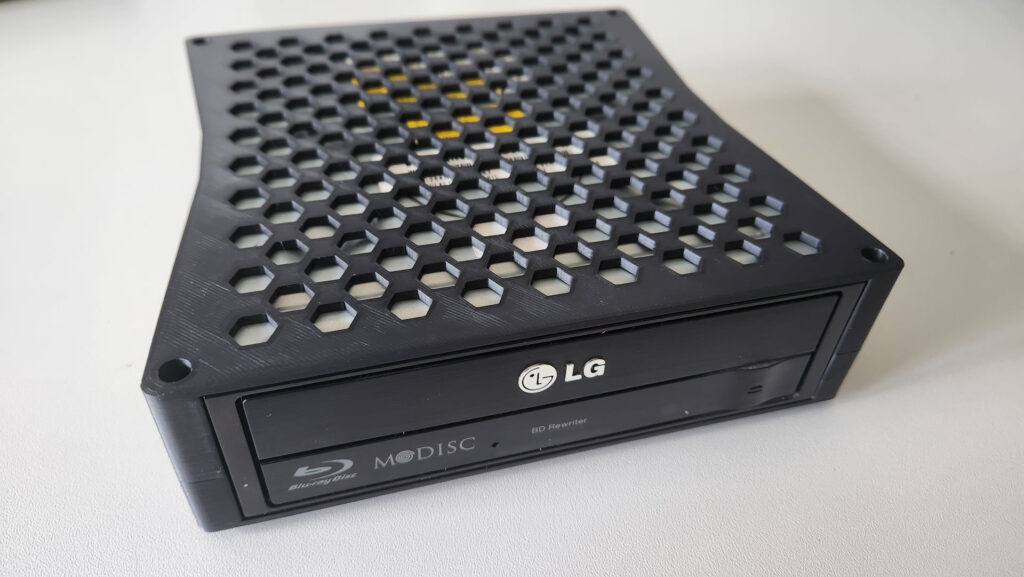
Once everything worked, it was time to create a drive enclosure to avoid having to use it in its “bare-metal: form.
It is important to mention that this is not necessary from an operational point of view. On the other hand, a well-modeled enclosure makes the set much more visually pleasing.
To do this, it is necessary to take all external measurements of the drive.
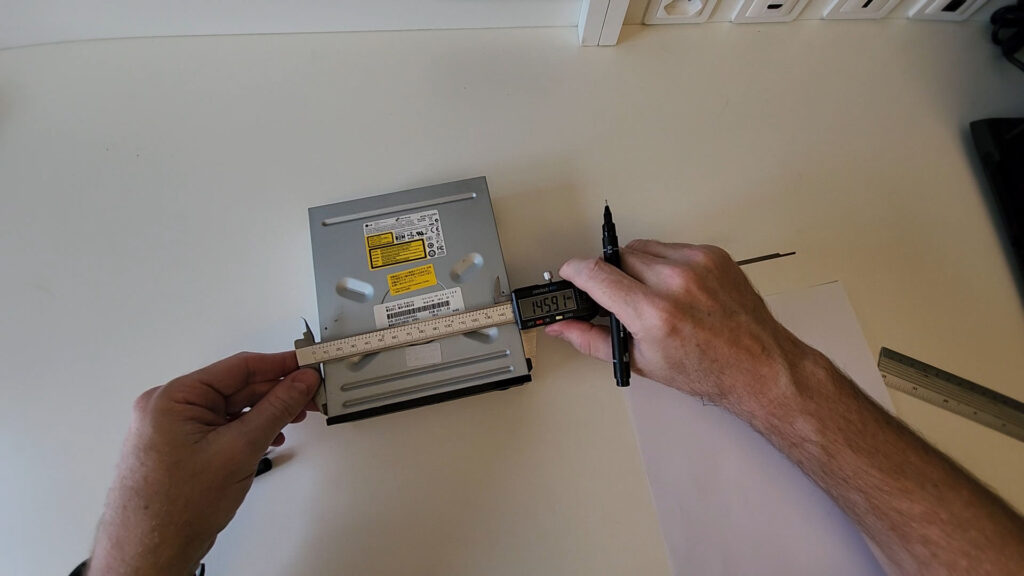
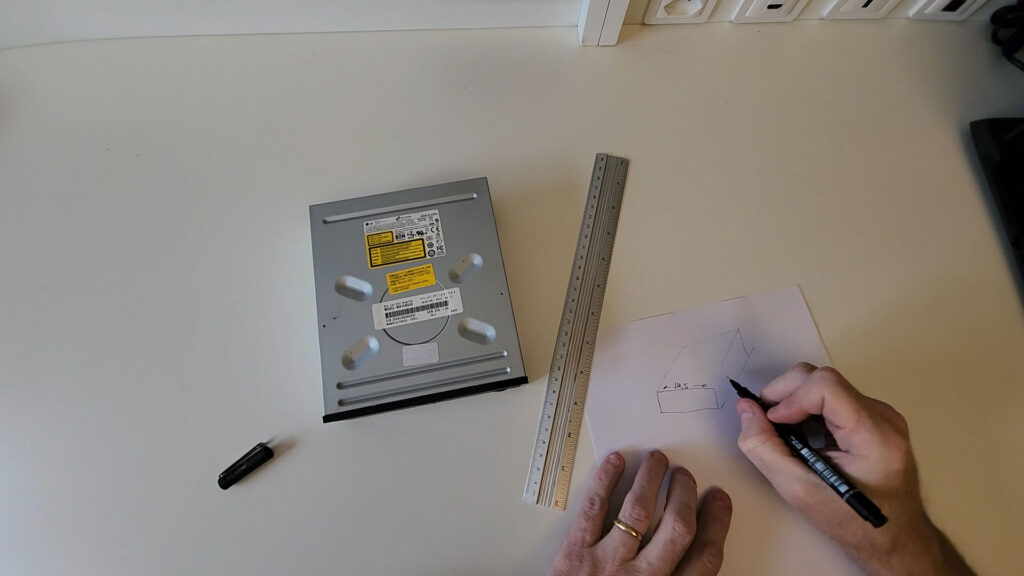
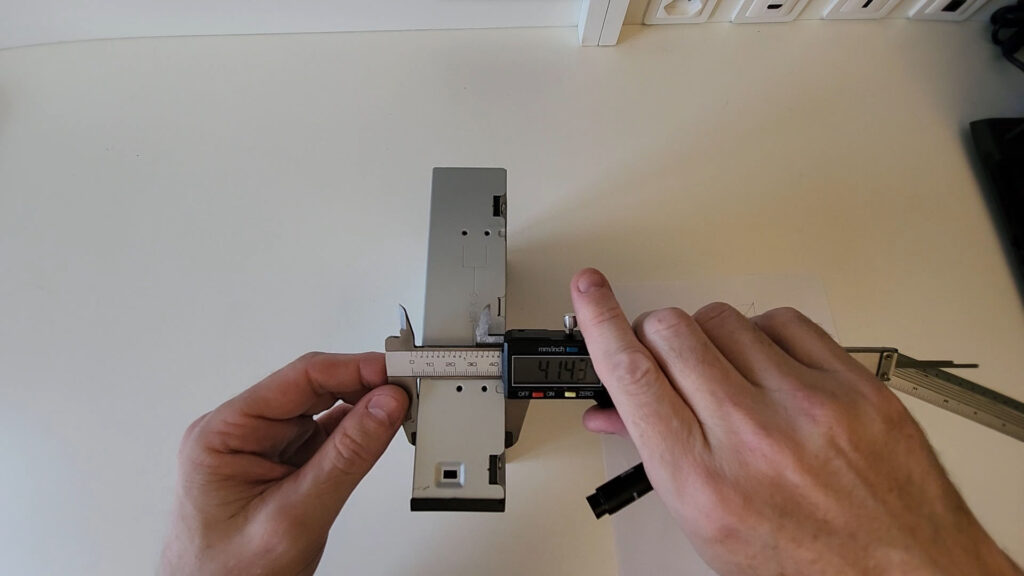
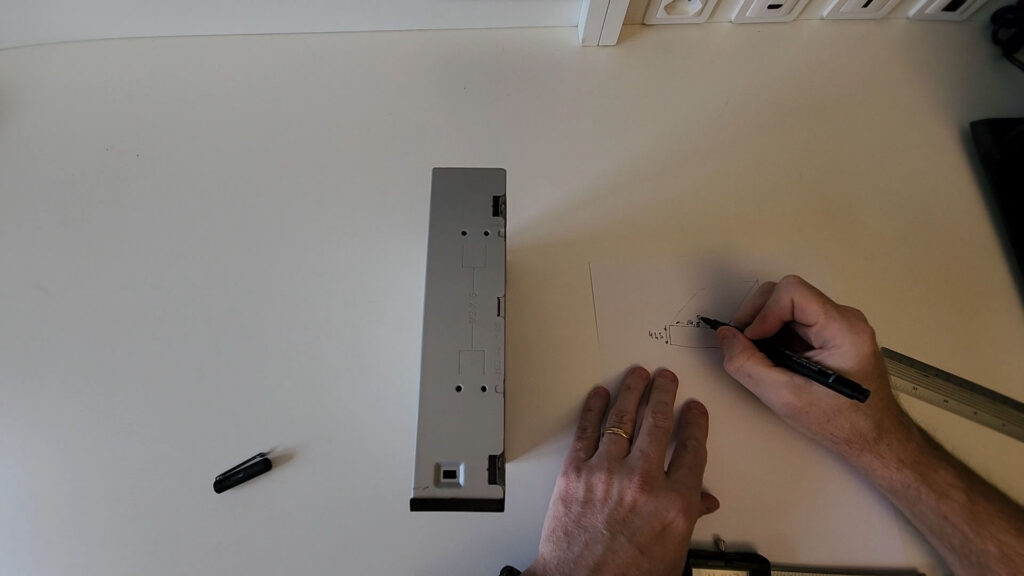
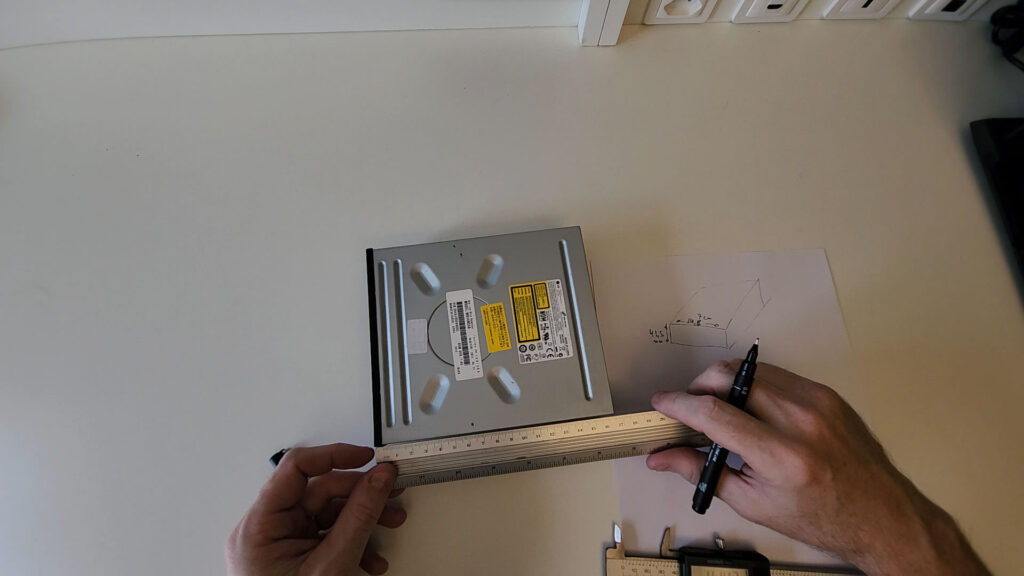

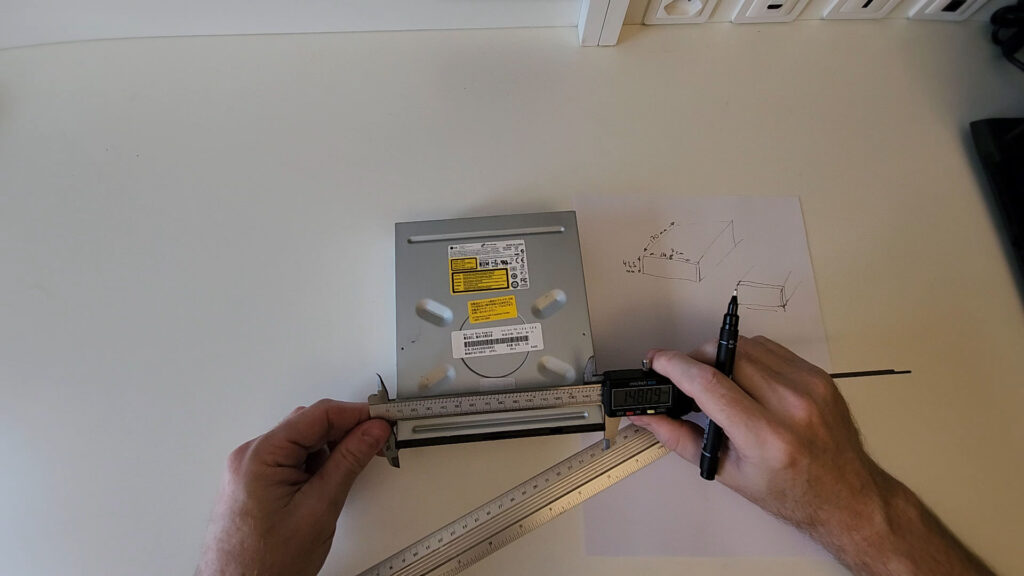
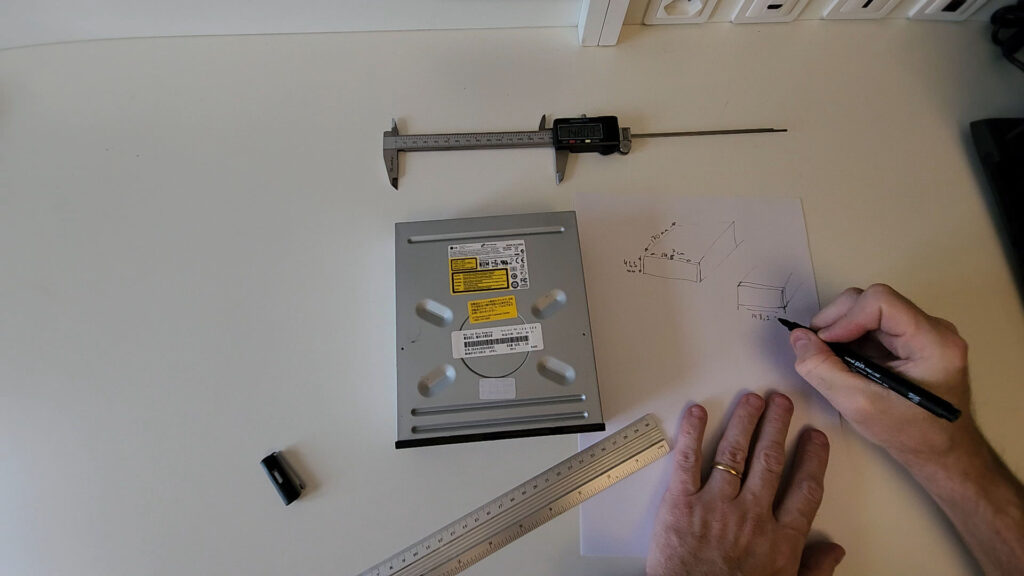

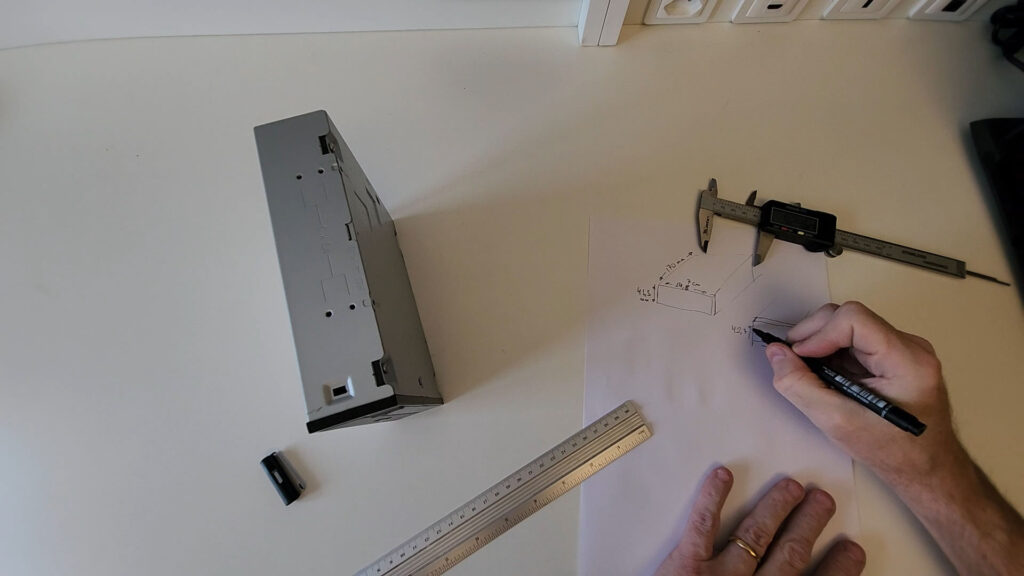
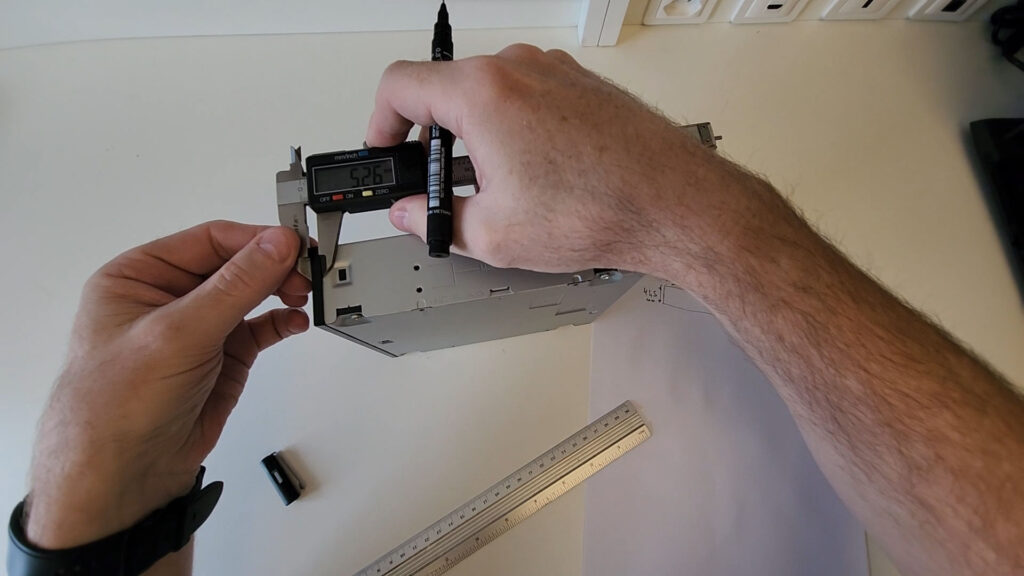
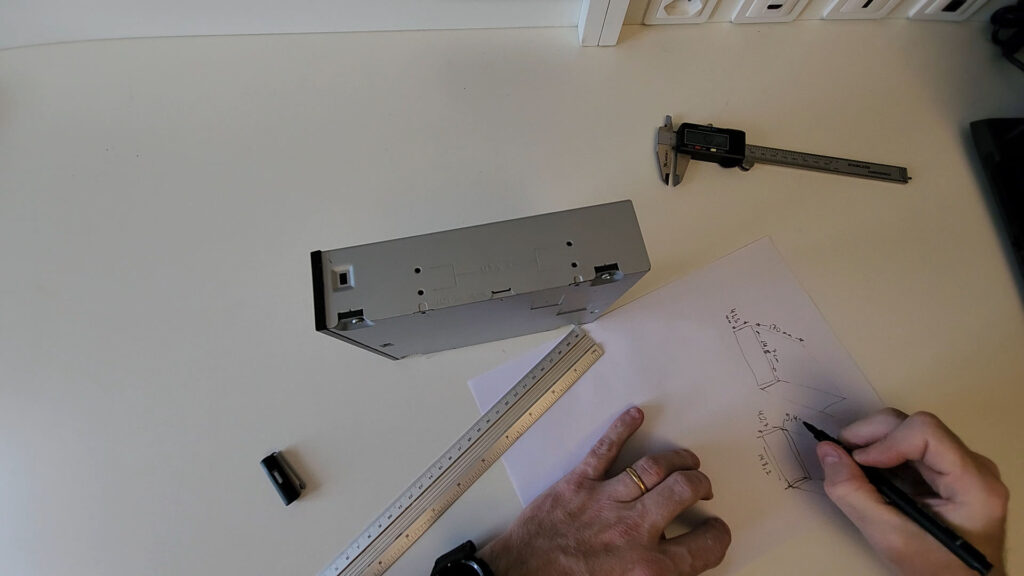
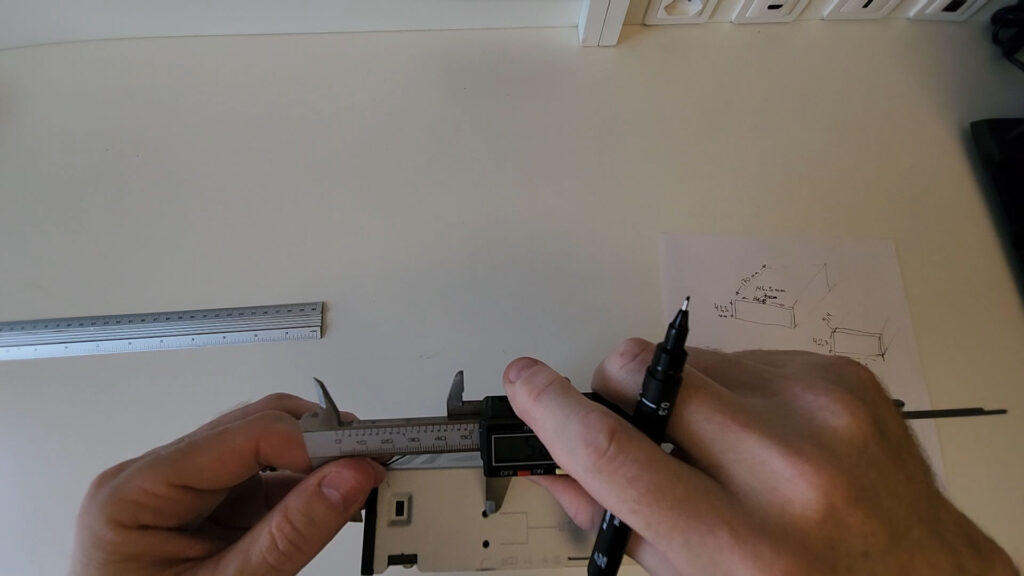
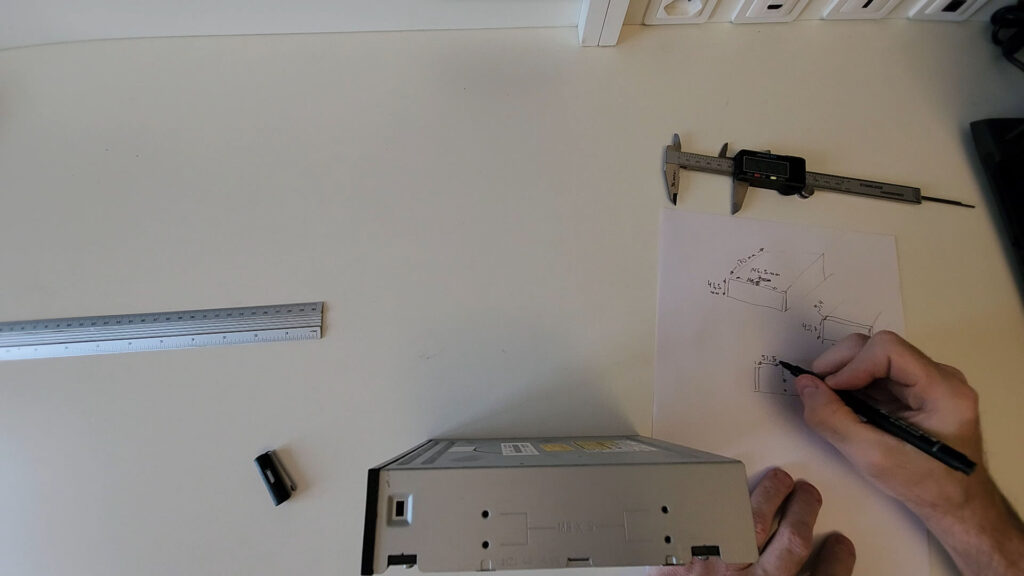
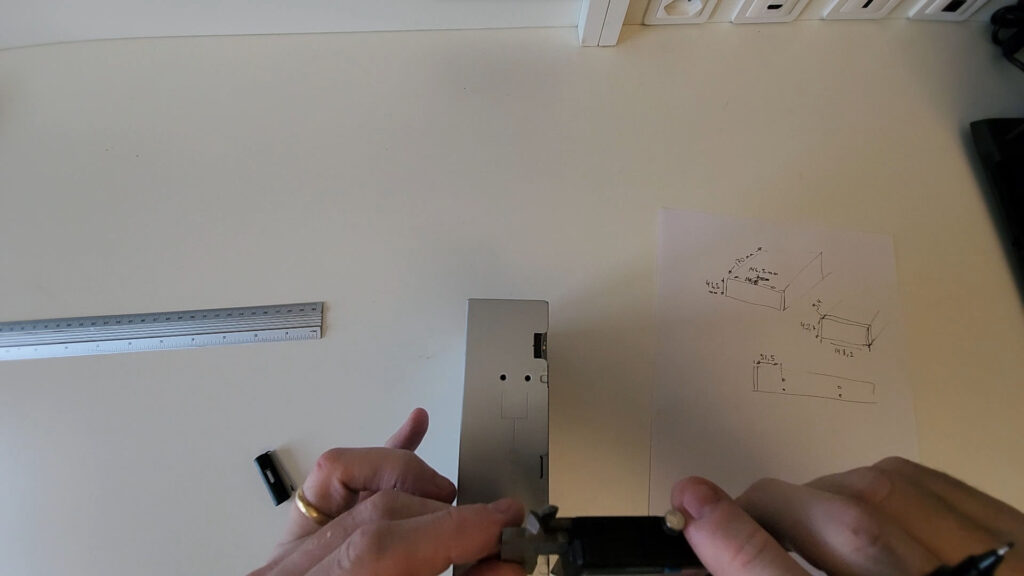
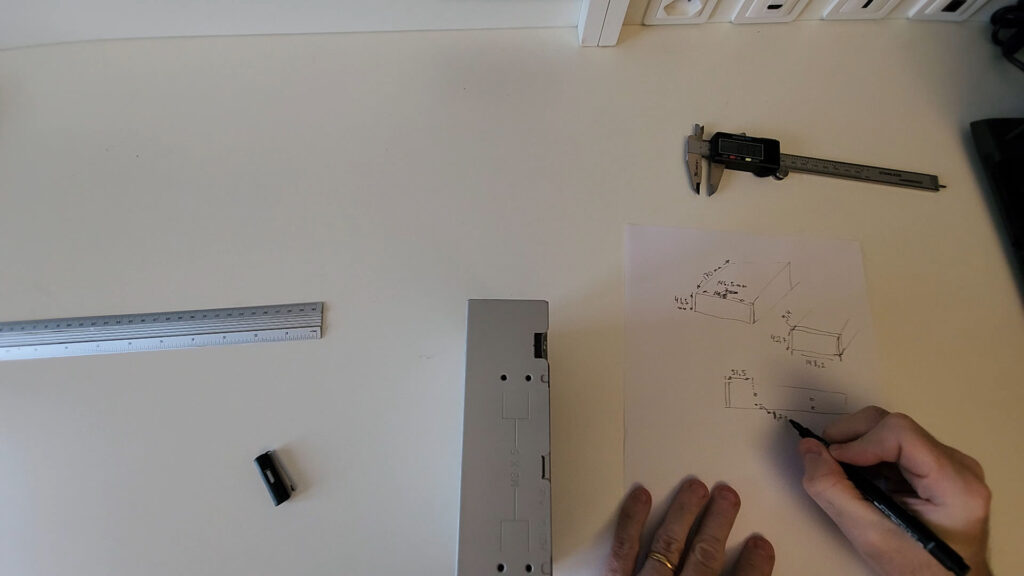
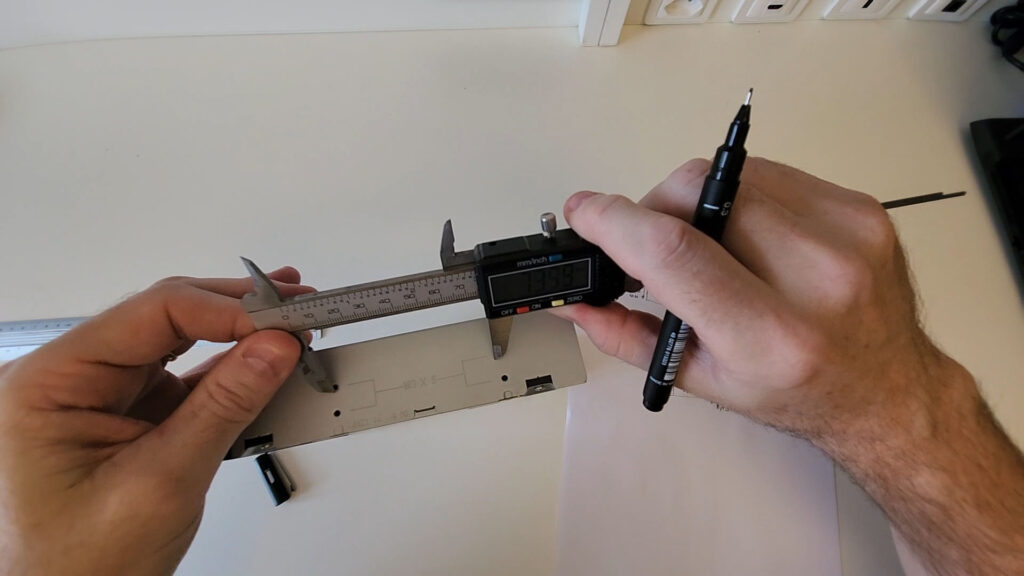
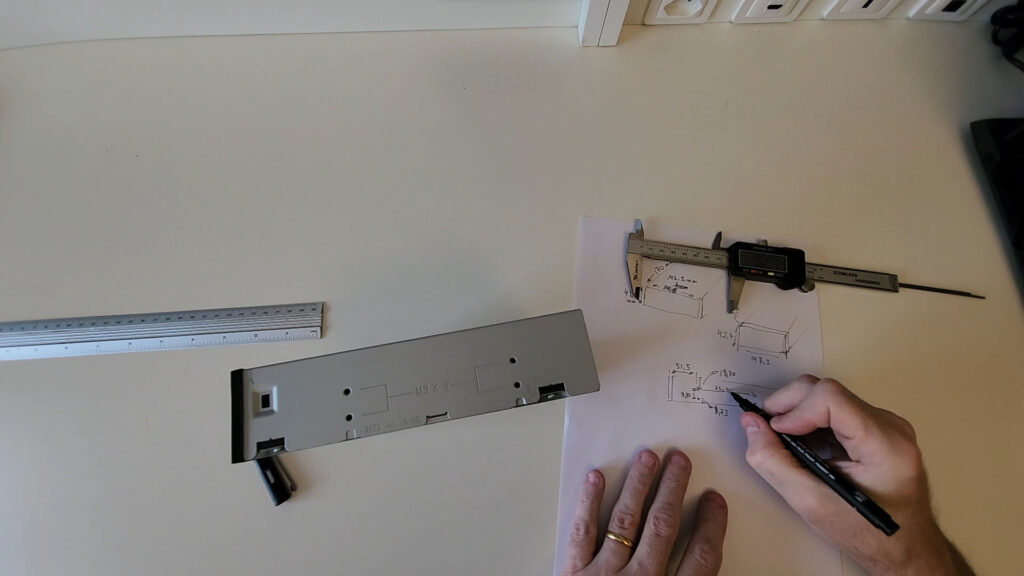
An important detail is that the front cover of the drive is slightly larger in width and height than the metal case, which needed to be taken into account or, otherwise, the drive would not fit properly.
3D Modeling of the Enclosure
To model the enclosure, I chose the good old TinkerCAD.
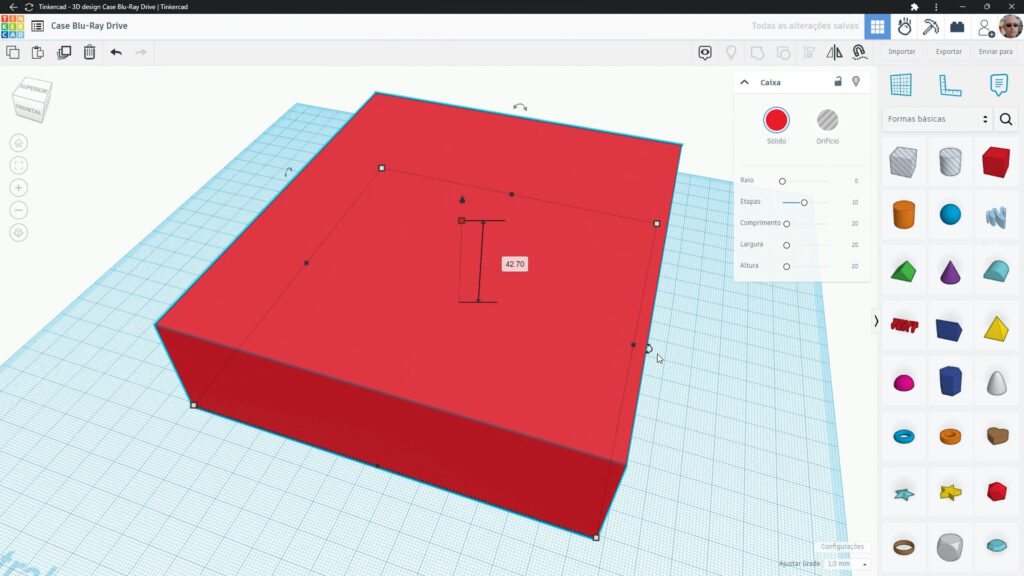
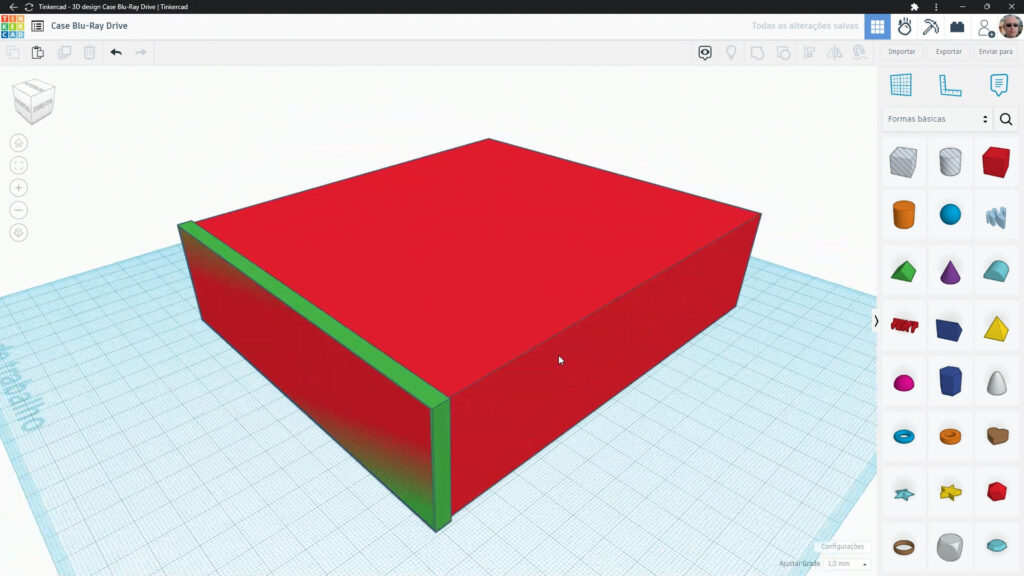
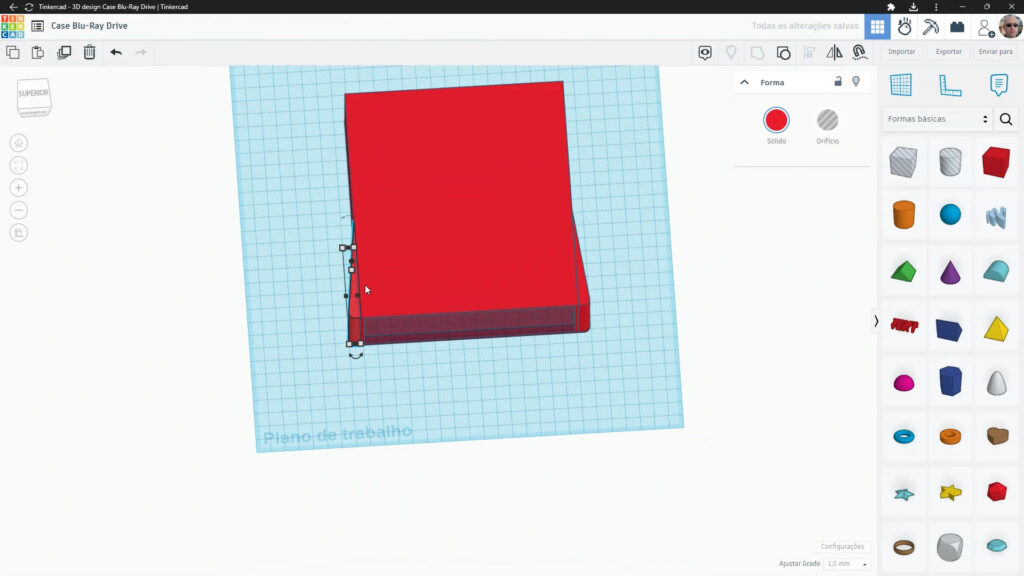
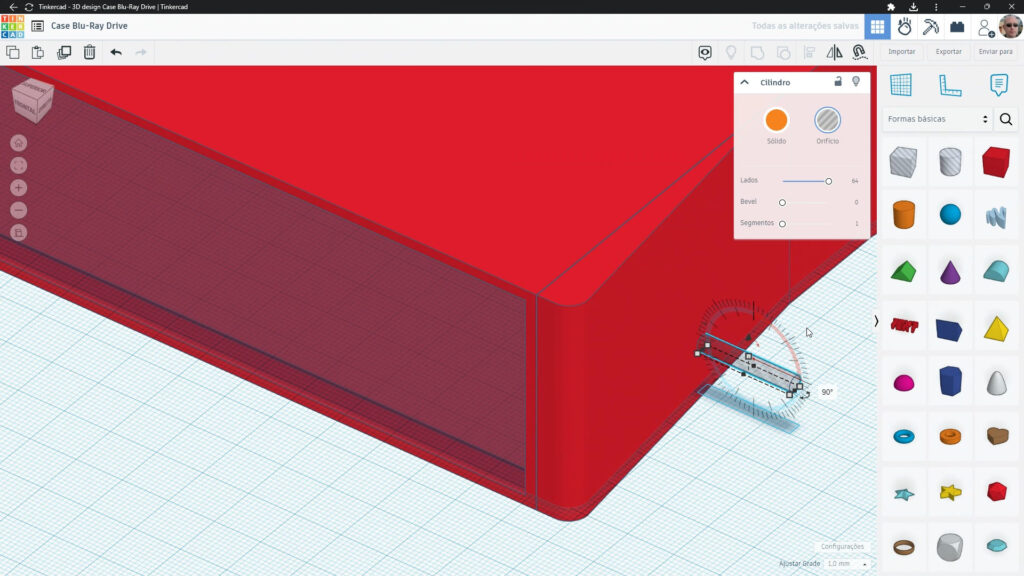
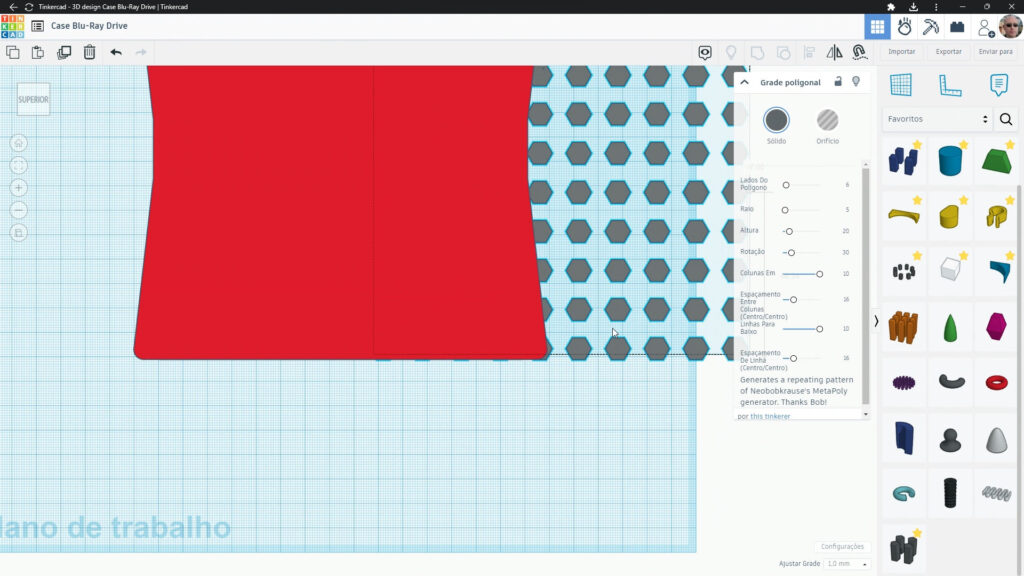
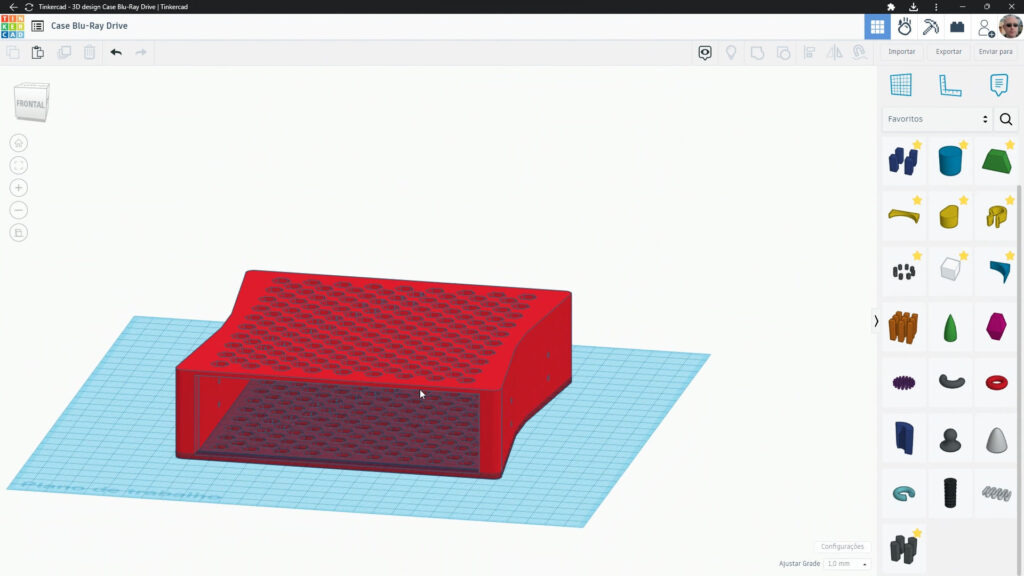

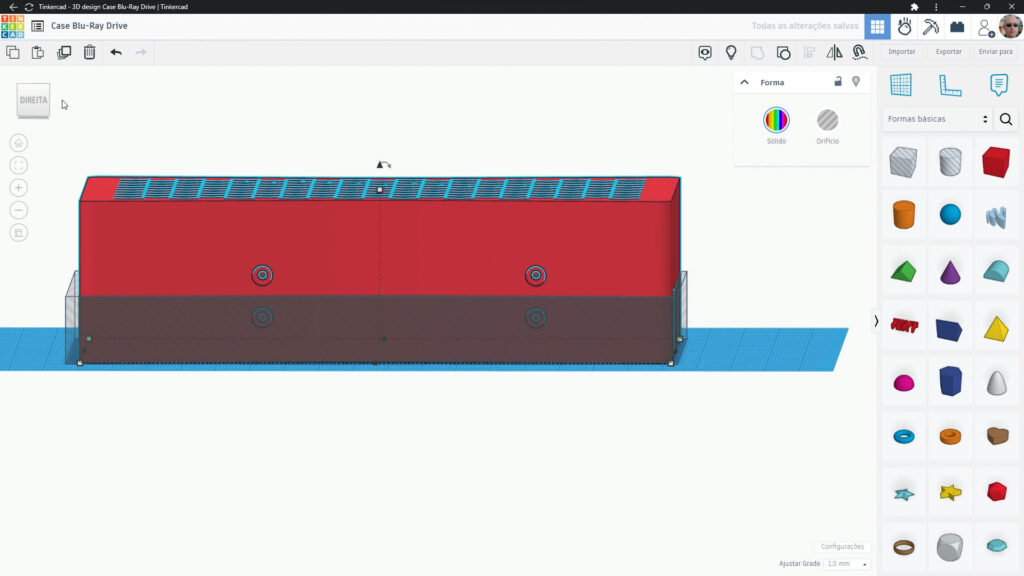
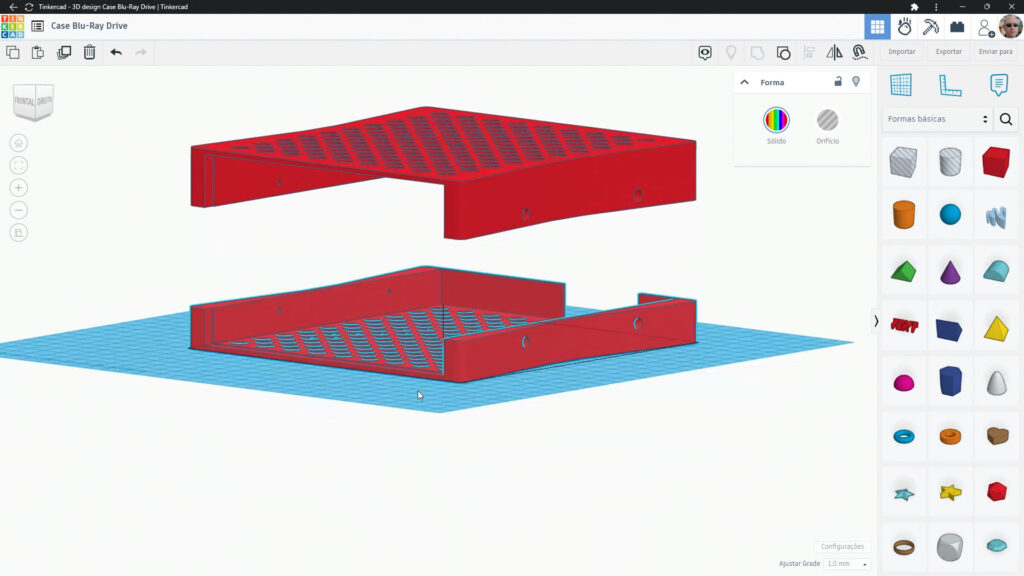


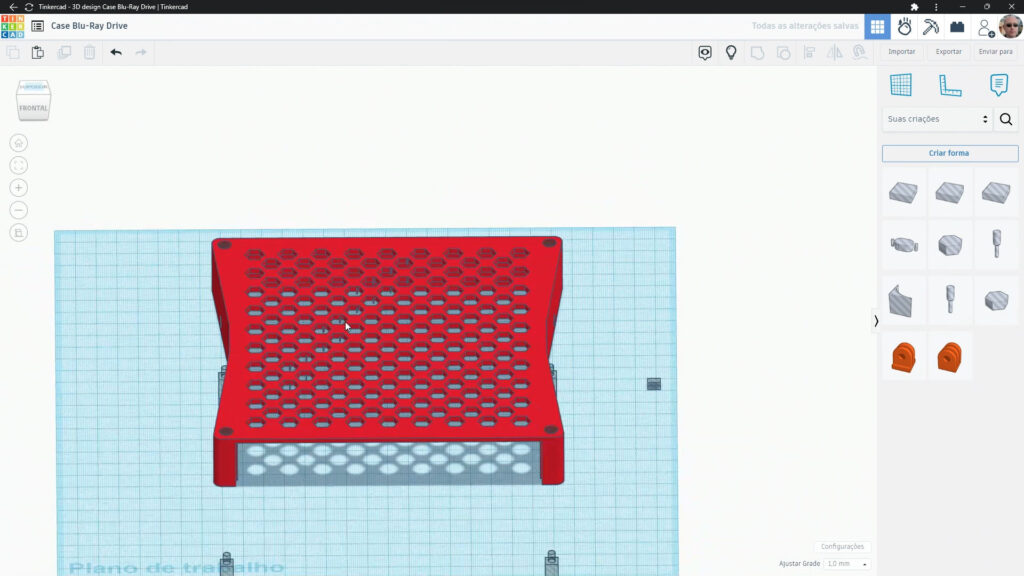
The 3D modeling, including test prints of parts of the enclosure – this is always very important to ensure everything fits correctly – took several hours and was separated over several days.
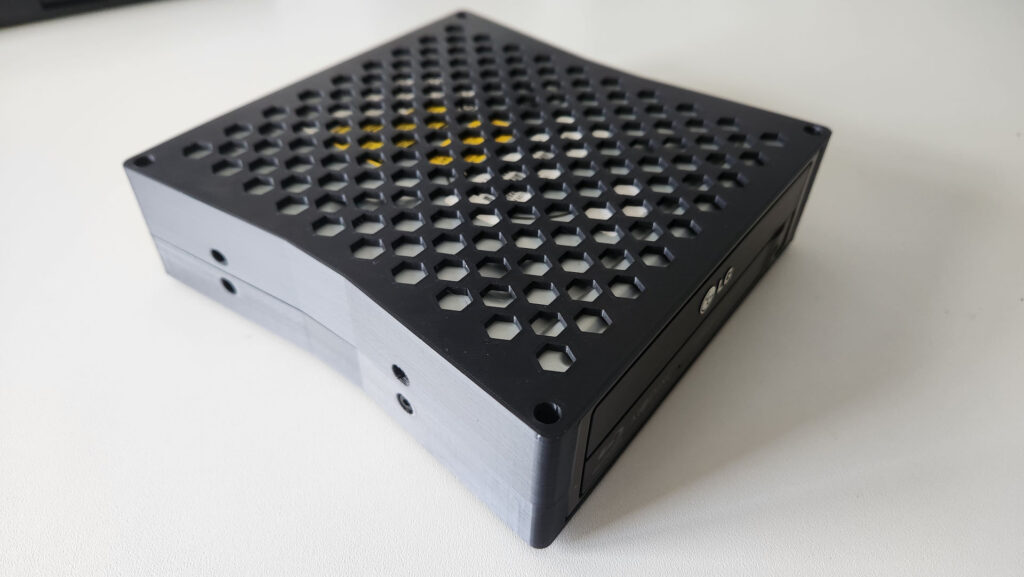
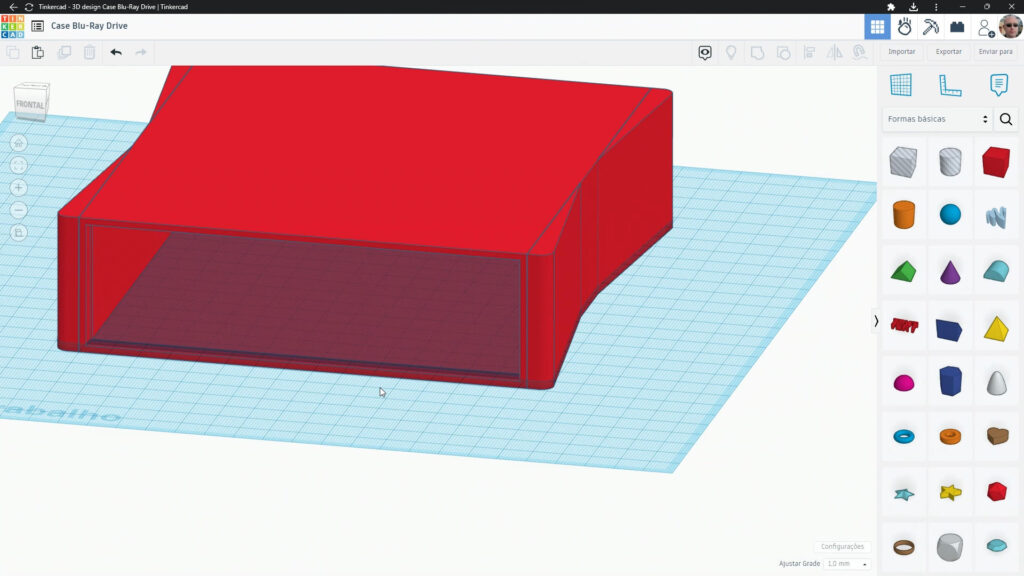
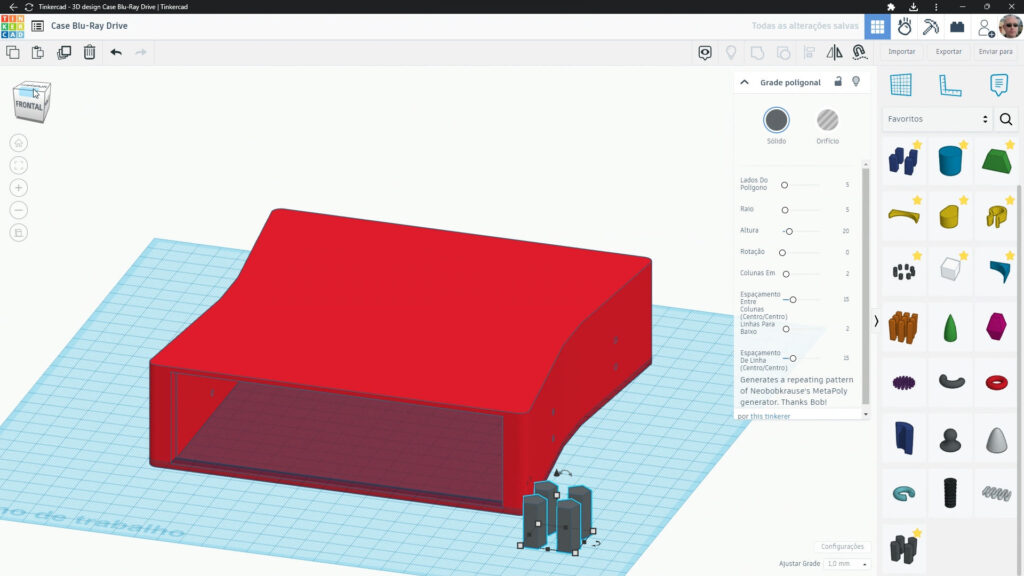
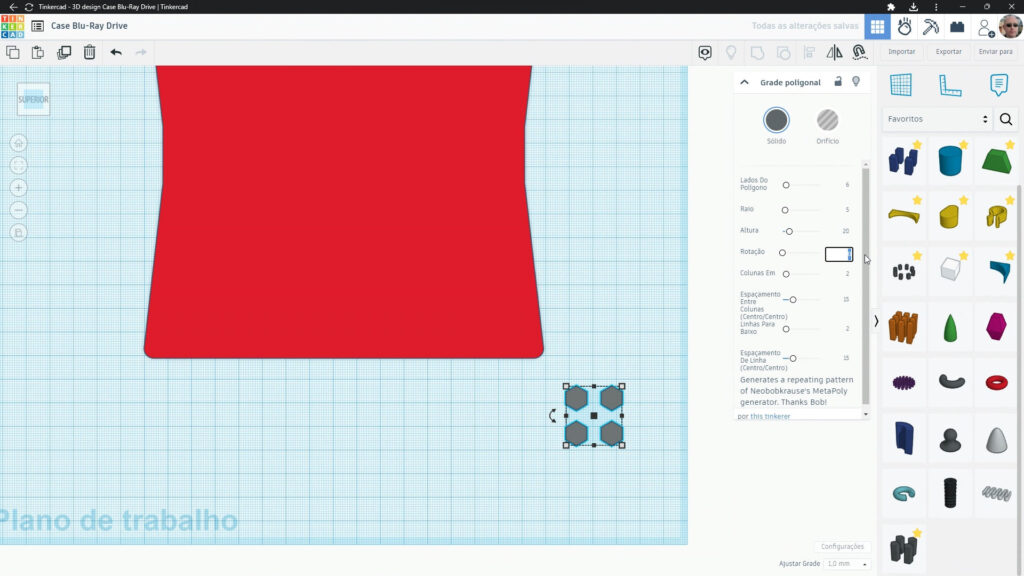
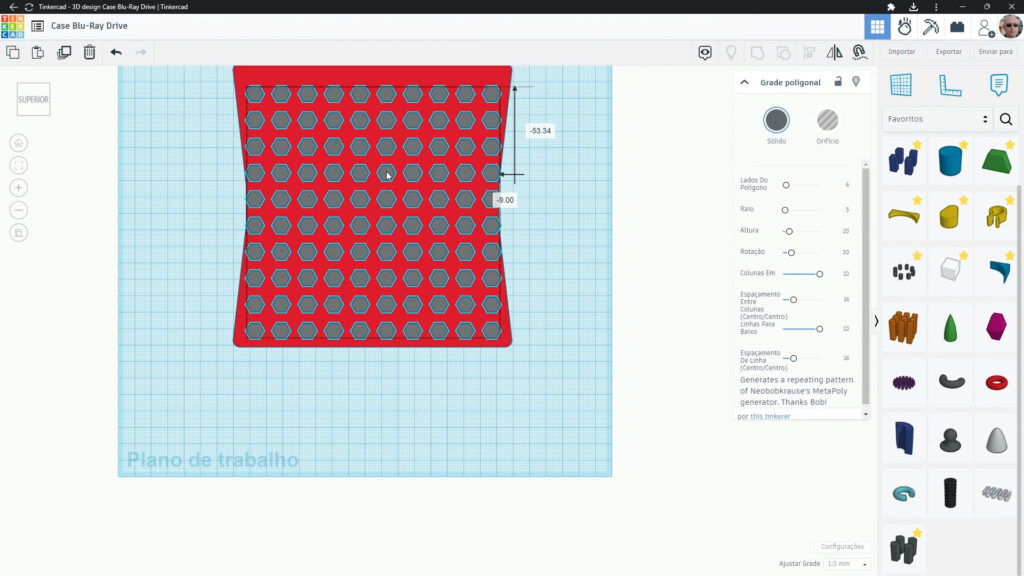
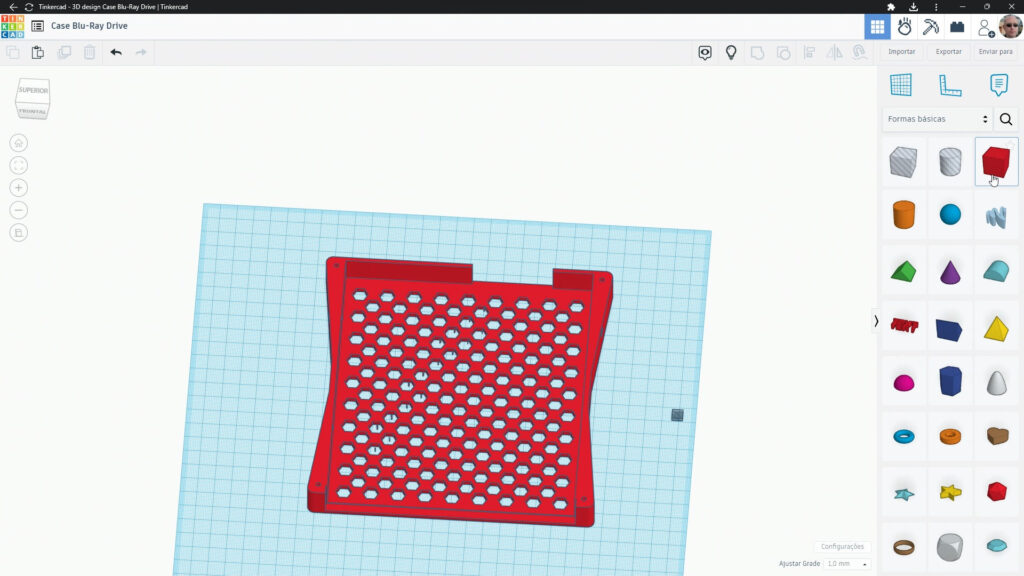
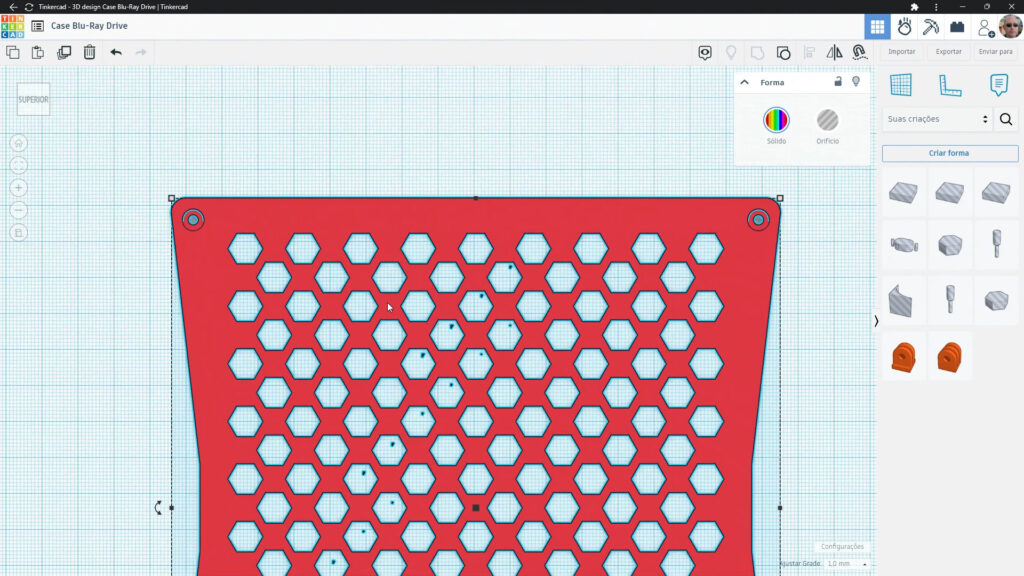
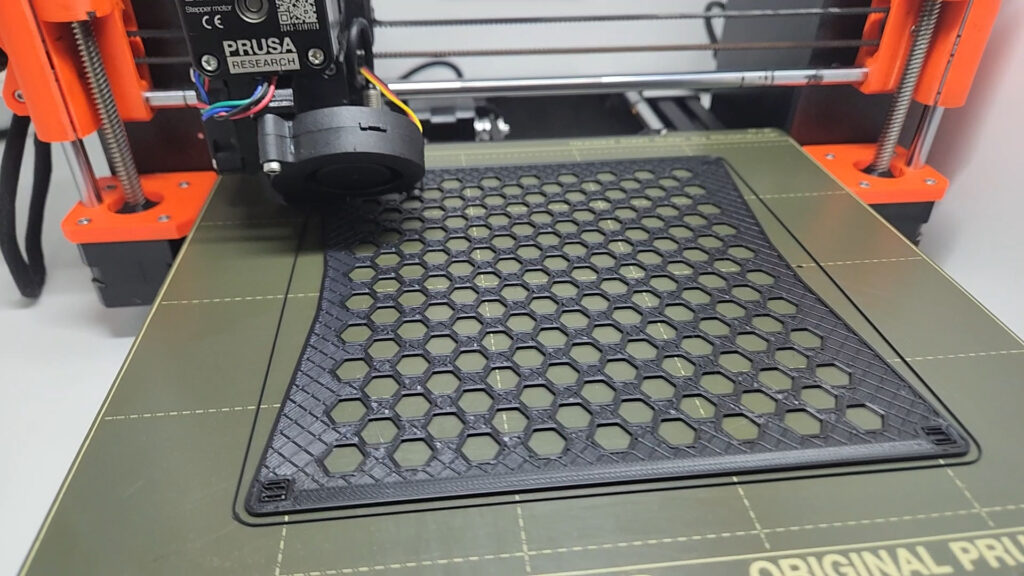
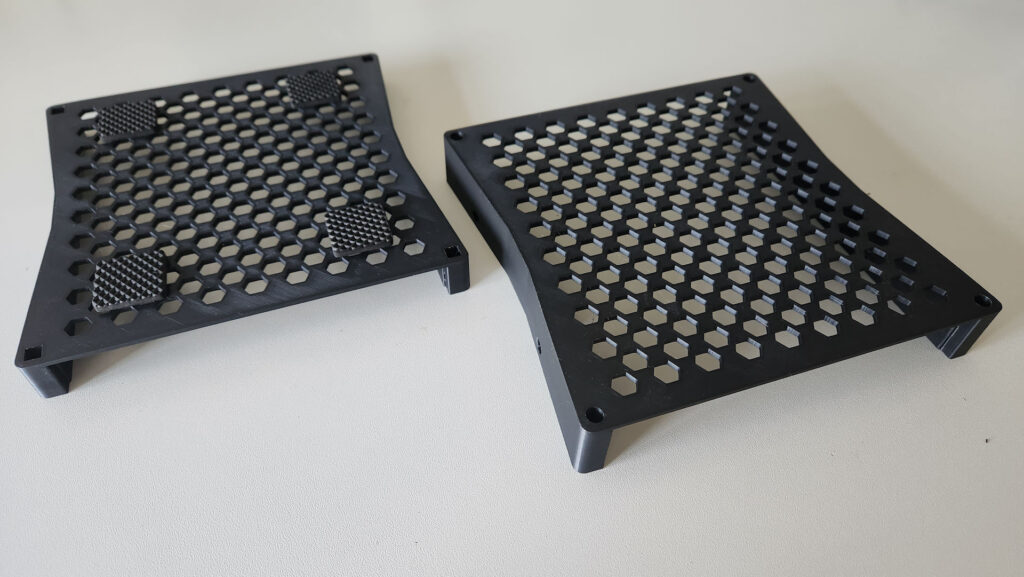
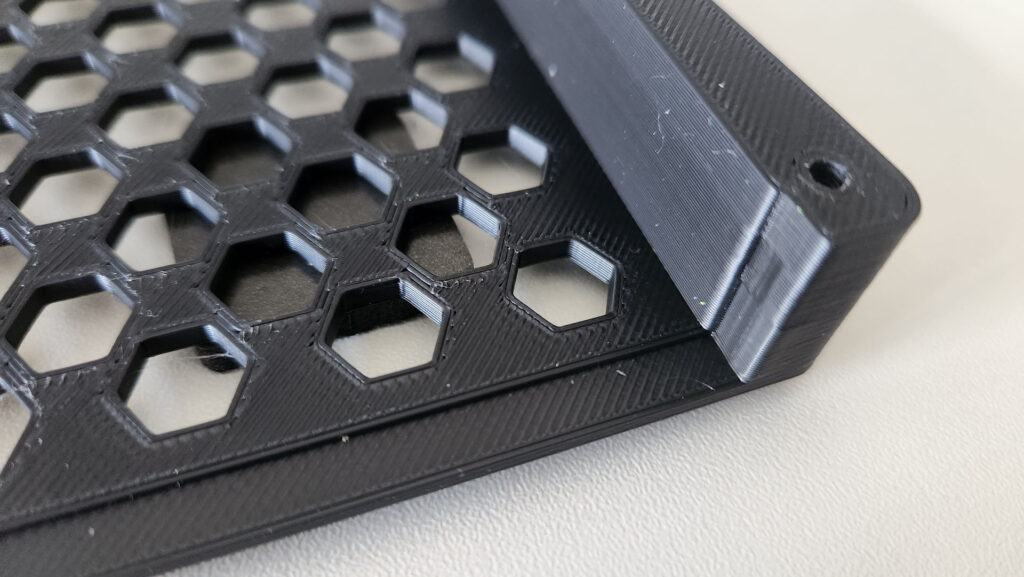
Regarding the design of the cabinet, the choice to use a hexagonal grid is due to 2 simple reasons:
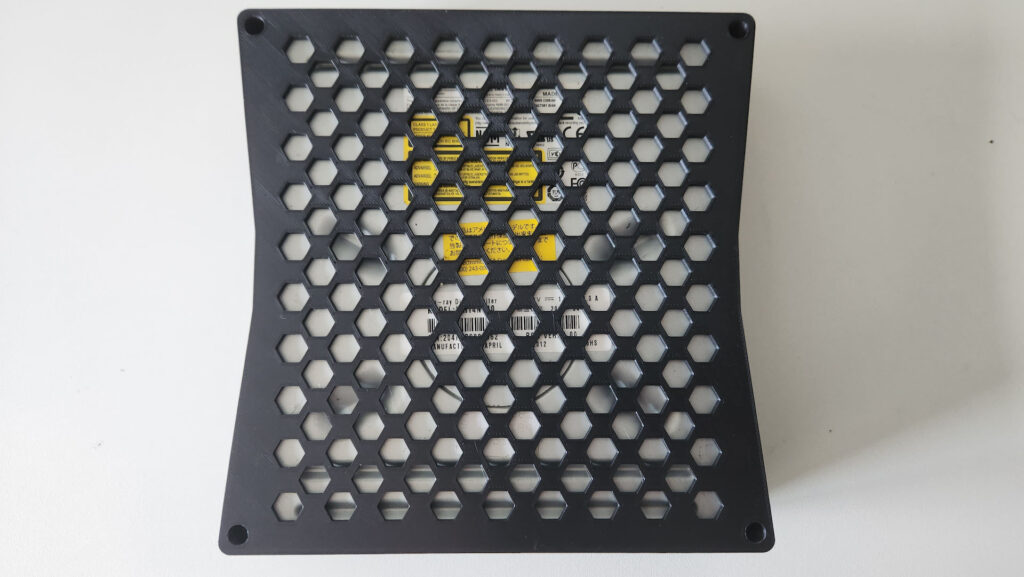
- Heat dissipation: If the drive were completely covered by plastic, it would have difficulty dissipating the heat generated by its components. Especially when recording media, which generates a lot of heat due to the usage of a more powerful laser.
- Material savings: If the hexagonal holes did not exist, they would be filled with plastic material, adding to the costs.
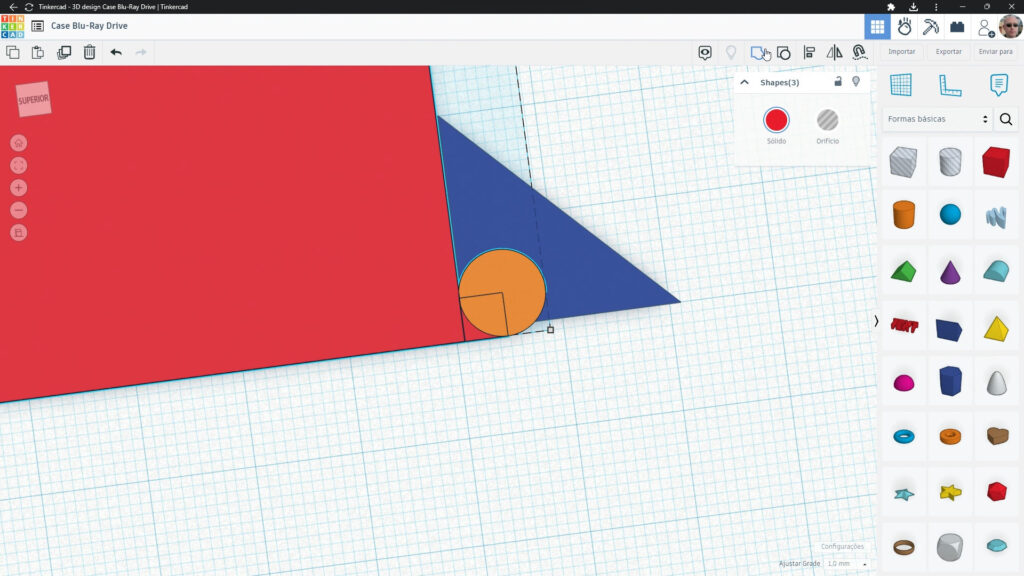
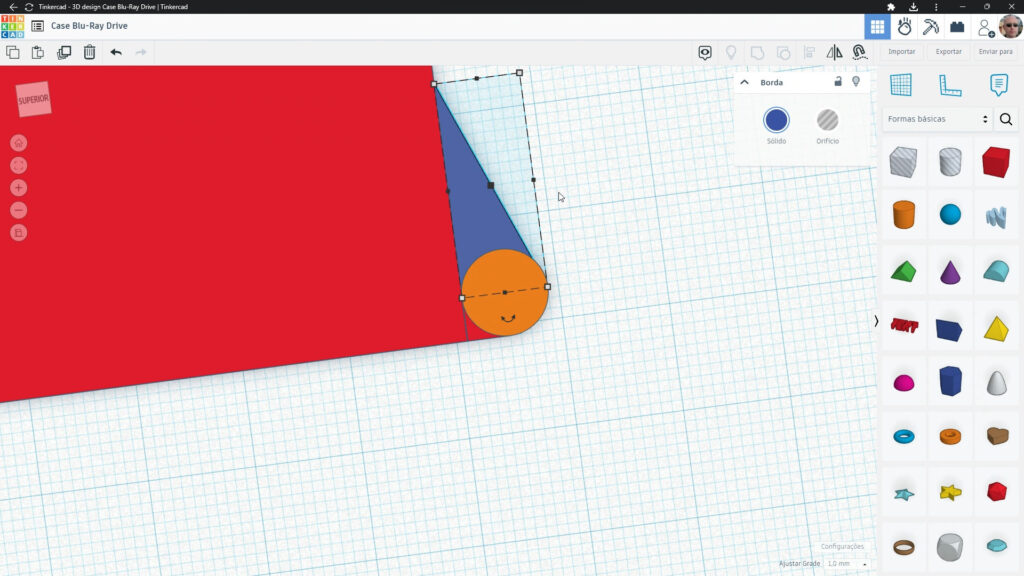
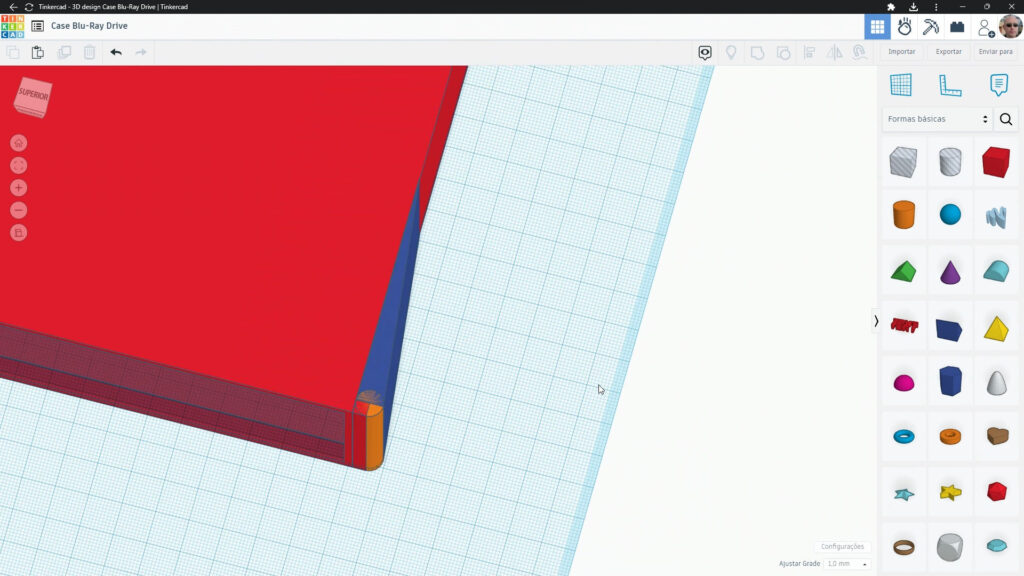
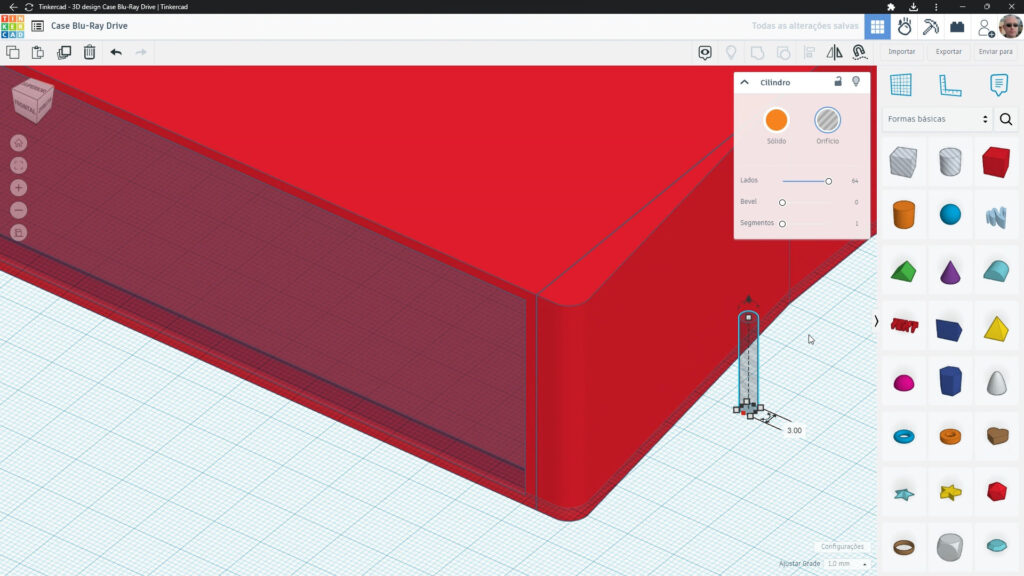
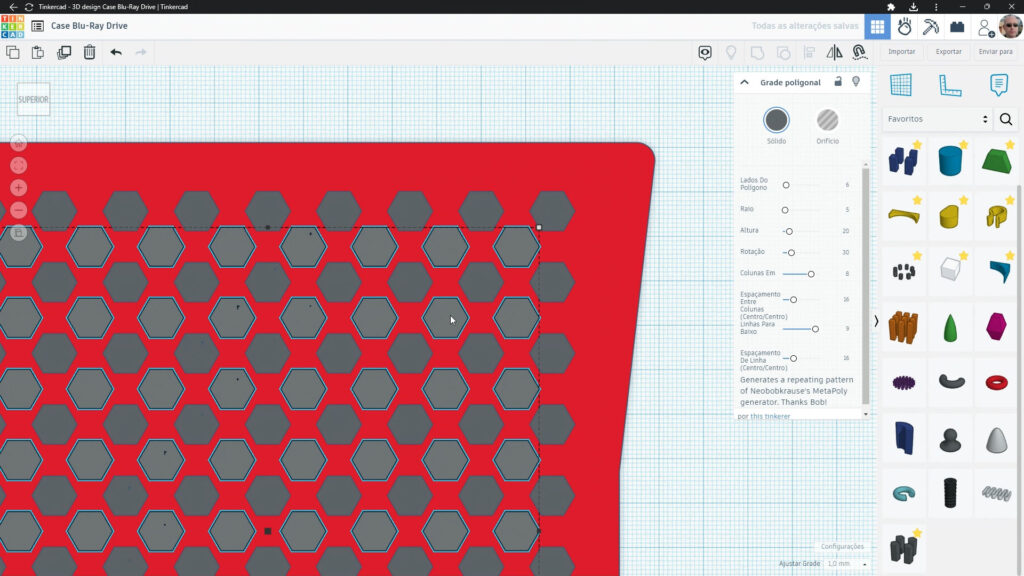
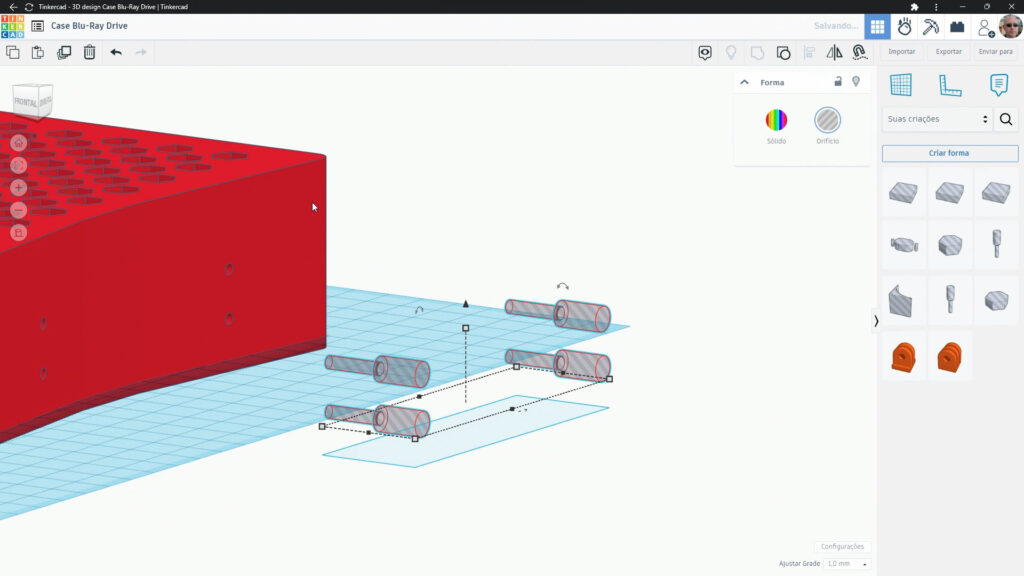
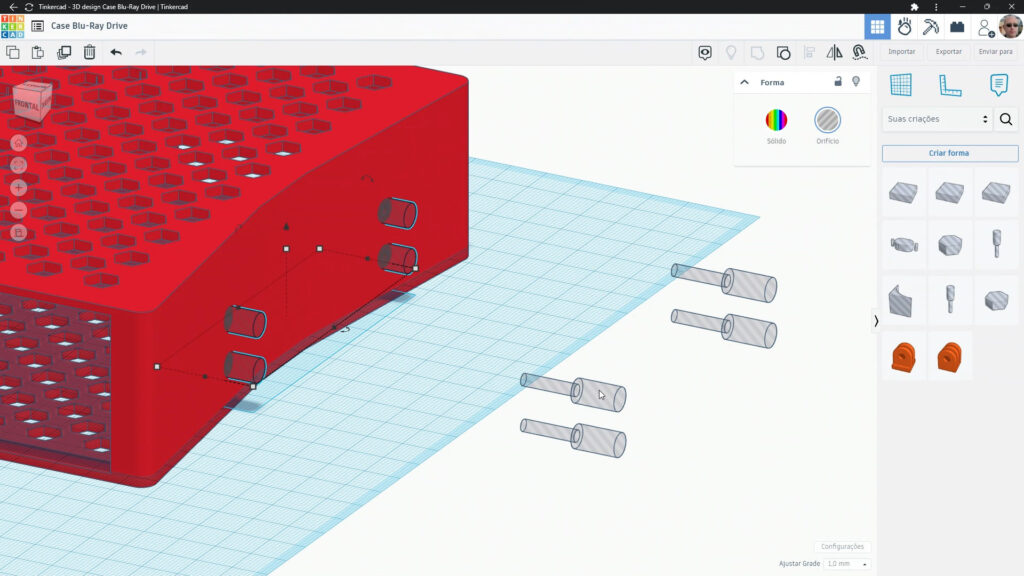
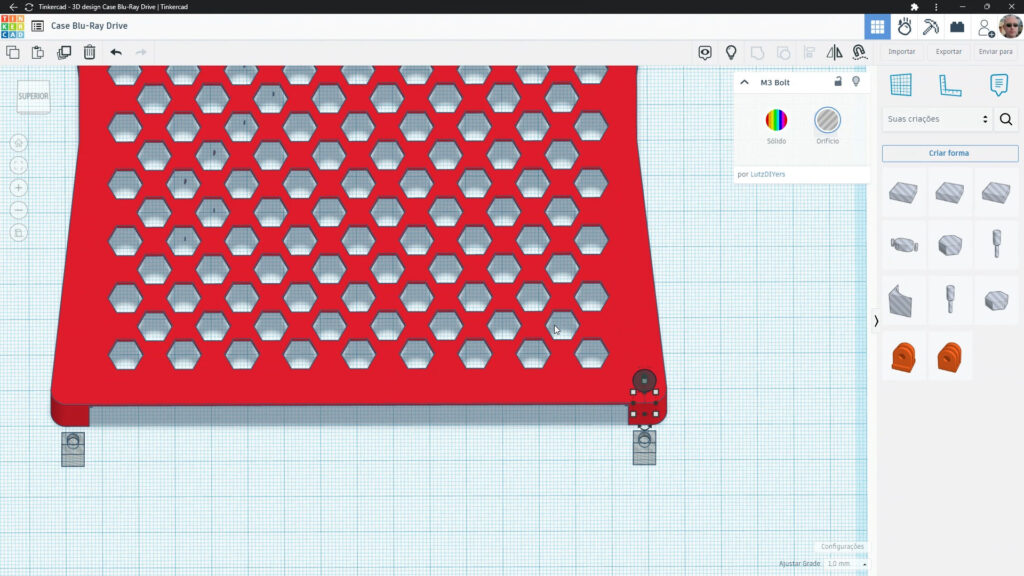
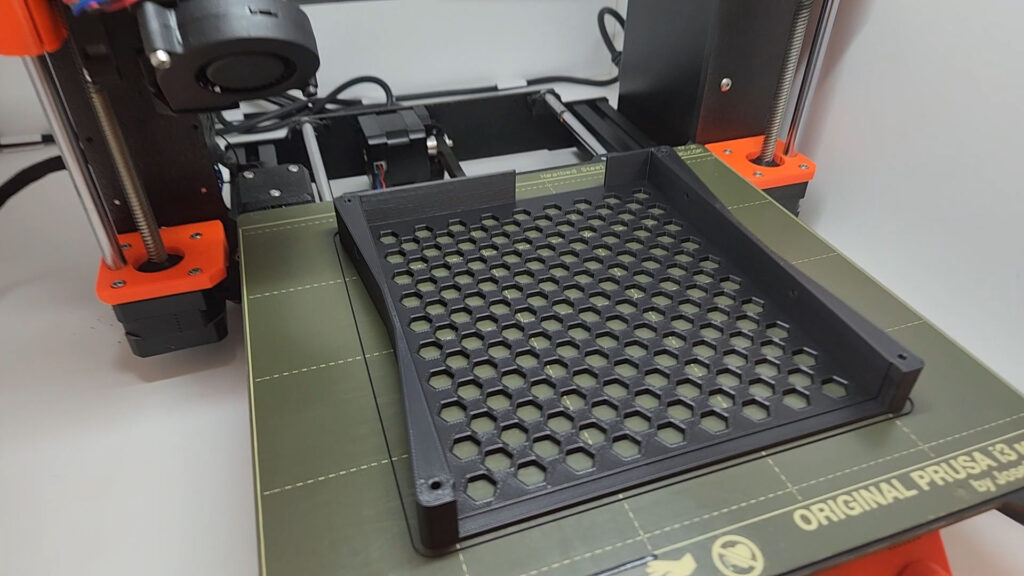
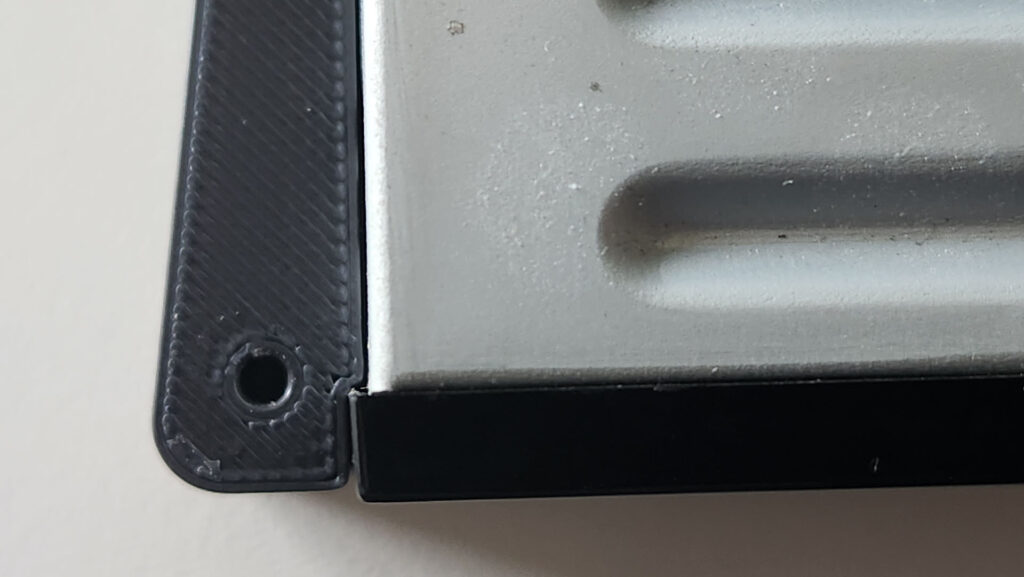
Another design choice are the corners, which are wider than the center. They are necessary to accommodate the holes for the nuts and bolts, in order to fix the upper and lower parts with precision and strength. You could use the same width along the whole sides, but, again, this would represent an unnecessary waste of plastic.
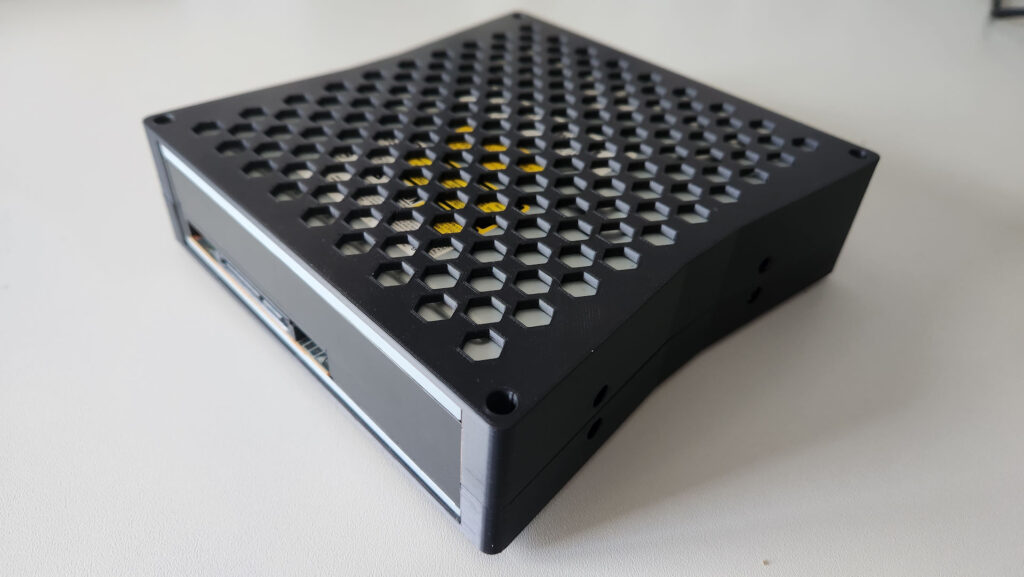
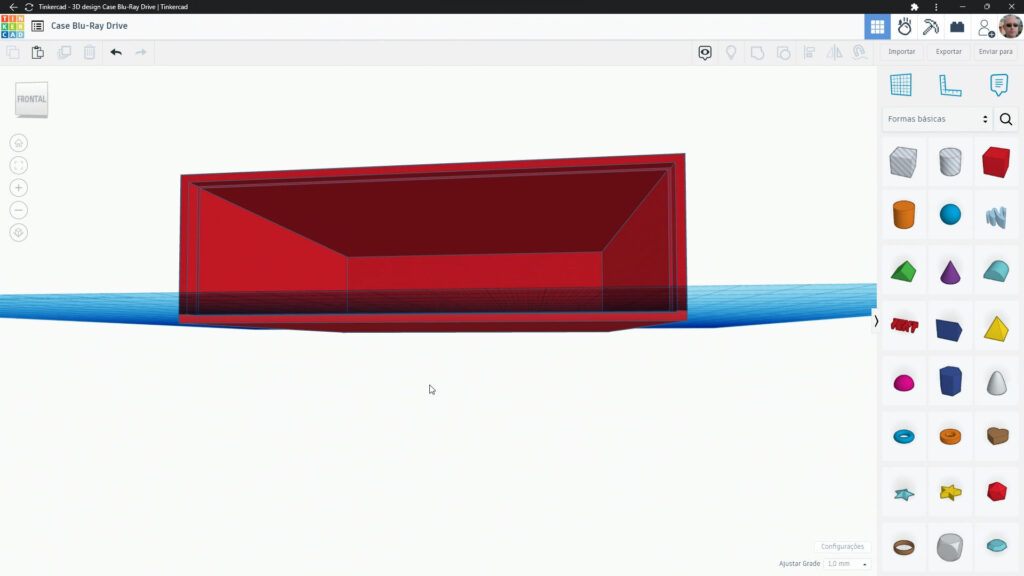
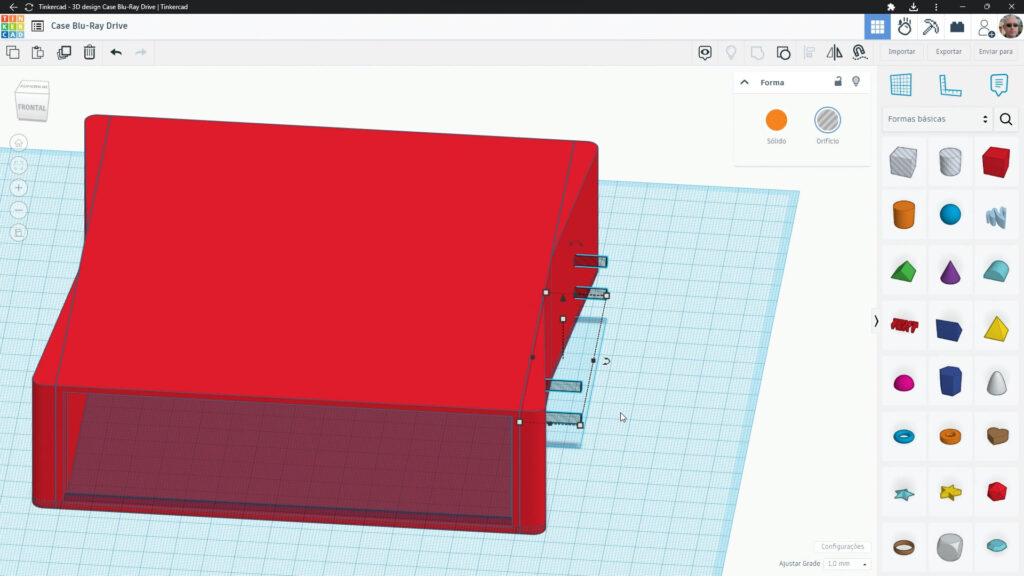
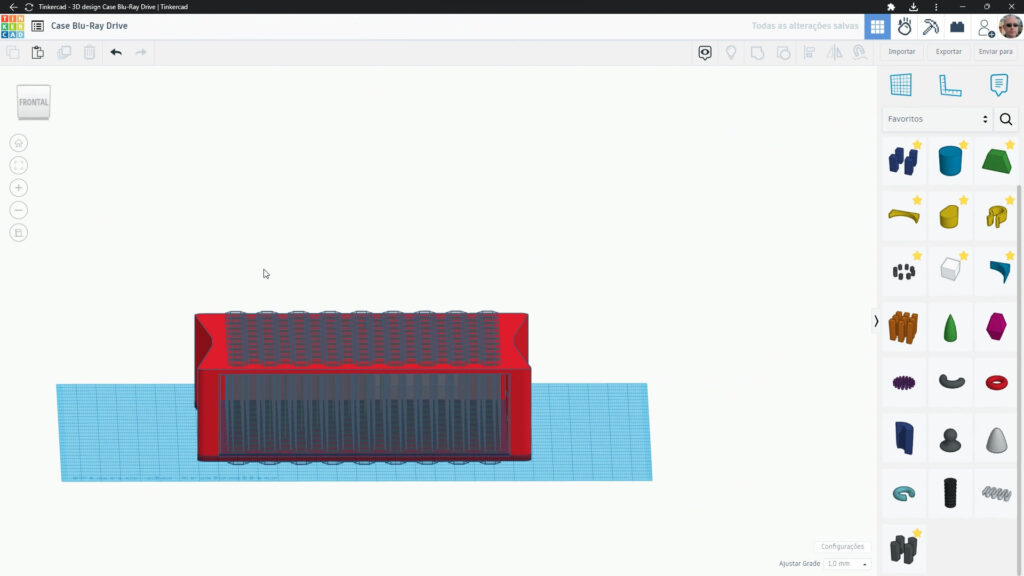
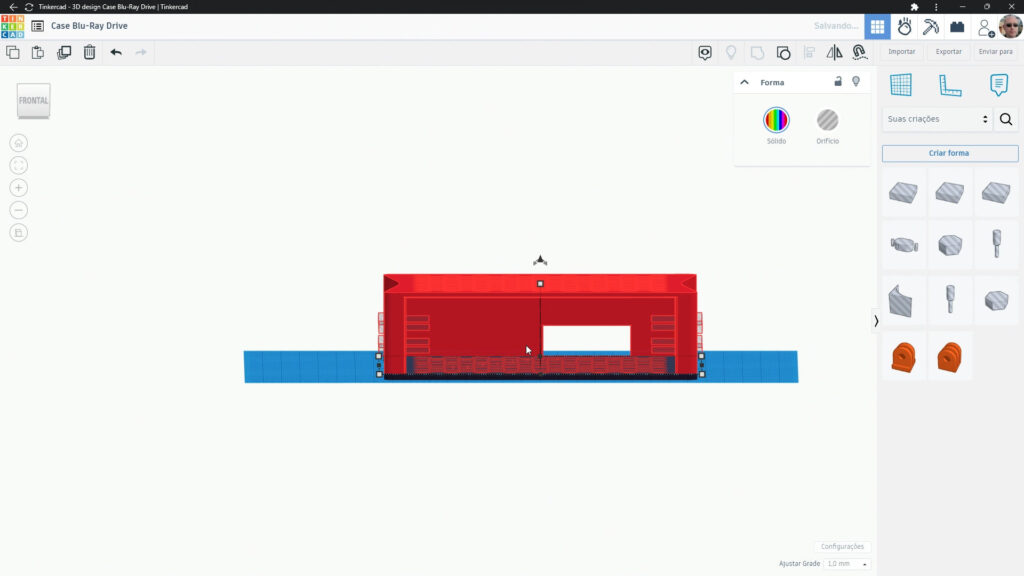
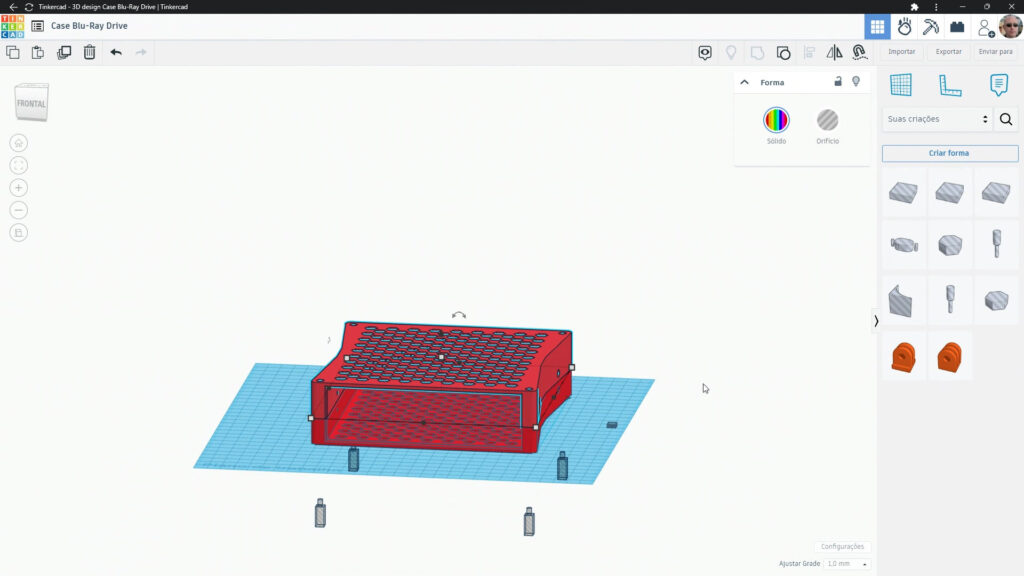
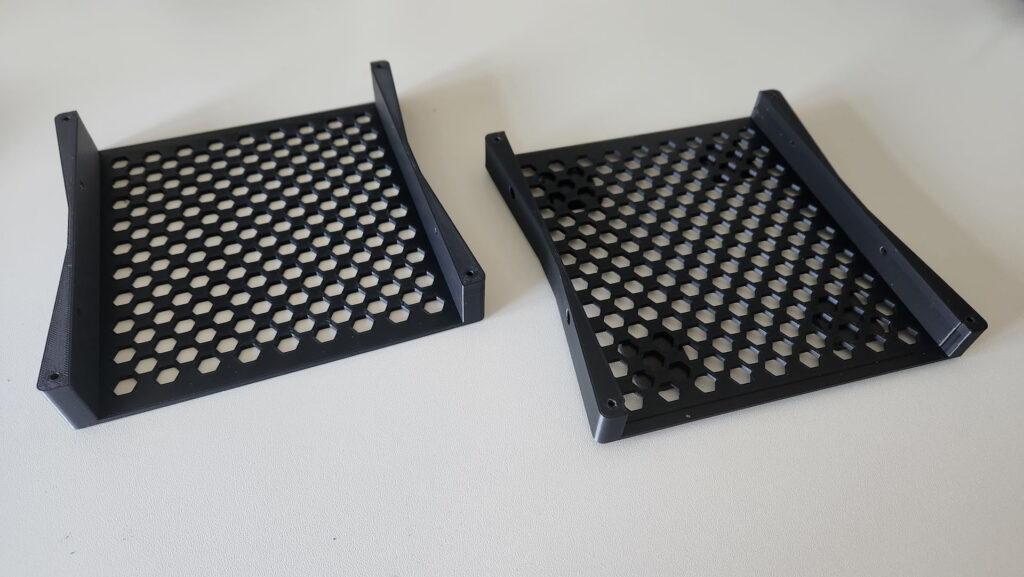
Another important thing to mention is that some details shown in the image are not present in the 3D printed objects, such as the back wall, which I had to remove post-printing as the drive ended up sticking out. Later we removed this part of the object in TinkerCAD.
Furthermore, even though they are present in the printed object, the side holes at the top are not used and, therefore, were also removed from the TinkerCAD project as well.
The objects are public and can be accessed directly in TinkerCAD, below, so you can change them as needed:
In case you only want the objects for 3D printing and don’t have any interest on the moldeing, check either of the links below:
- Thingiverse – Desktop CD / DVD / BluRay Drive Cabinet
- Printables.com – Desktop CD / DVD / BluRay Drive Cabinet – Aqui, também disponível o GCode para Prusa MK3S+
Slicing and 3D Printing
Slicing objects is no mystery: I used the Prusa Slic3r with the standard “0.3mm DRAFT” profile options.
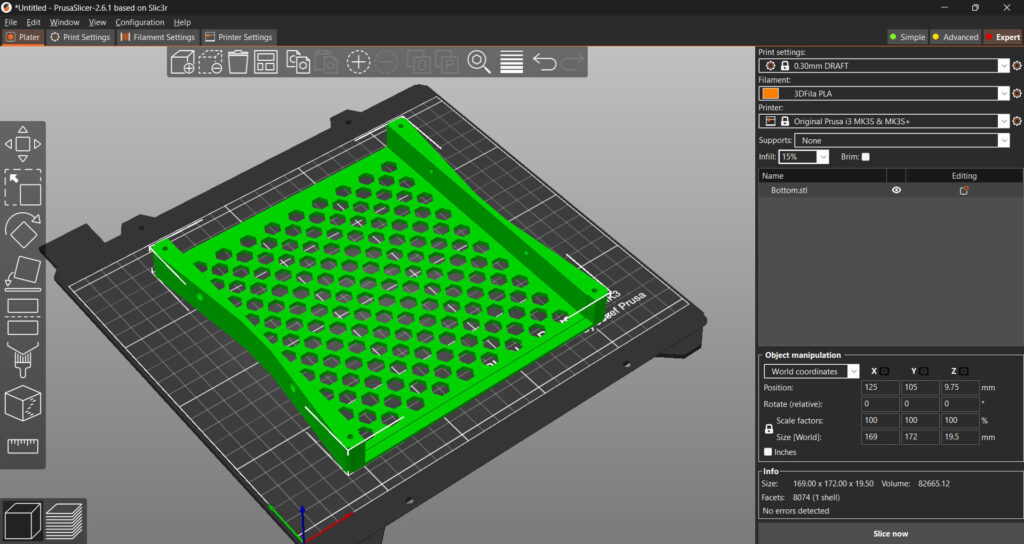
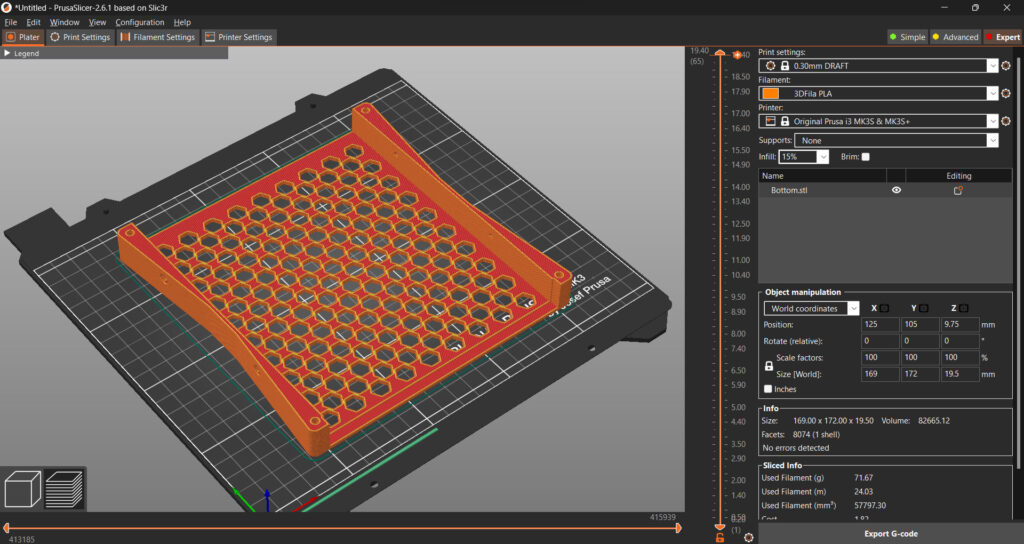
After this, long 11 hours of 3D printed followed…
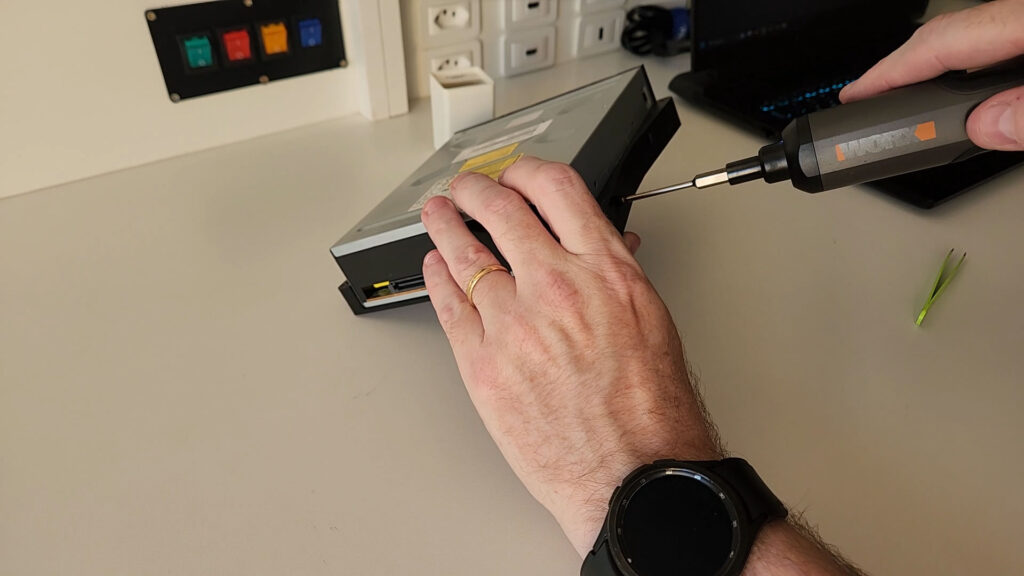
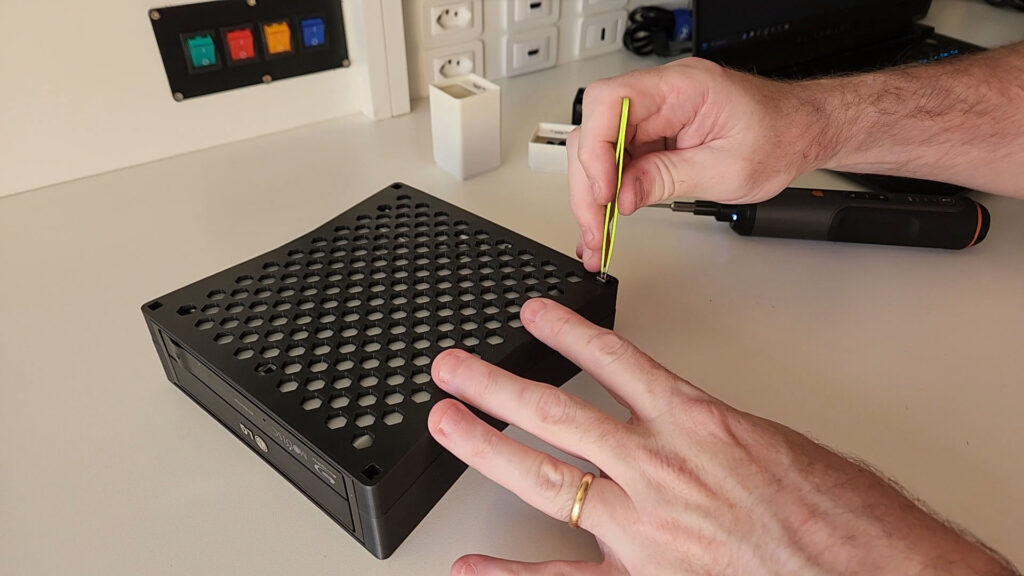
Assembly
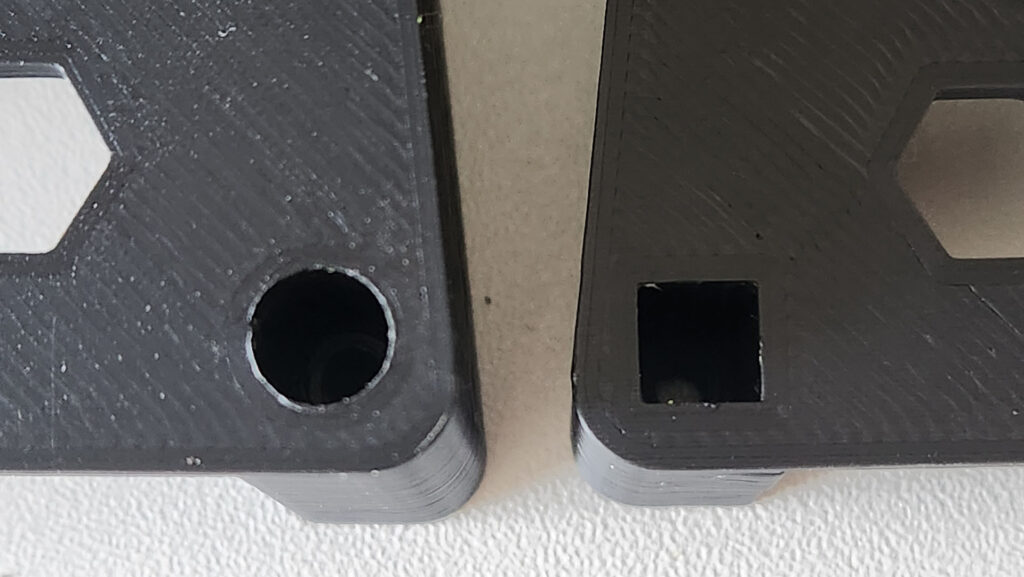
The assembly of the enclosure is quite simple: You only need the two printed parts and a few screws and nuts, listed below:

- 4 Square M3 Nuts
- 4 Allen M3 6mm bolts
- 4 Allen M3 25mm bolts
- 4 pads (optional)
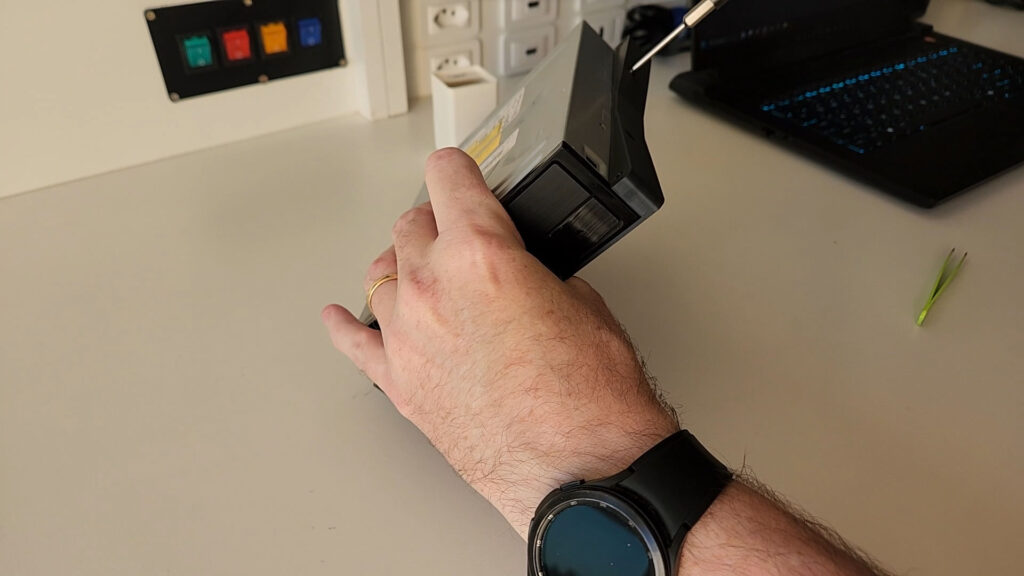

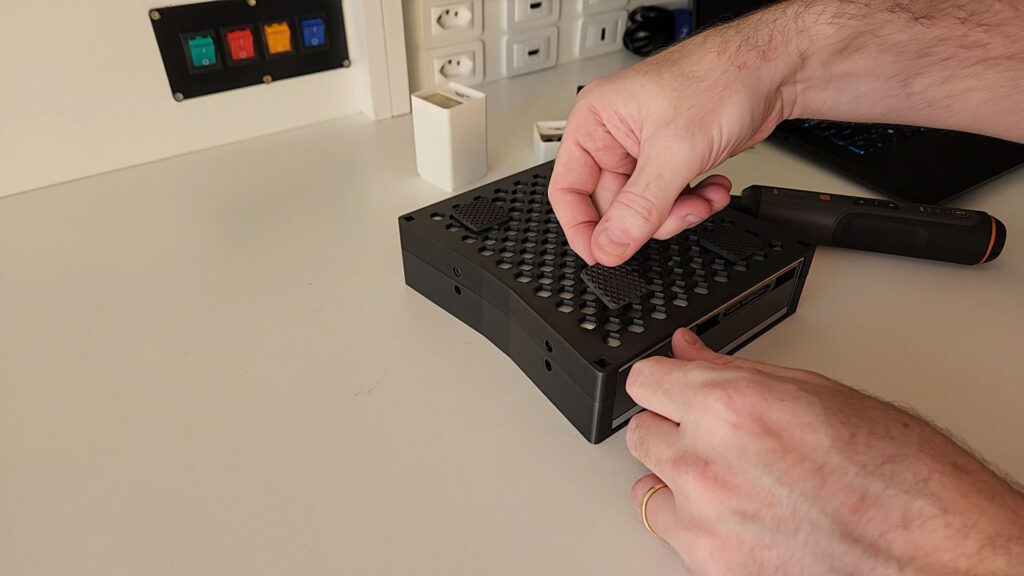
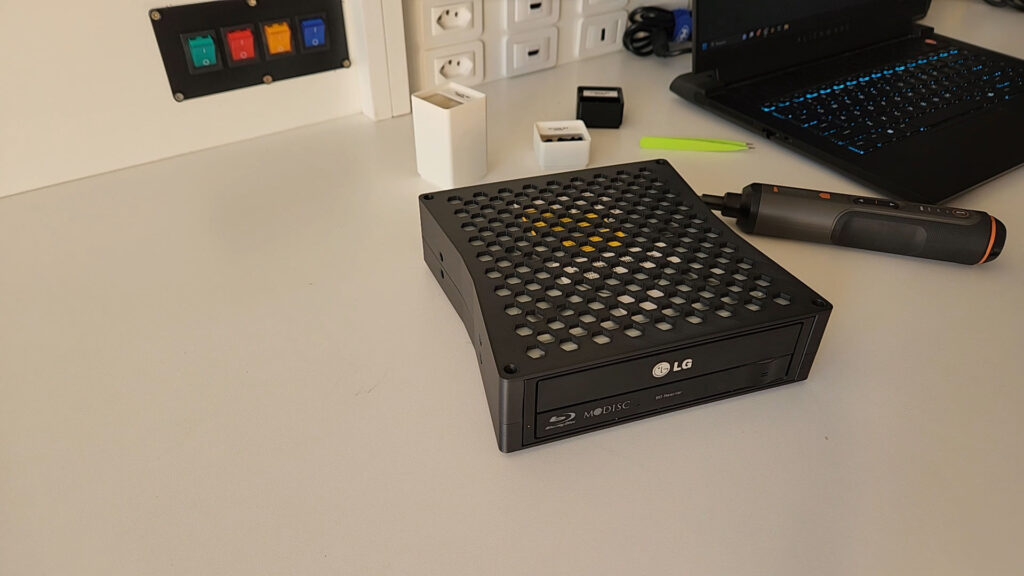
The Finished Thing
Good quality stuff:
At least in my very biased opinion, the result thing, was quite visually pleasing.