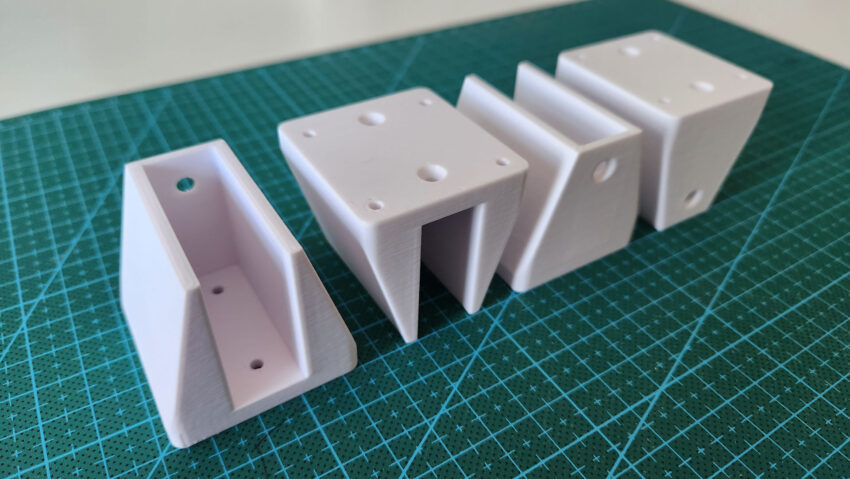
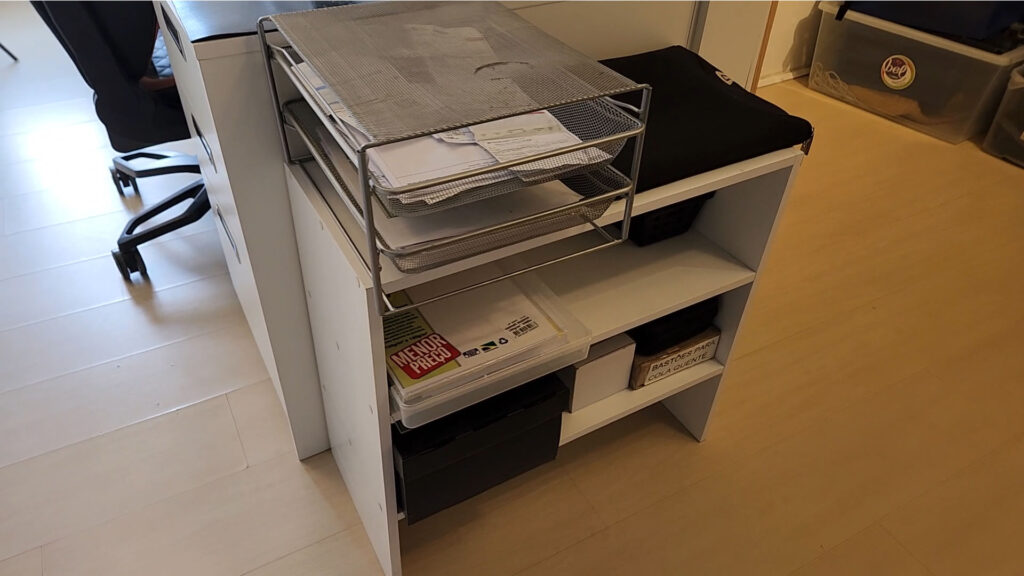
Some time ago, I built a smal shelf from some MDF boards that I bought online. It has always been next to my counter, as auxiliary storage for some things I use quite frequently. But after having some back pain when carrying it around, due to the temporary need for more space, I decided it was time to put wheels on it. This project describes the process I used to solve the problem.
Tackling the Problem
First, I bought the smallest casters I’ve found:
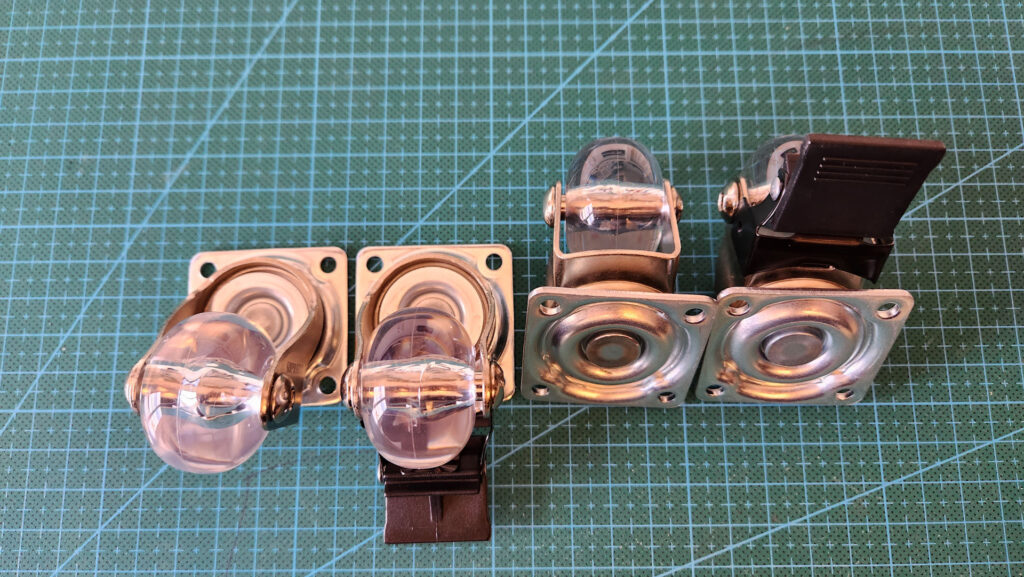
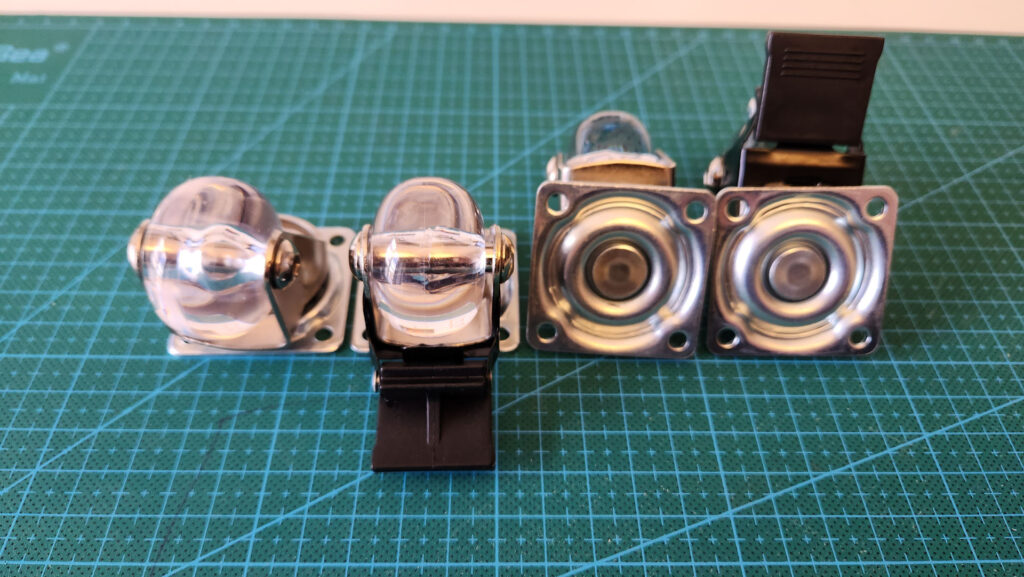
However, these casters, despite being small, were still too large for the width of the shelf’s MDF boards and it was not possible to secure them to the rack safely (and in such a way that they wouldn’t look horrible).


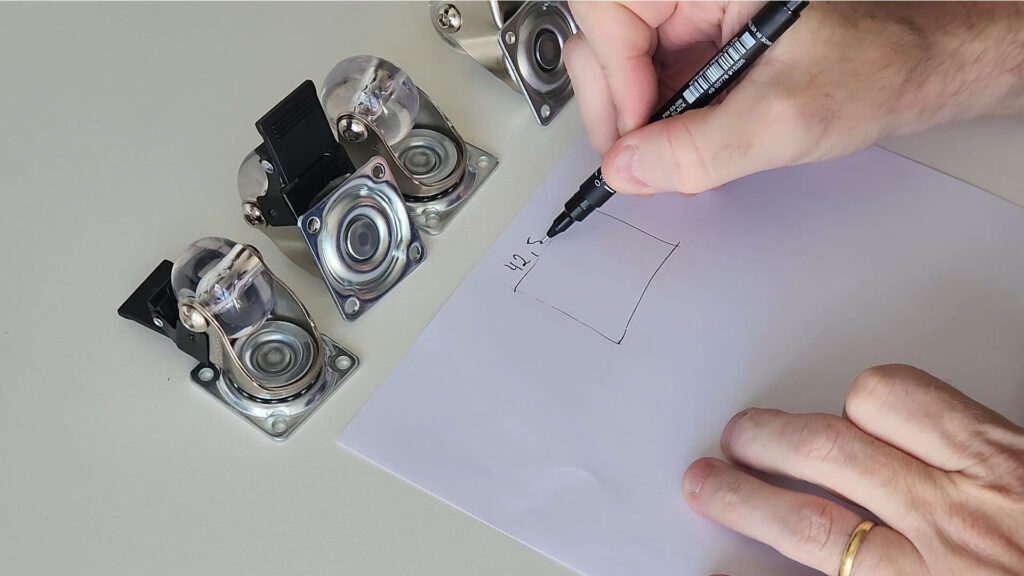
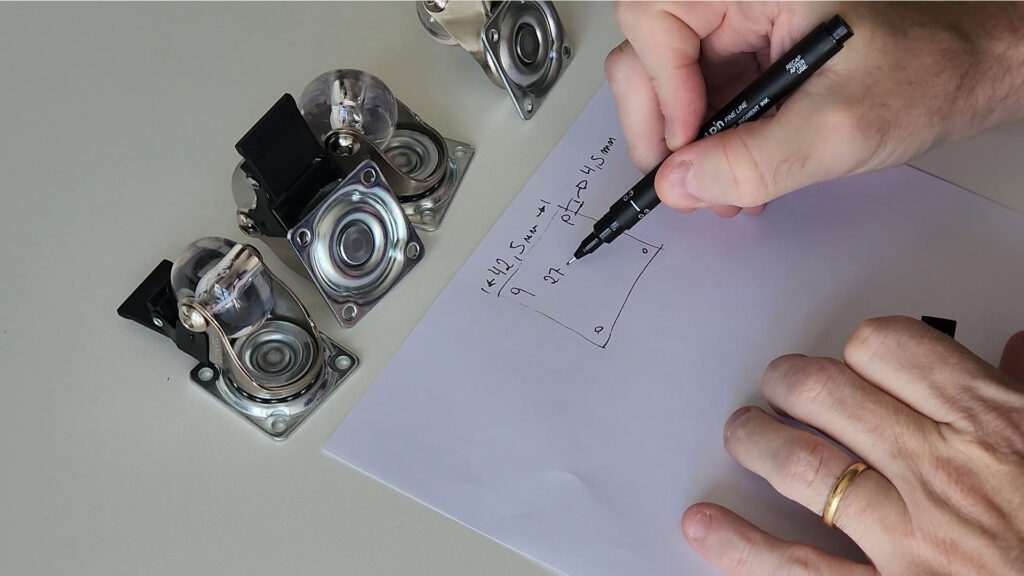
The way then would be to 3D model an adapter, 3D print it and assemble it. So, I took the basic measurements such as:
- Caster width
- Caster hole locations
- Holes sizes
- MDF board width
3D Modeling and 3D Printing
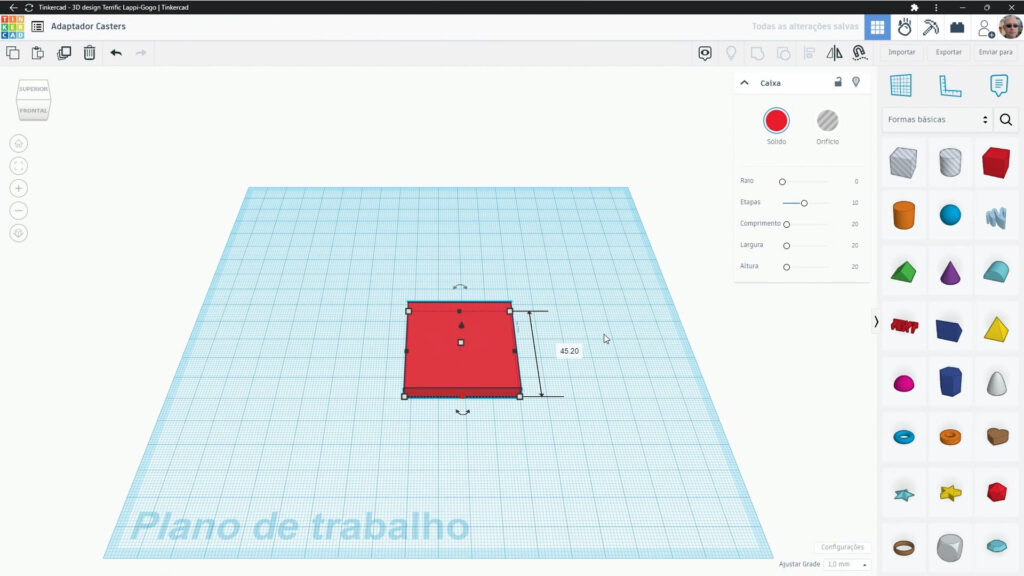
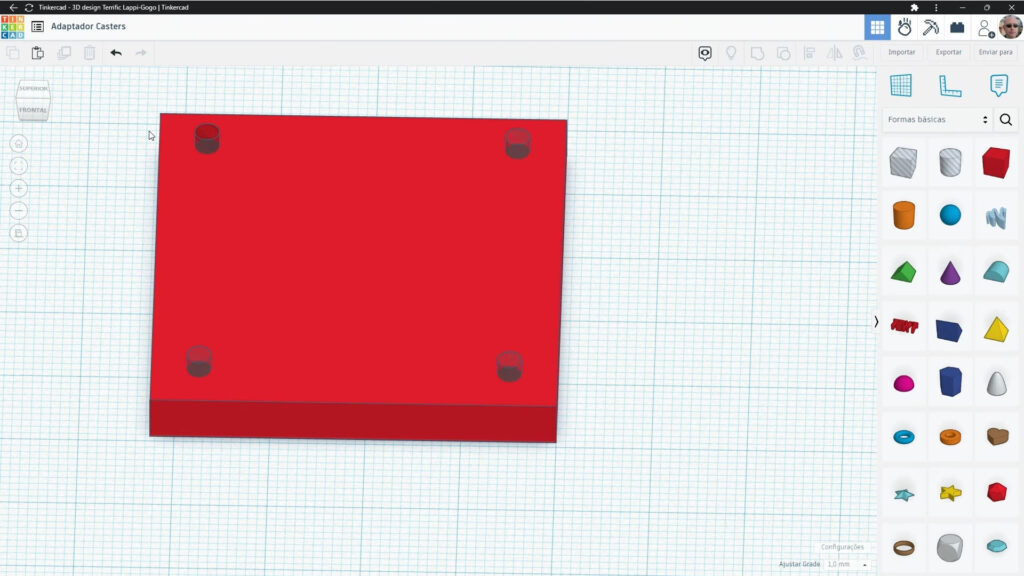
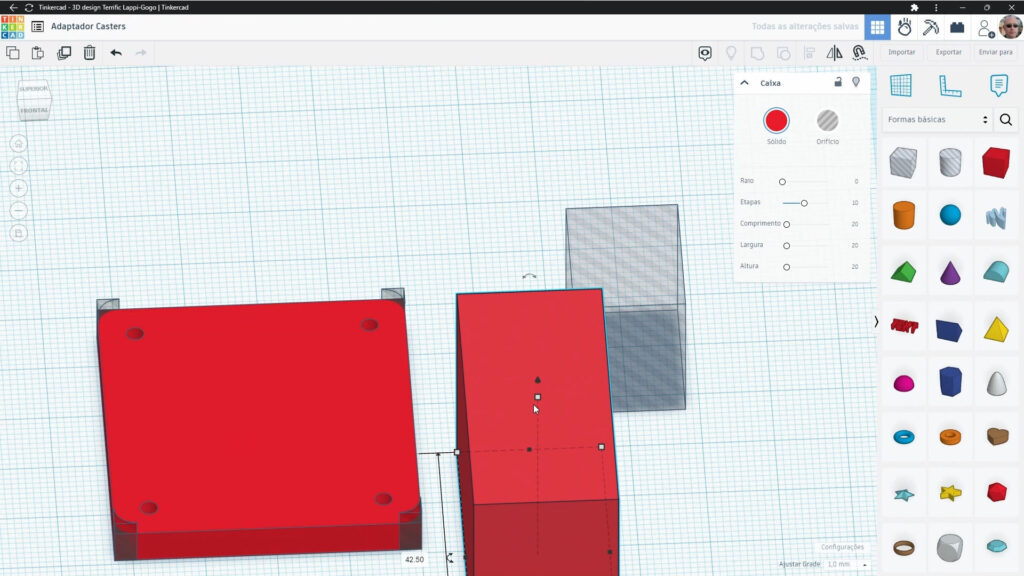
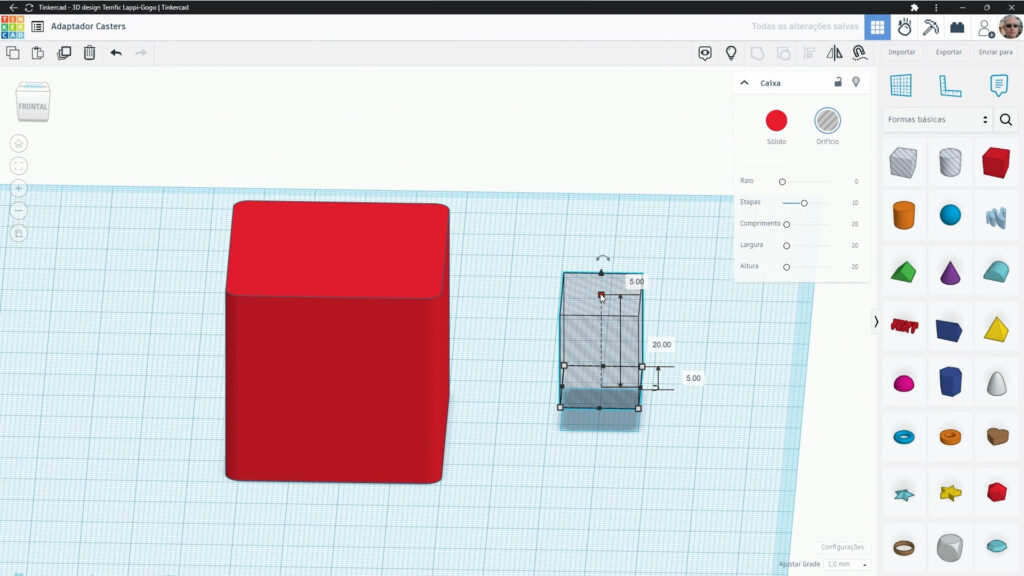
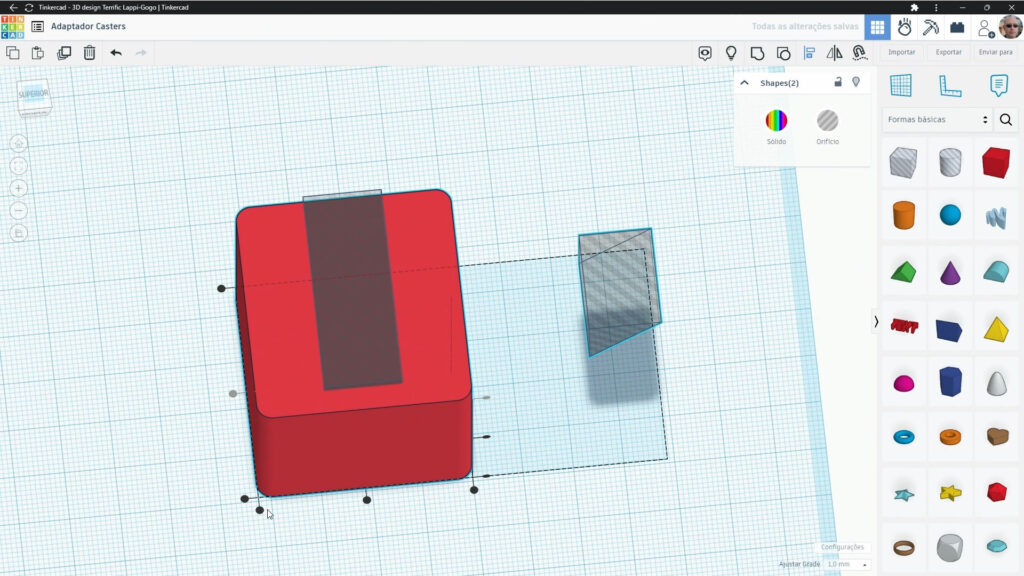
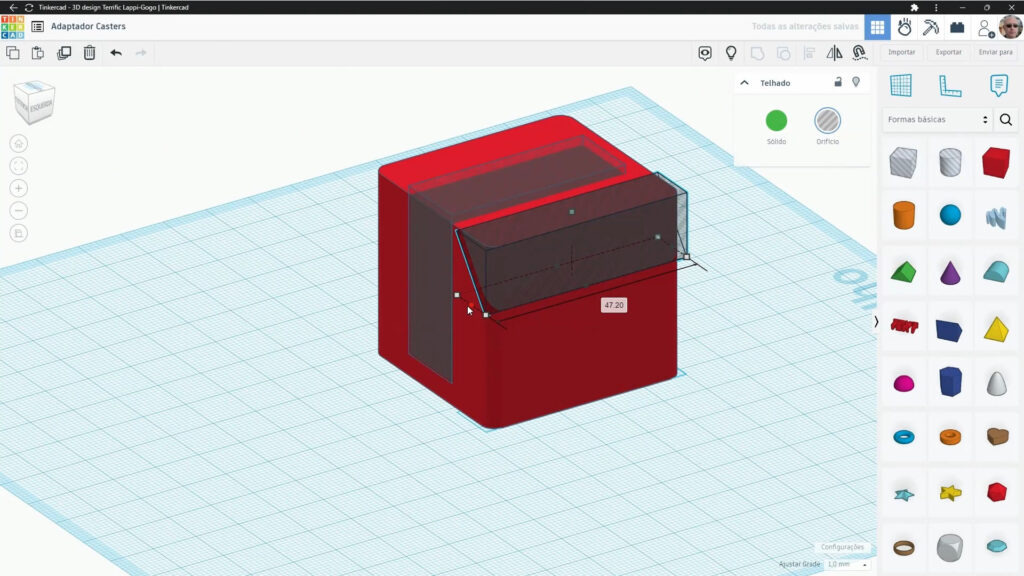
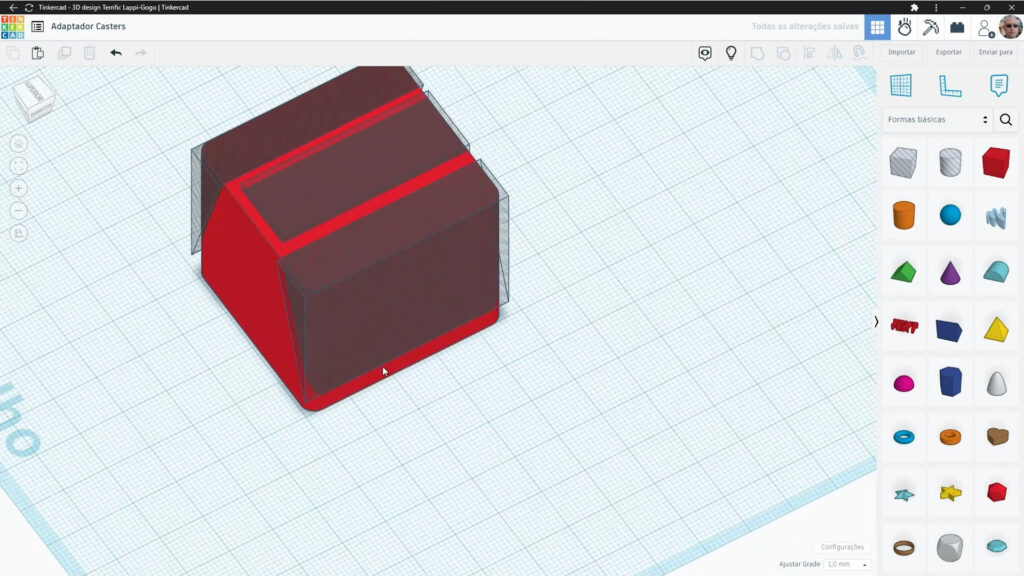
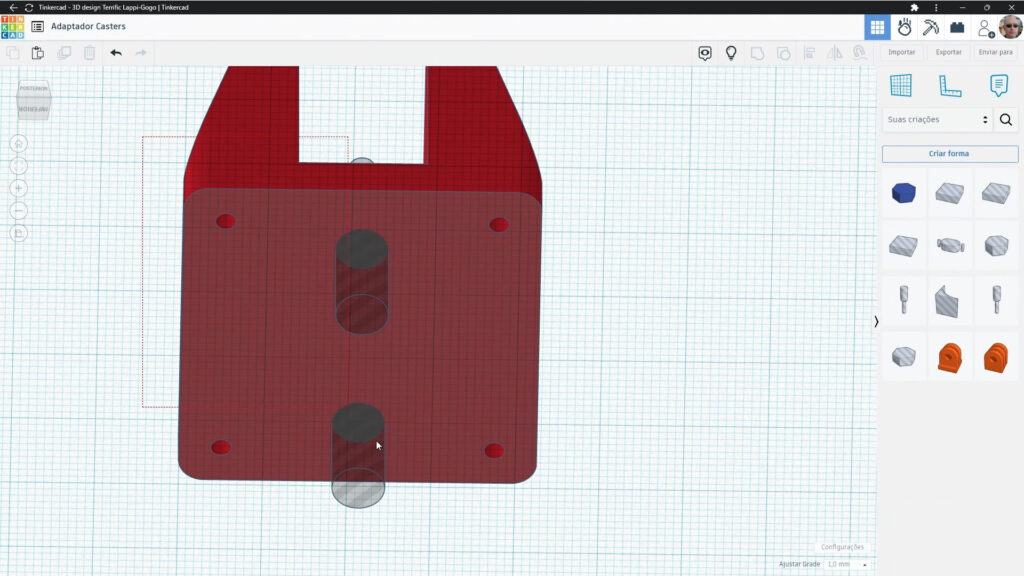
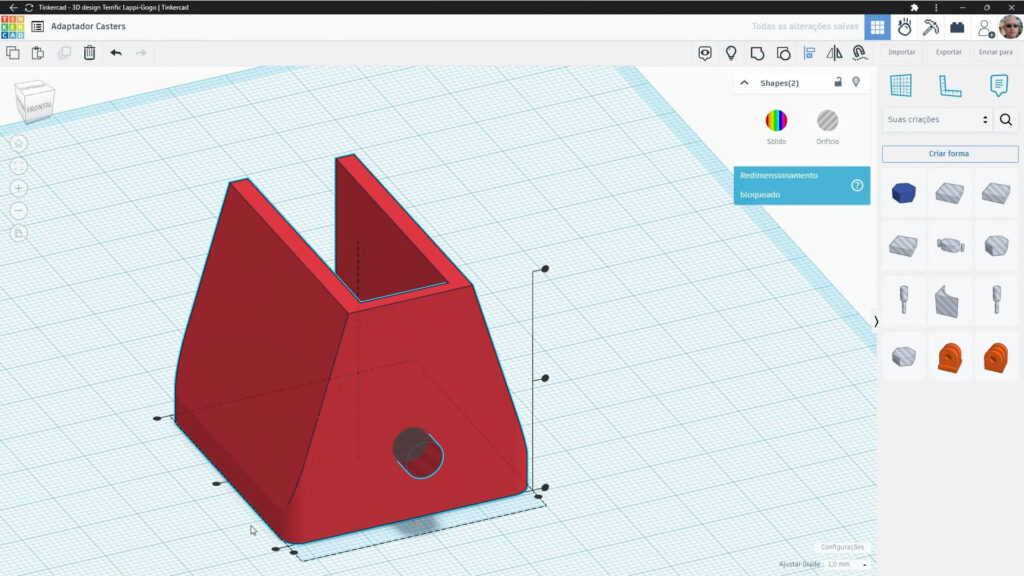
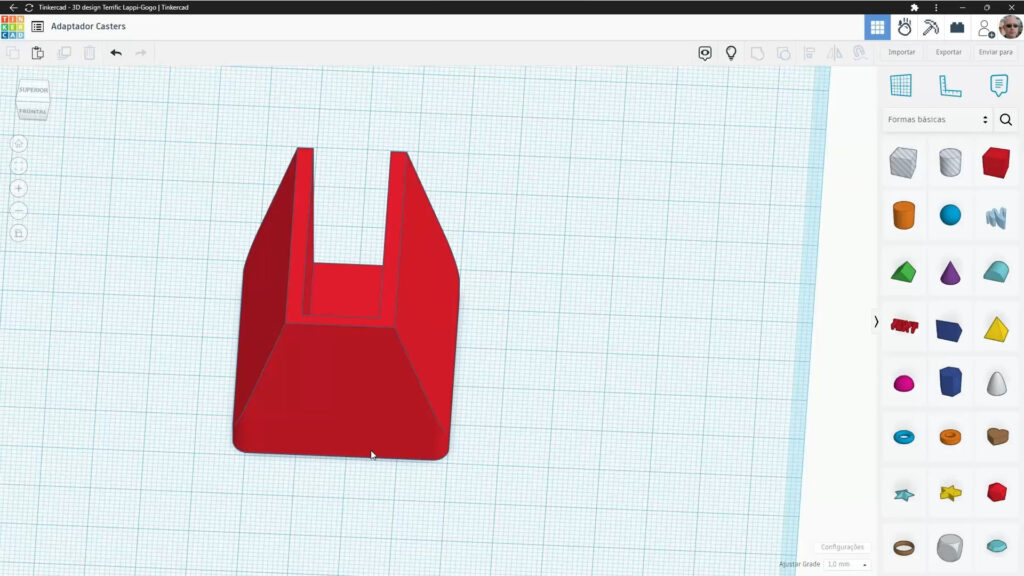
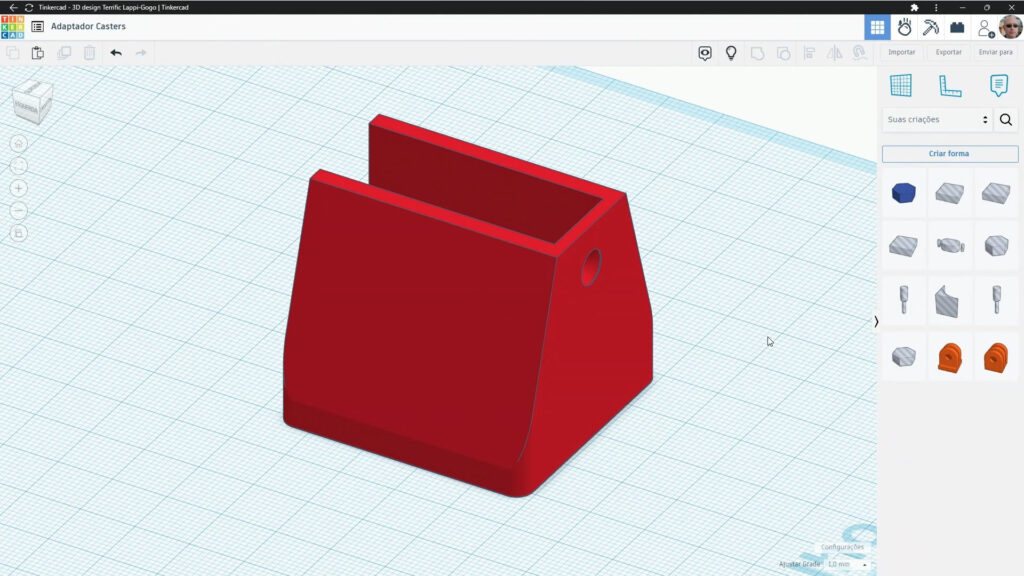
Then I moved on to modeling in TinkerCAD based on the measurements.
Once 3D modeled, I moved on to slicing and printing:
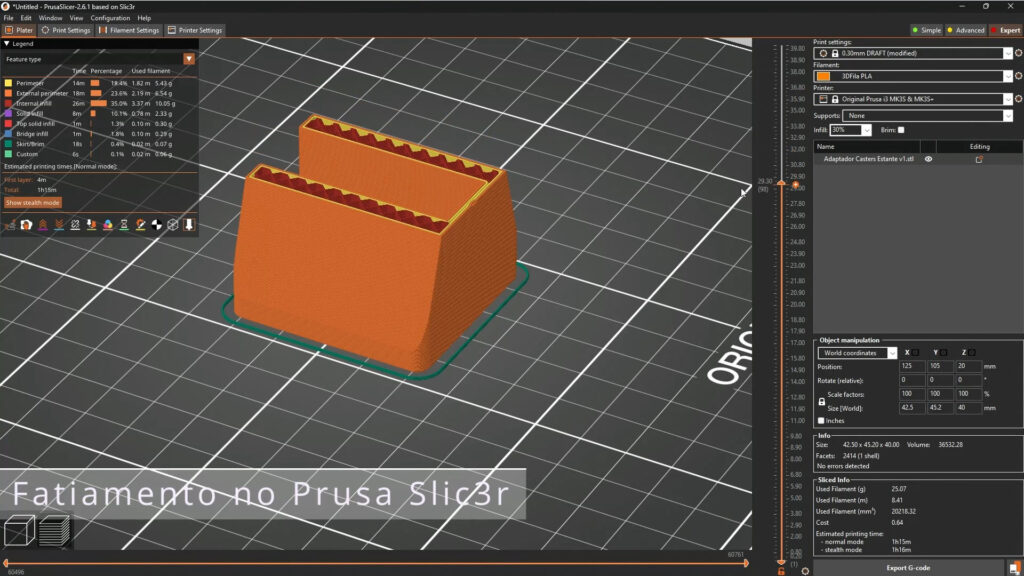
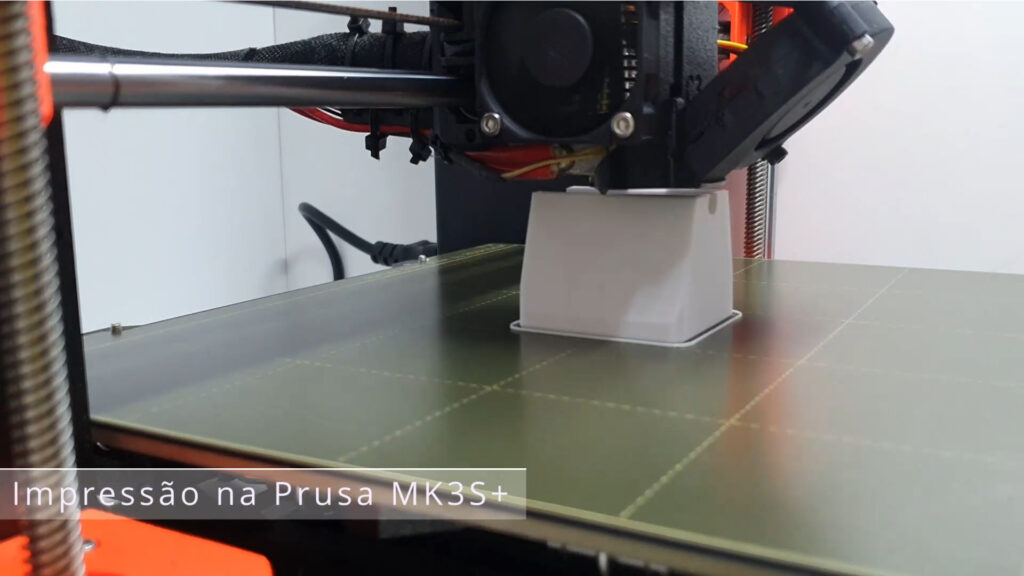
However, after printing the first piece and testing it by placing the caster over the hole, I discovered that I had made an error in the measurements: The holes were not where they should be:
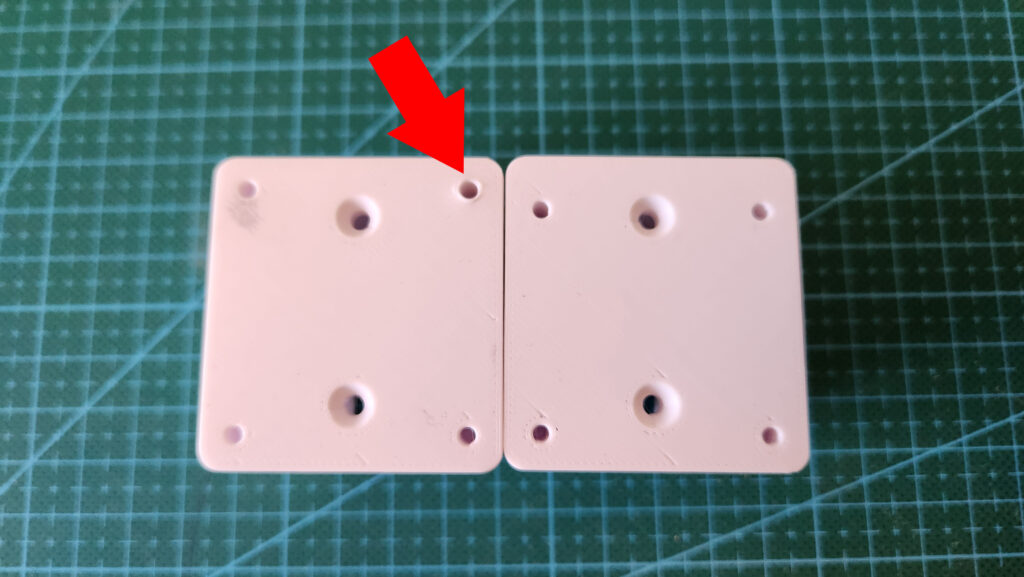
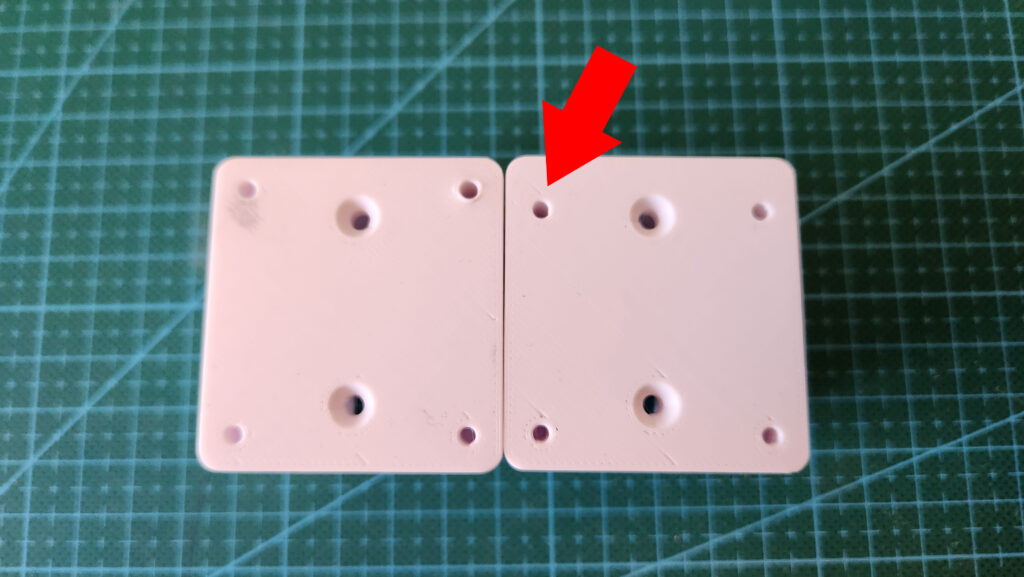
So, I made an adjustment to the positioning of the holes and 3D printed a new part (the one on the right of the images, above).
This time, I confirmed the adapter holes aligned correctly with the caster ones and then, 3D printed the remaining 3 adapters.
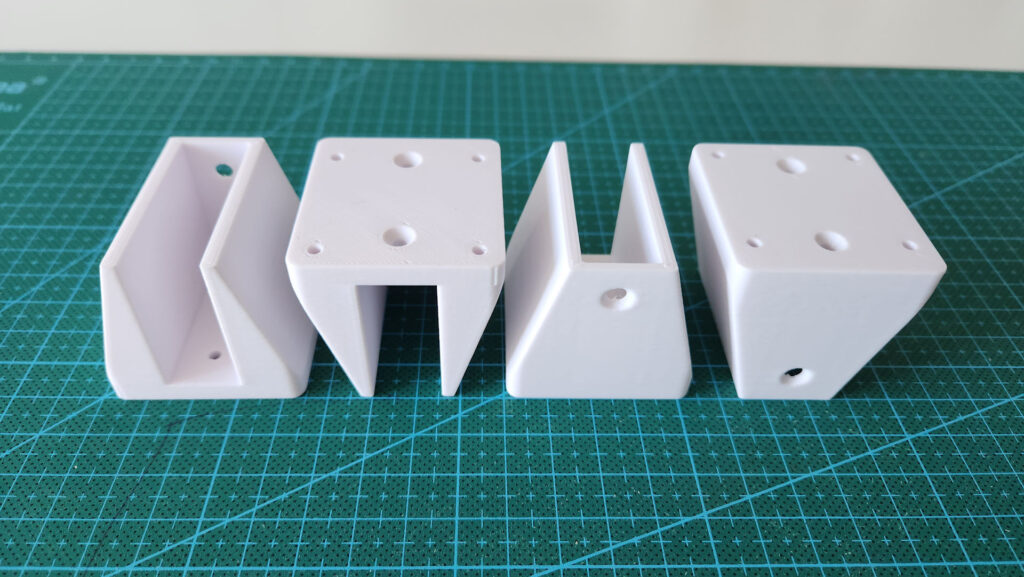
Assembly
I then assembled the adapters and casters on the bottom of the shelf.
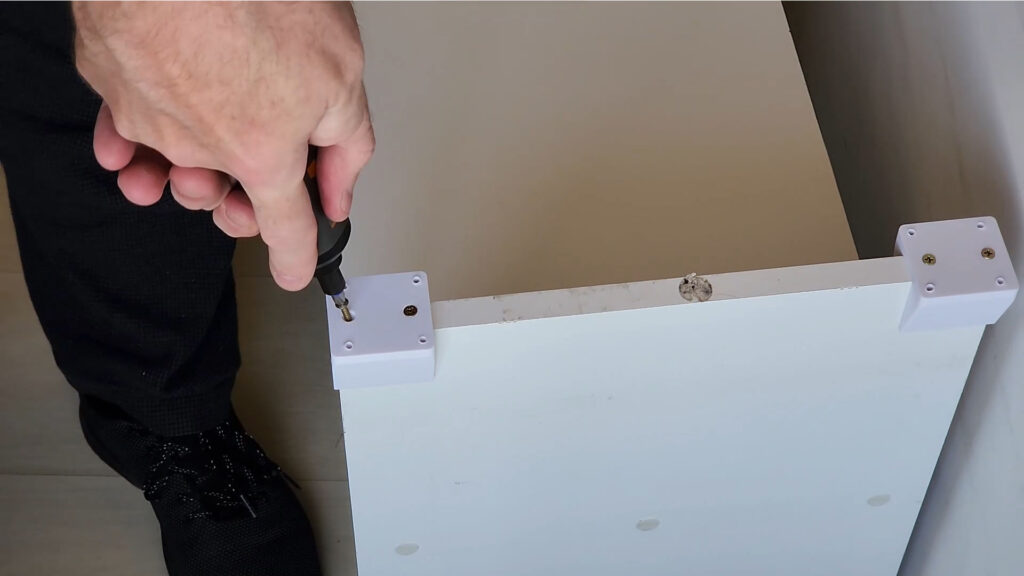
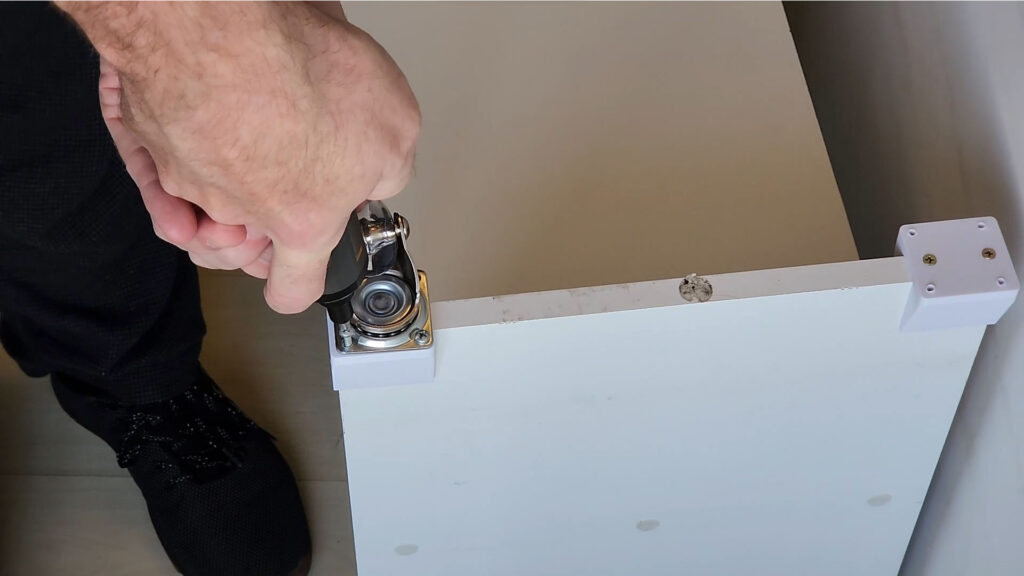
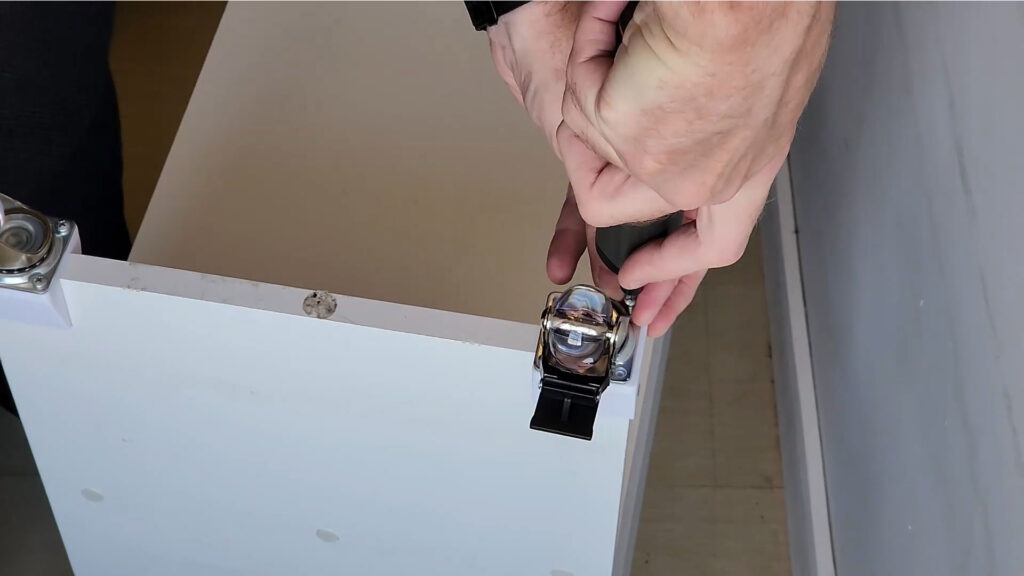
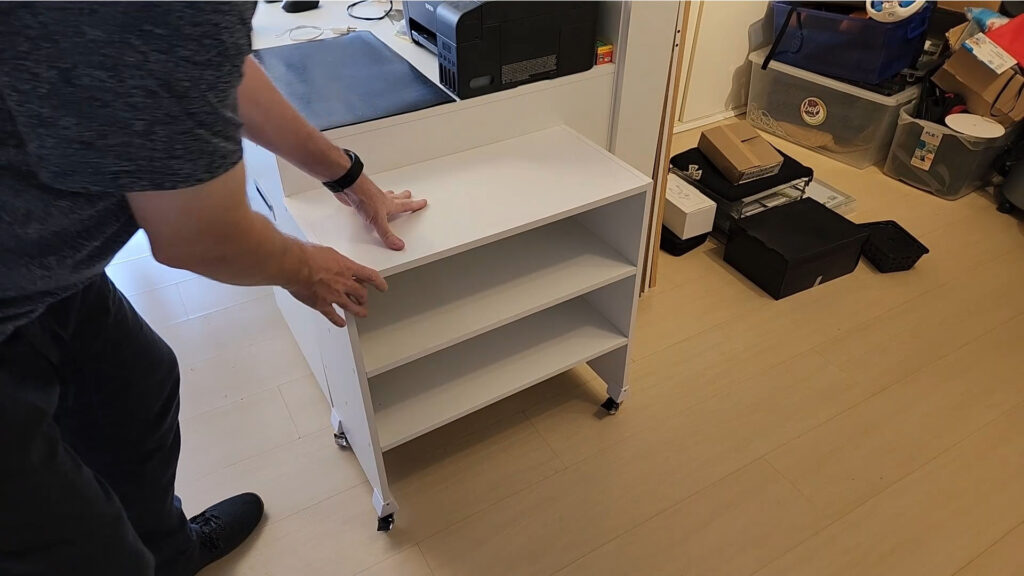
Okay, now I can move the shelf anywhere with almost no effort.
TinkerCAD Project
The adapter modeled in TinkerCAD is available below:
The project video is available below (Portuguese only – at least for now):

