If you are interested in electronics projects in general, an essential tool is a variable voltage DC (direct current) power supply, in order to work with components of the most diverse voltages, from microcontrollers such as Arduino, RaspberryPI, Teensy,…, stepper motors, servos and so on.
In this post, we show you how to build your own powers supply using relatively inexpensive components and some 3D modeling/printing.
Components
- 24V 5A 120W DC Switching Power Supply
- DC-DC (Digital Control Power Supply DP50V5A)
- AC Power Switch w/ LED (or not – your choice here)
- Small DC powe switch (optional again, as the DP50V5A controler above has already a button for this)
- Female 5.5 x 2.1mm DC power sockets (2)
- Female banana sockets (2 black, 2 red – or any color you prefer)
- C8 Female AC female socket
- Waggo 5 ways Connector (optional)
- Electrical wires
- 8 wood screws 3mm x 10mm
- 2 10mm M3 Allen bolts
- 2 M3 nuts
Cabinet / Case
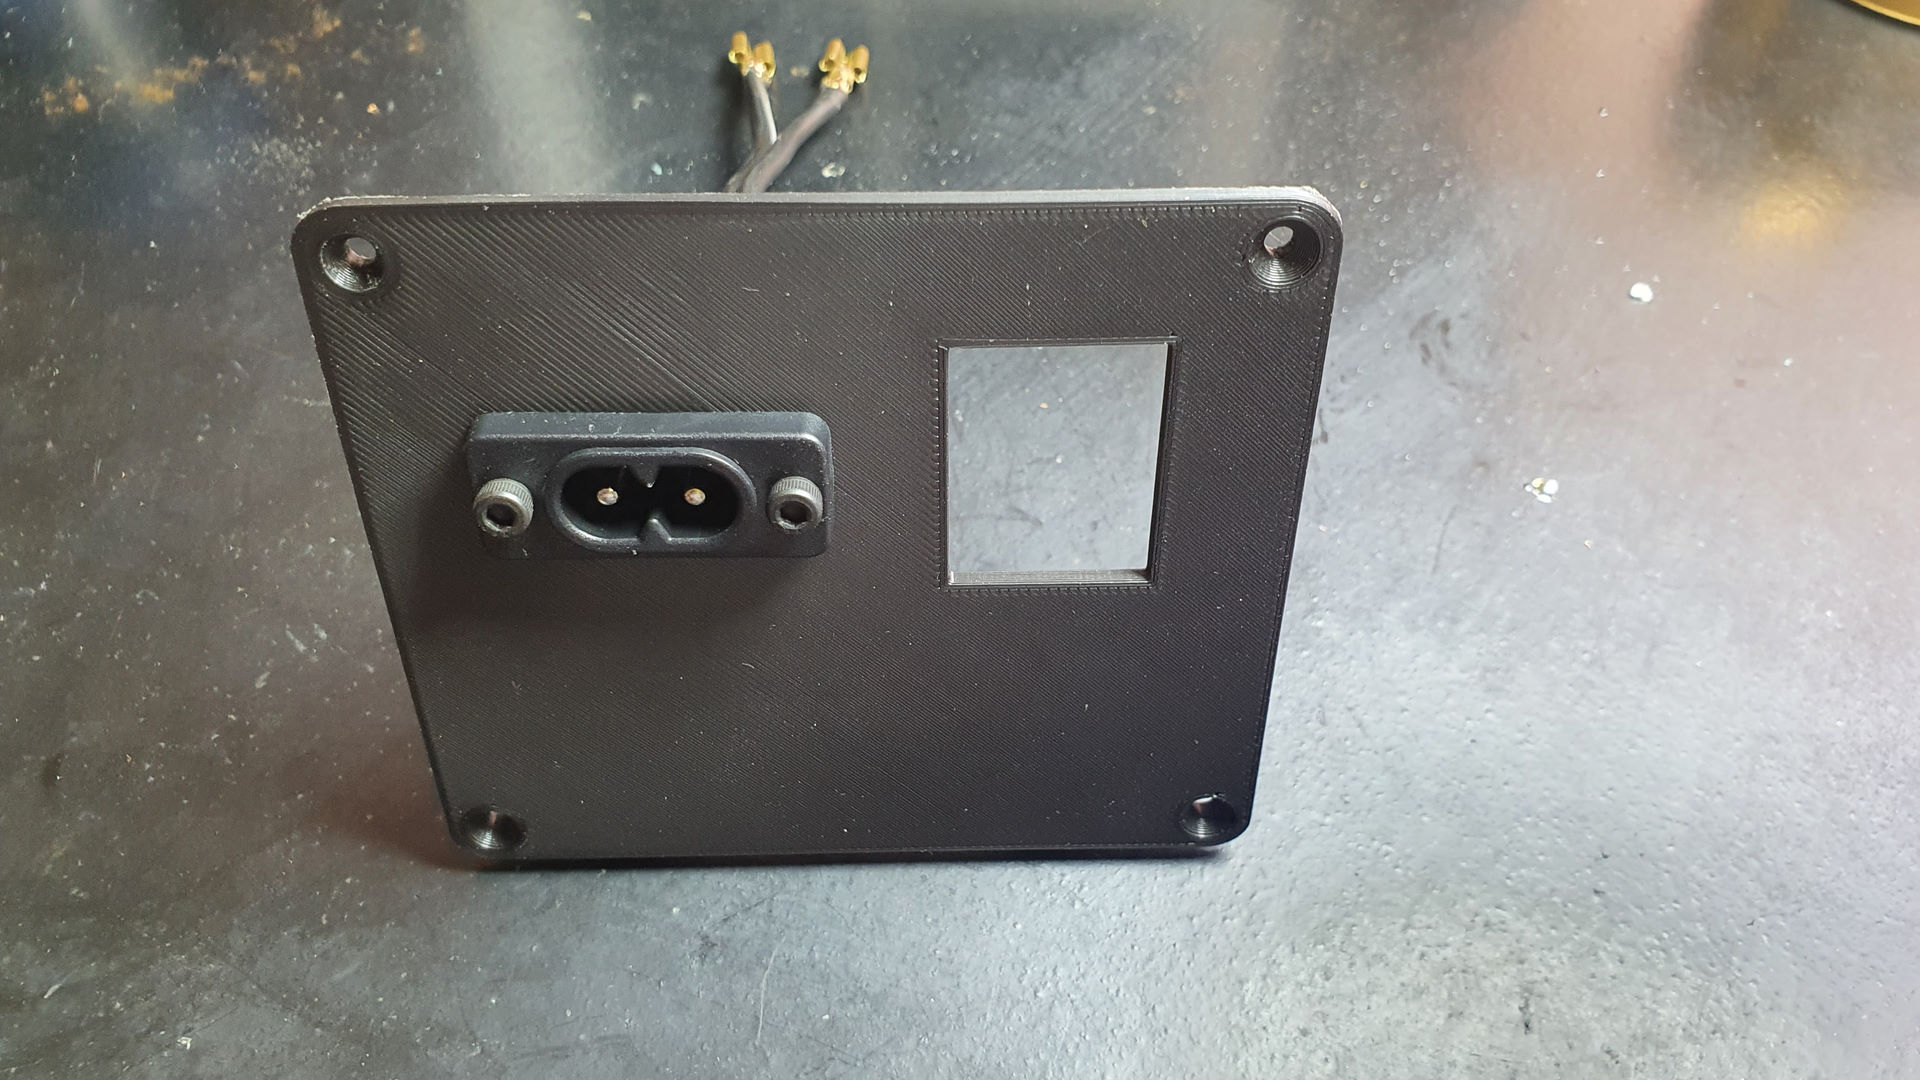
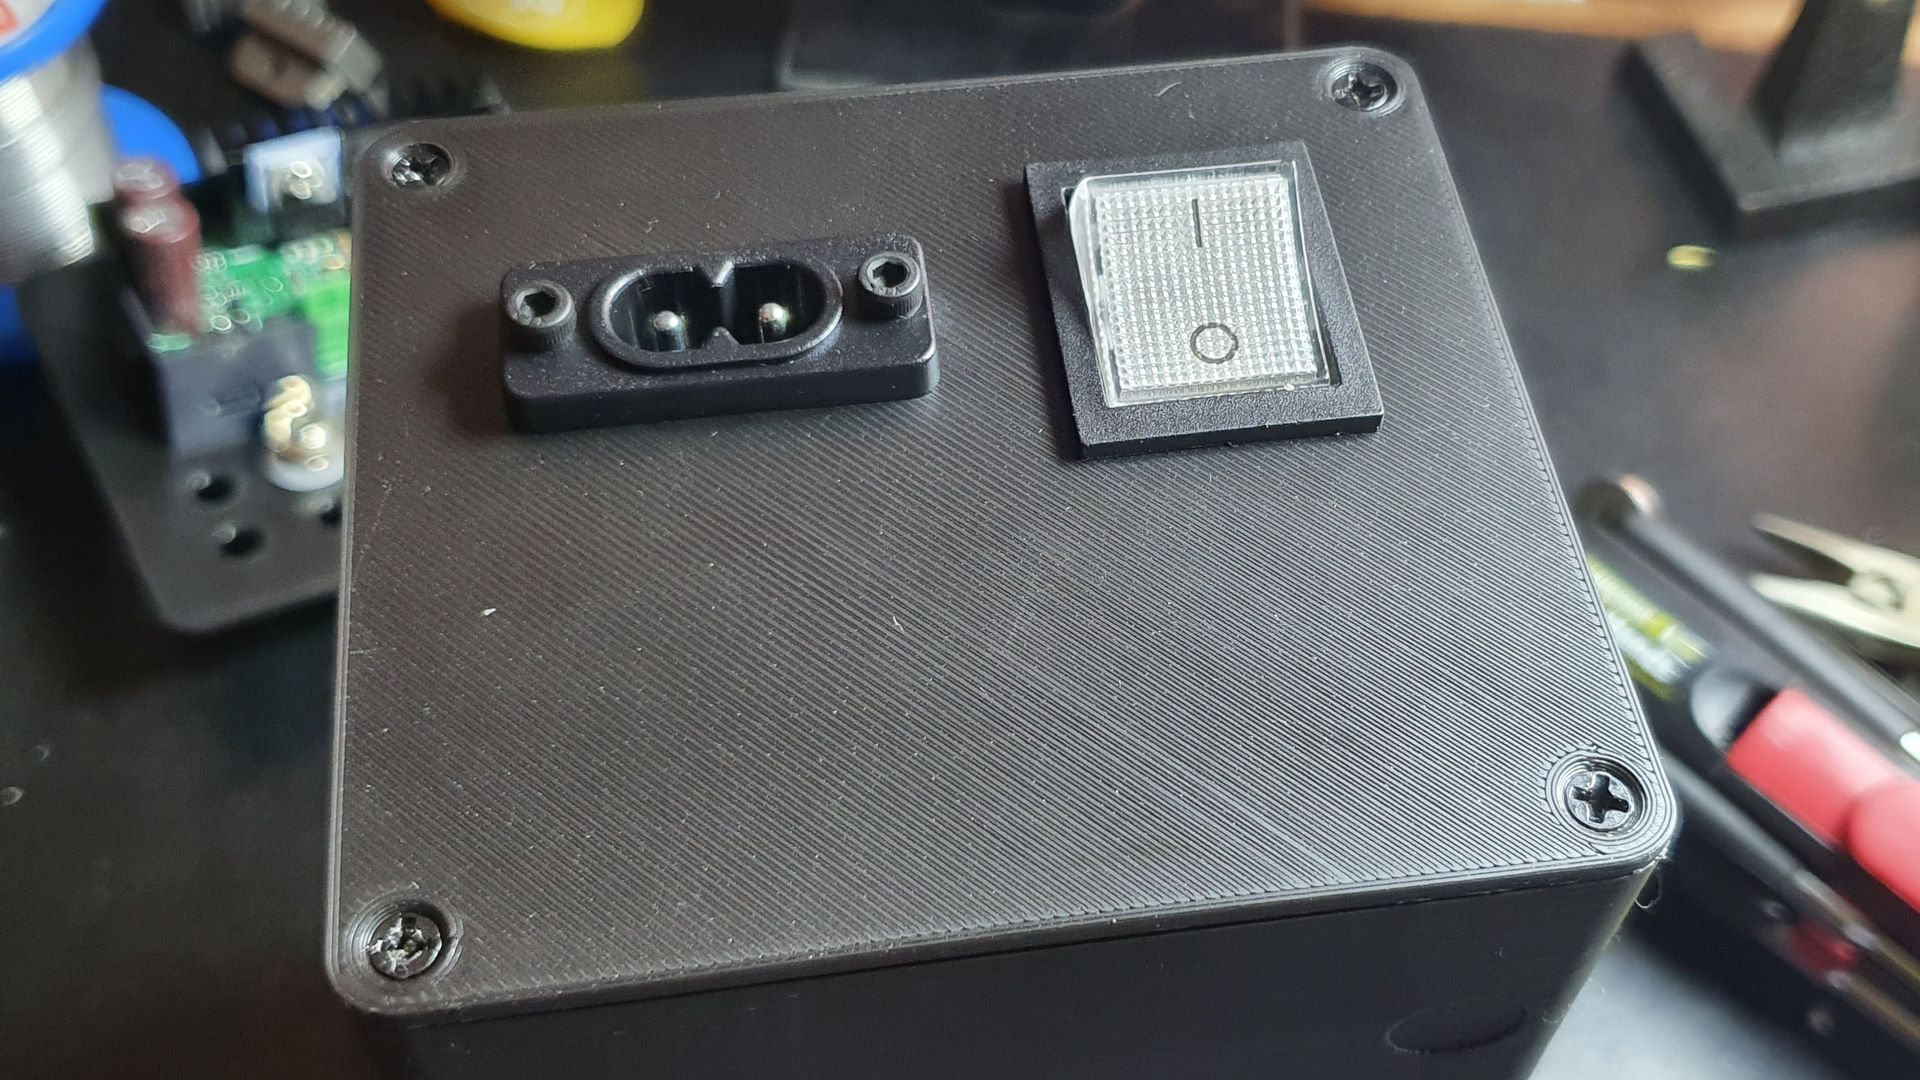
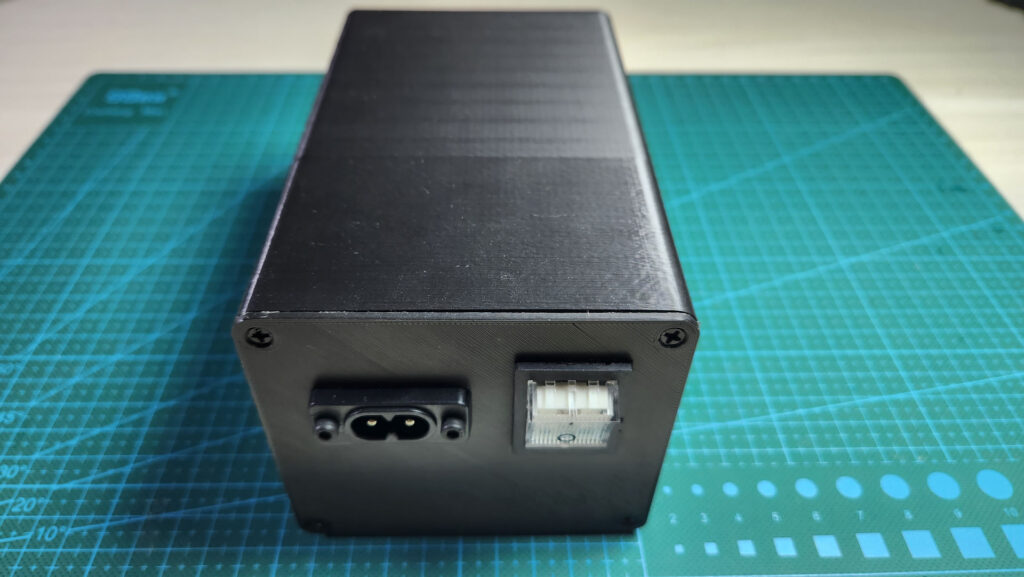
The size of the case is the smallest I could get for all the components to fit into. To do this, I placed the socket and switch on the top of the rear cover. This allowed the power supply to be placed further back.
My first idea was to make the case in two parts: the back cover and the case + the front cover in one piece. But I ended up deciding to make it in 3 parts to make assembly easier, which turned out to be a very good decision.
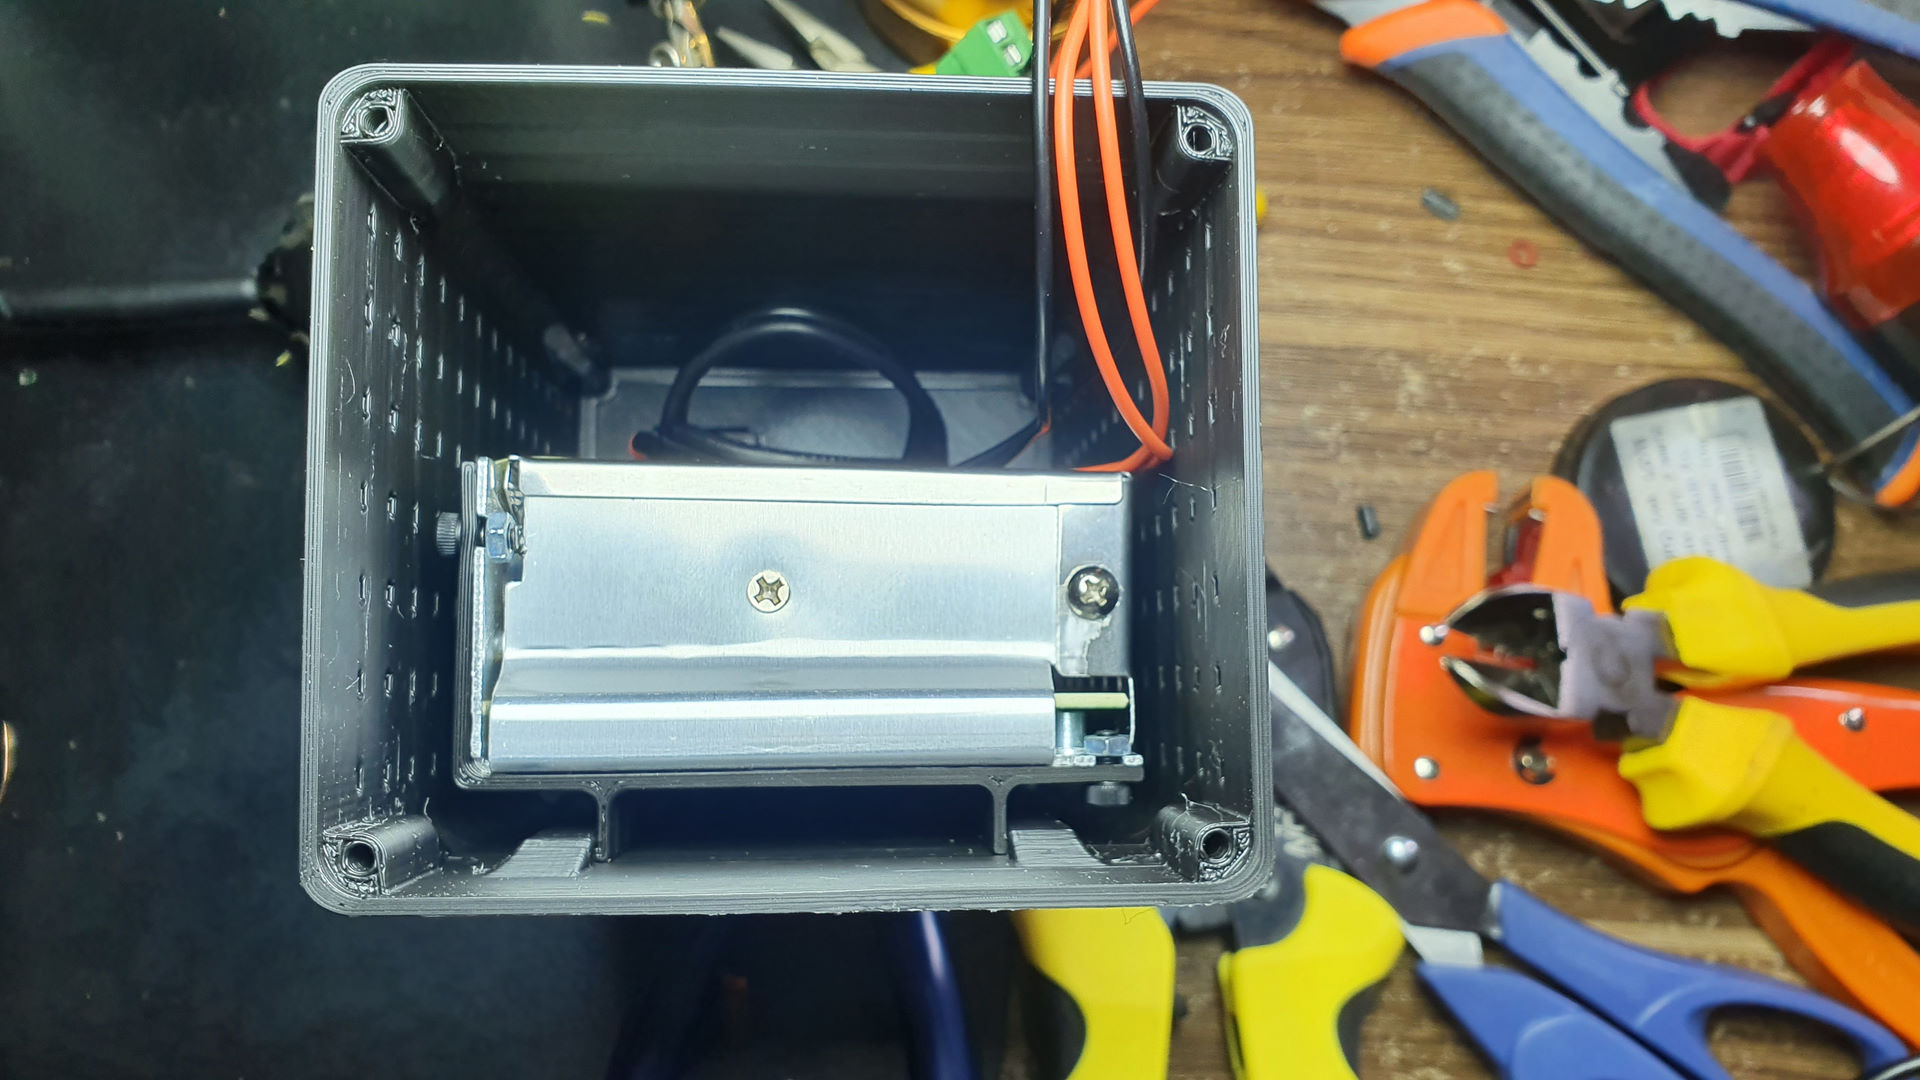
For the power supply brackets, my first idea was to somehow screw them to the case, but after a few iterations in TinkerCAD, it turned out to be quite complicated. So I had the idea of making some “pockets” into which I could slide the supports and then attach them using rods to the back cover.
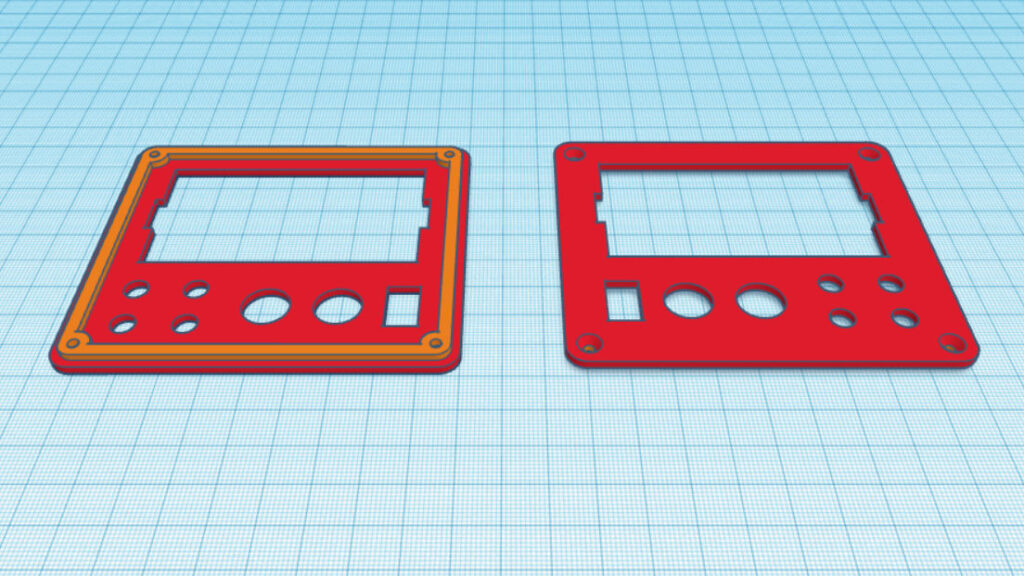
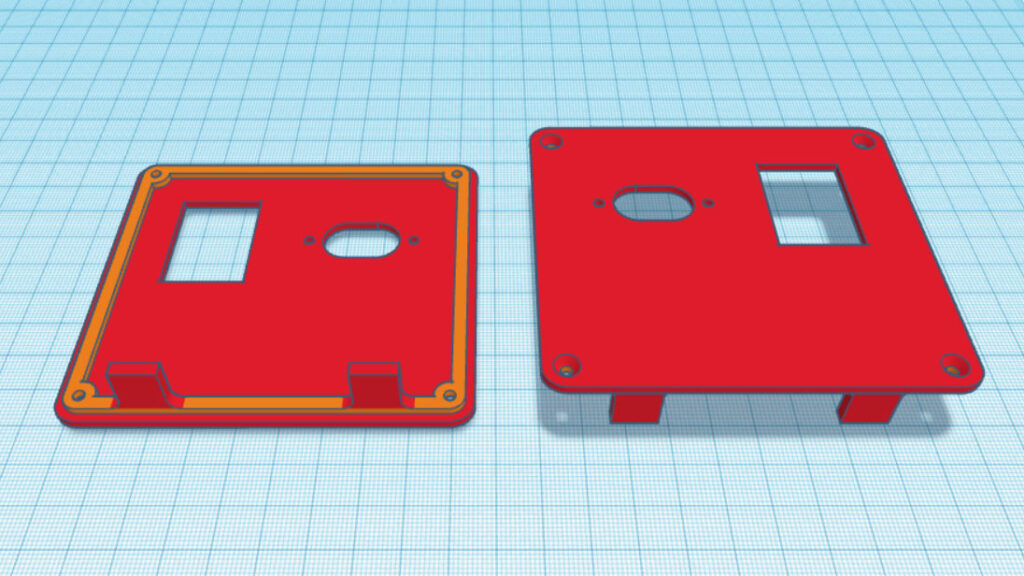
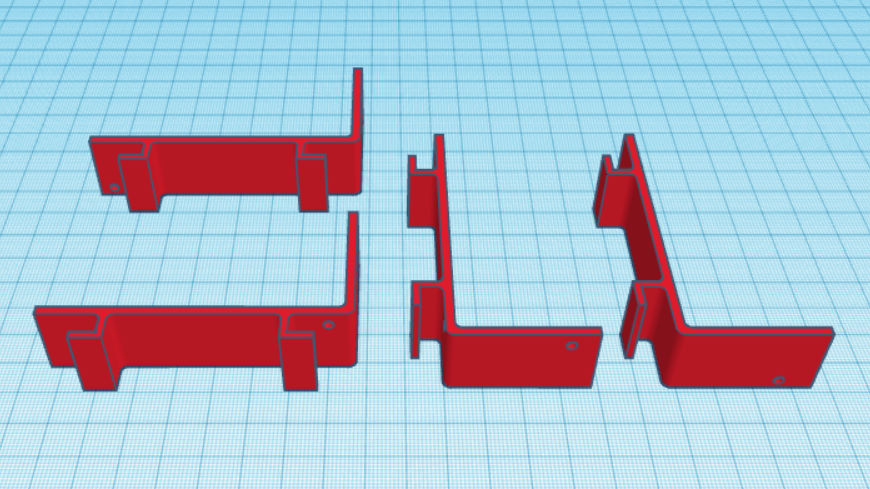
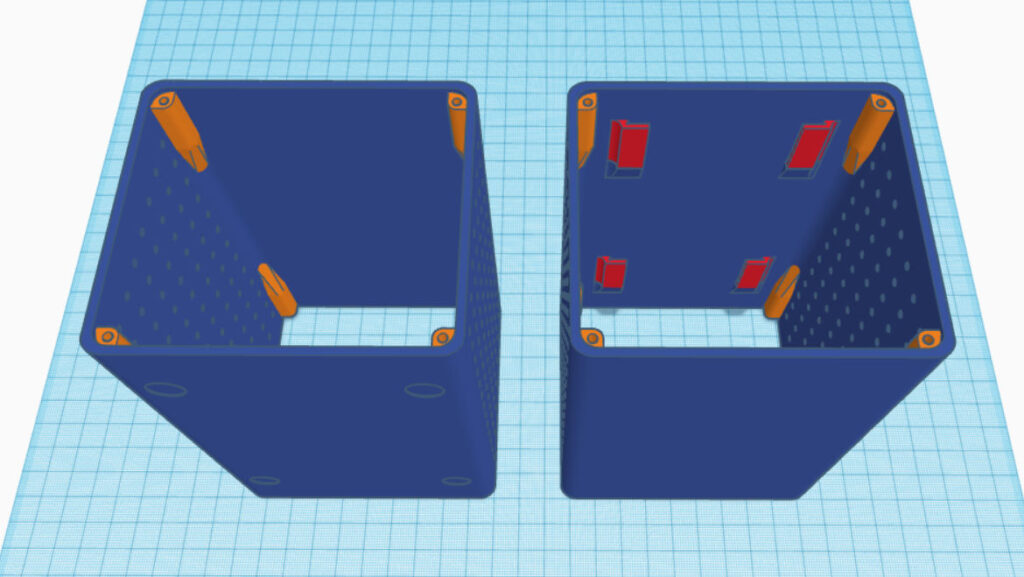
In the last image above (“Case body”), on the inside you can see 4 red “pockets”. They are there to fit the feet of the “brackets”, to which the powers supply is screwed.
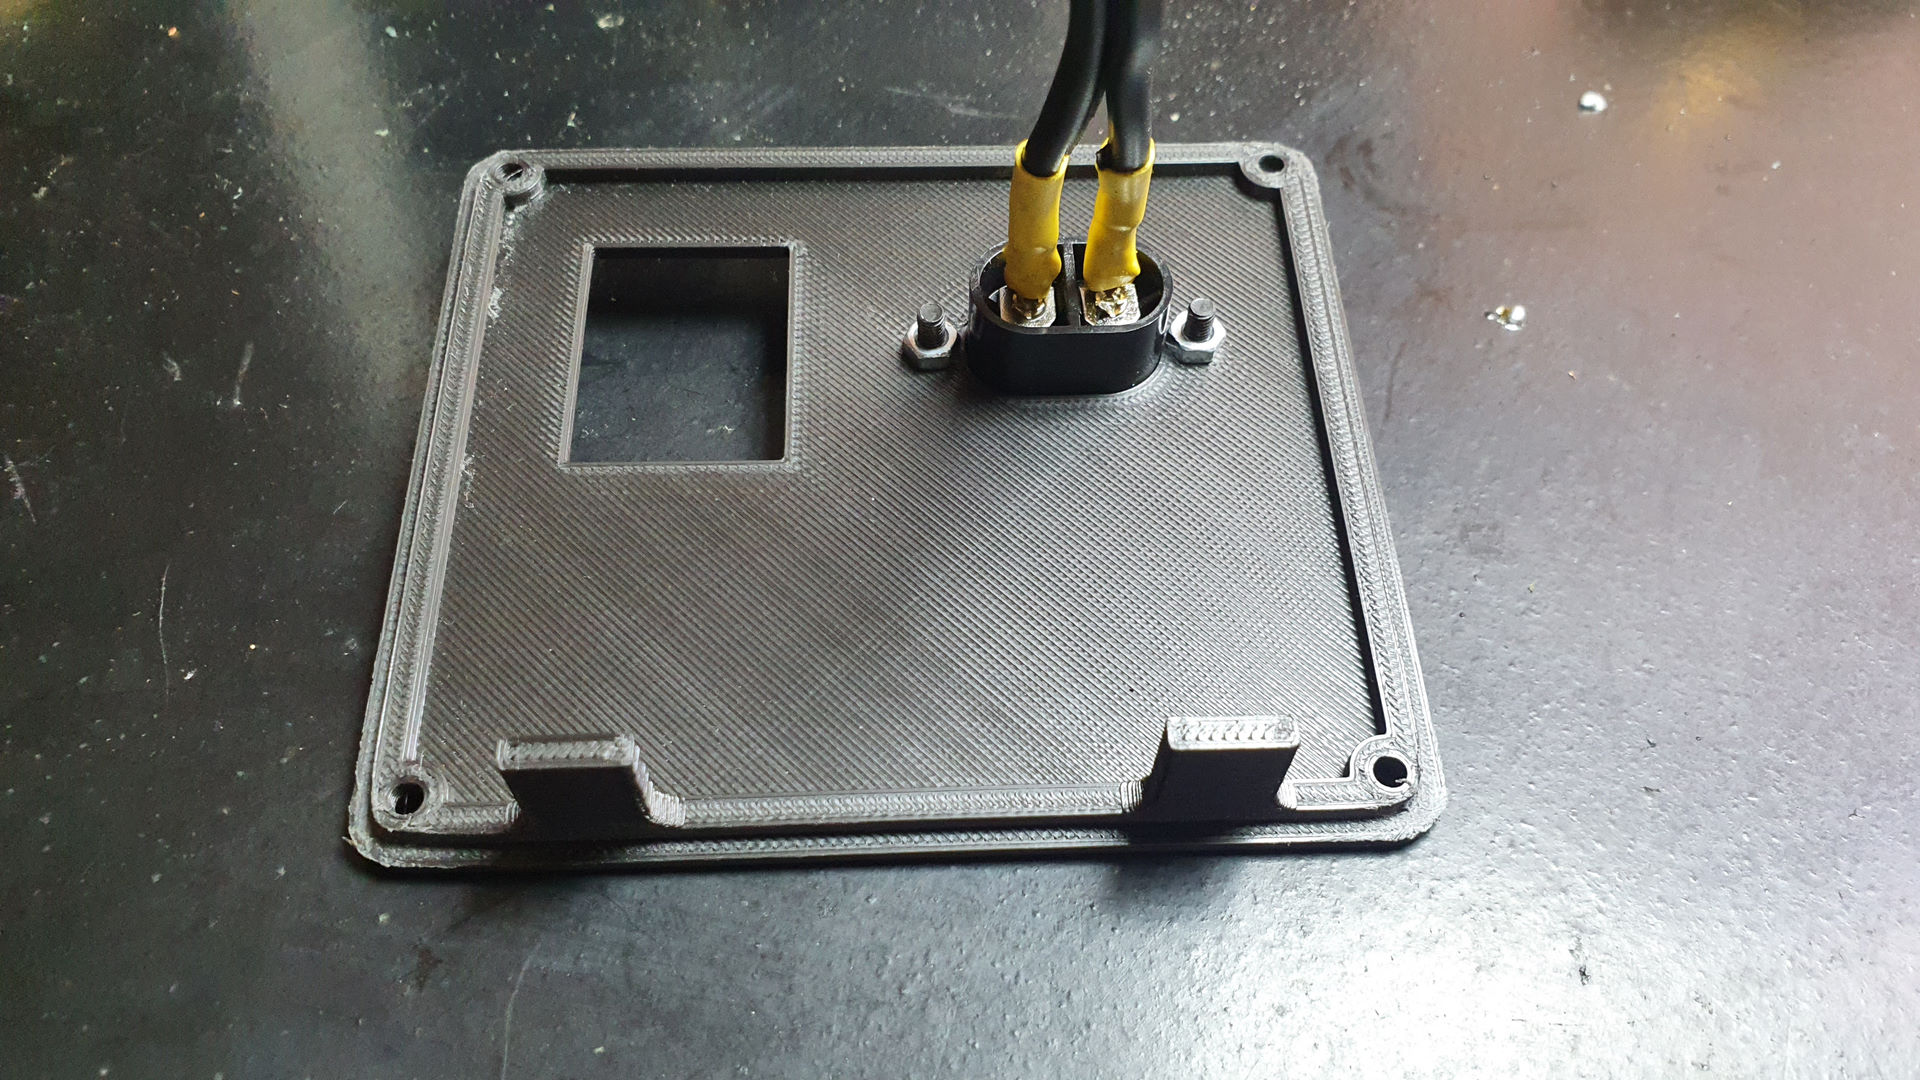
Also related to the “brackets”, in the second image,(“Rear cover”), two vertical rods can be seen. These rods, when the cover is screwed onto the cabinet, touch the internal brackets, fixing them in place, without the need to screw them to the case.
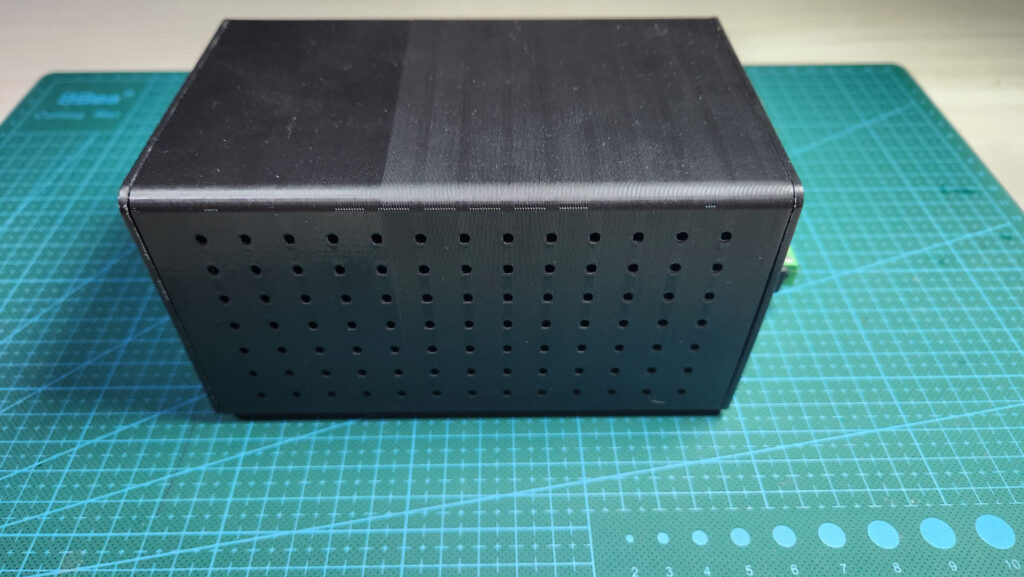
The holes on the sides of the case body are used to allow some ventilation so that the power supply does not heat up so much.
3D Modeling
3D Printing
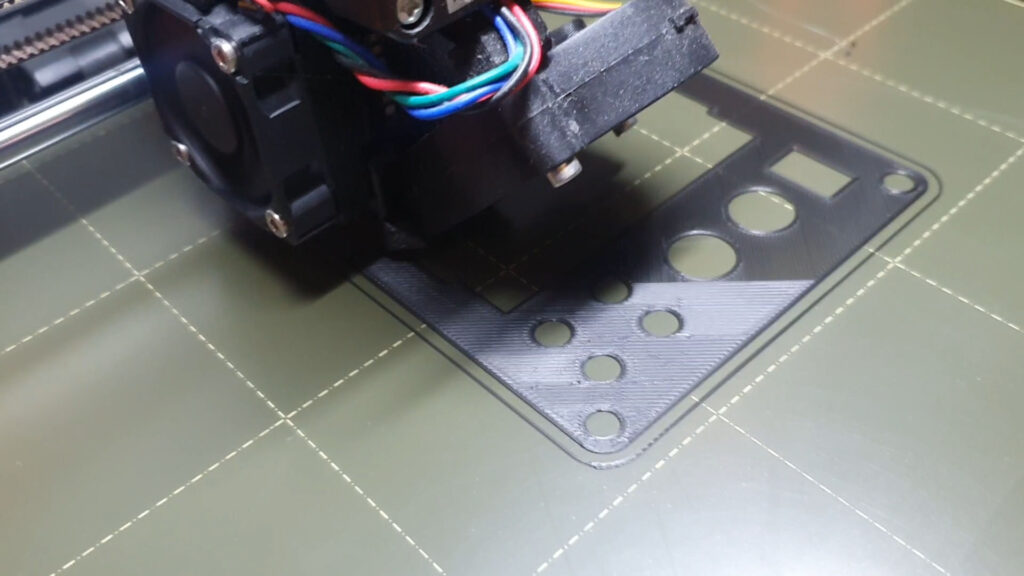
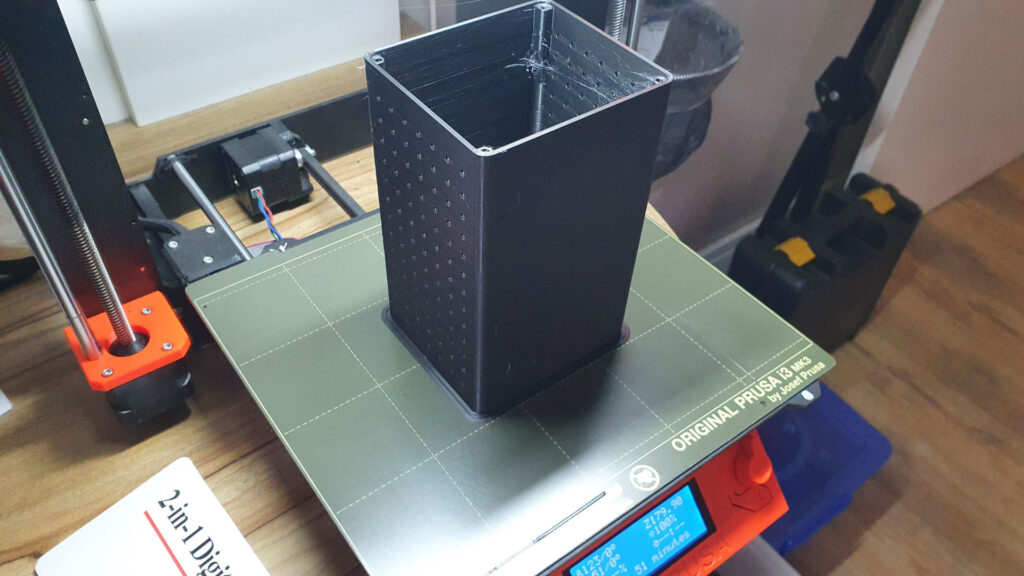
I 3D printed the parts using the Prusa MK3S+ with normal black PLA filament. The total printing time was around 10 hours, with the case, by far, taking the longest.
I used the following settings for layer heights:
- Front and rear covers: 0.2mm to give them more quality
- Case body and c: 0.3mm for greater speed
I ended up using Brim to 3d print the case, as the walls are retty thin and I was afraid they might come off the print bed. Additionally, I used brackets in the 4 recesses for the screws.
If you want to download the stl files for 3D printing without requiring any changes, just access Mini Power Supply no Thingiverse.
Assembly
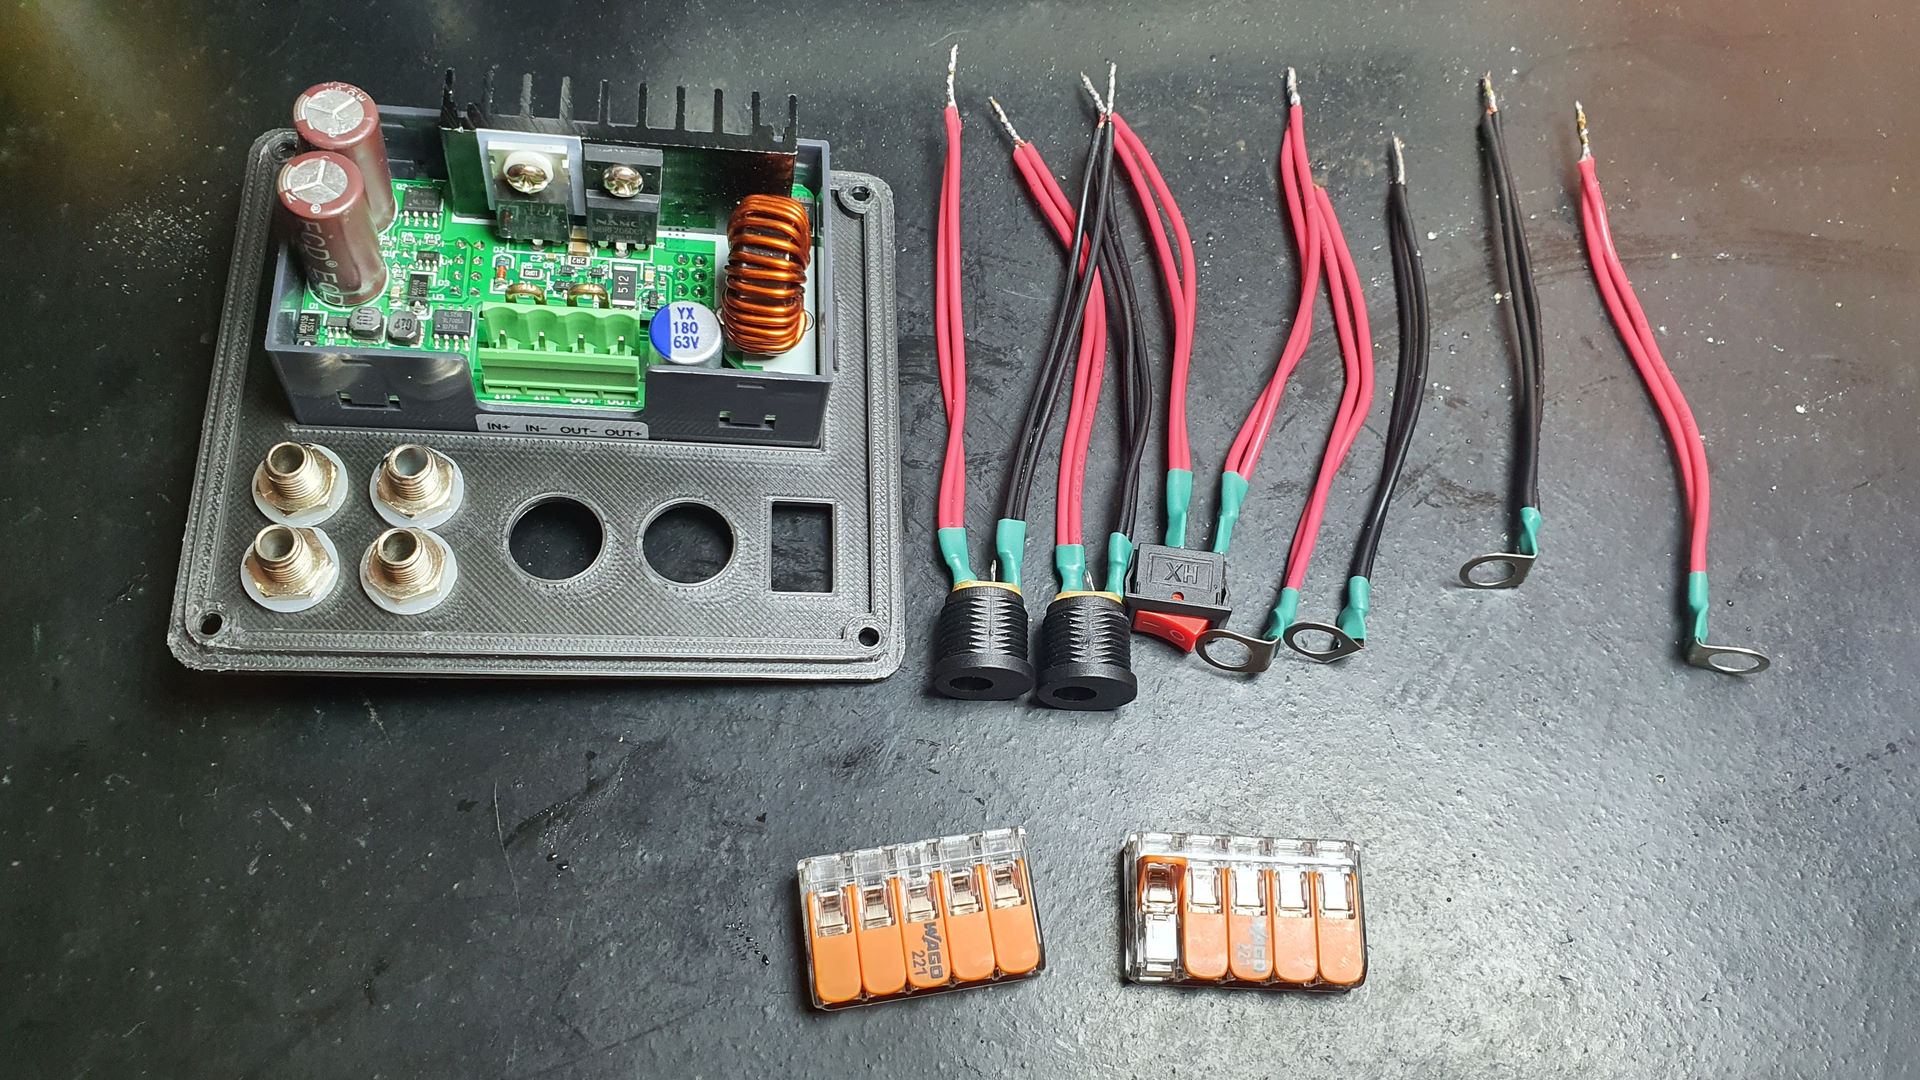
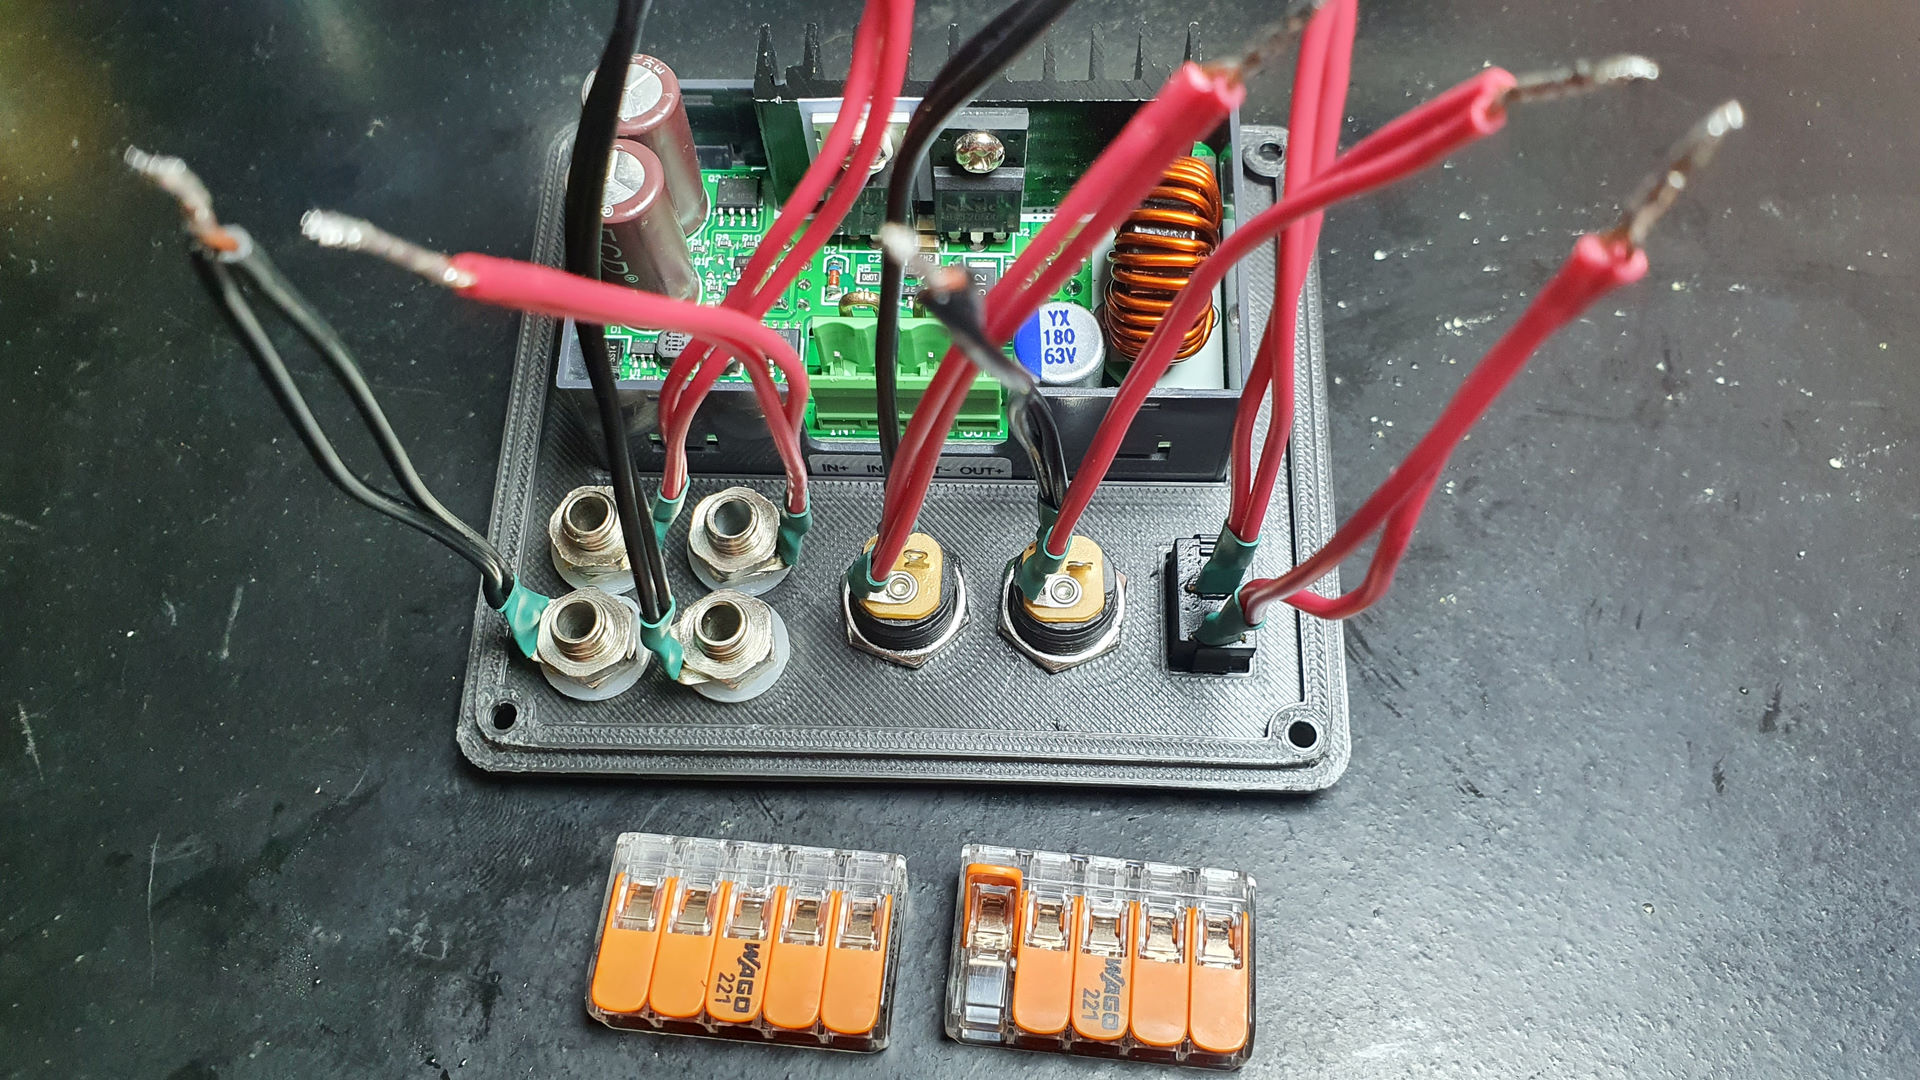
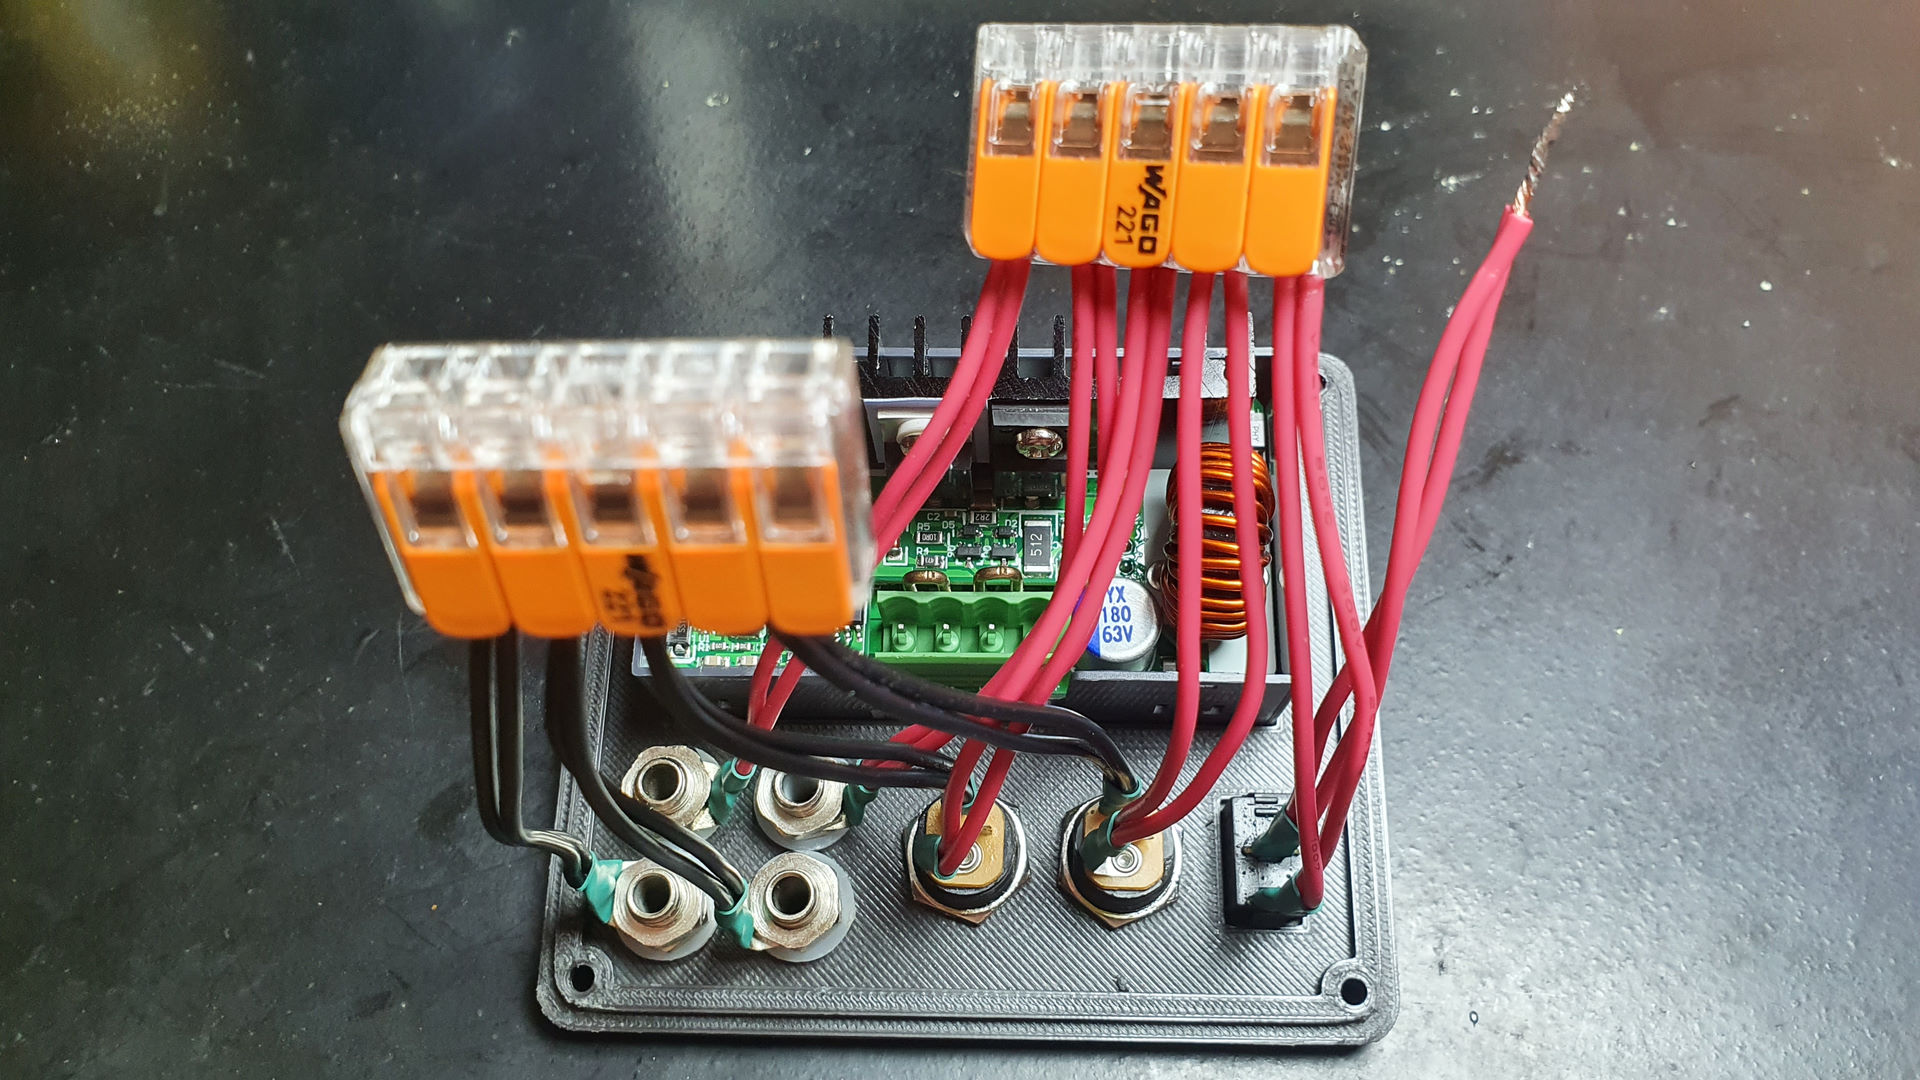
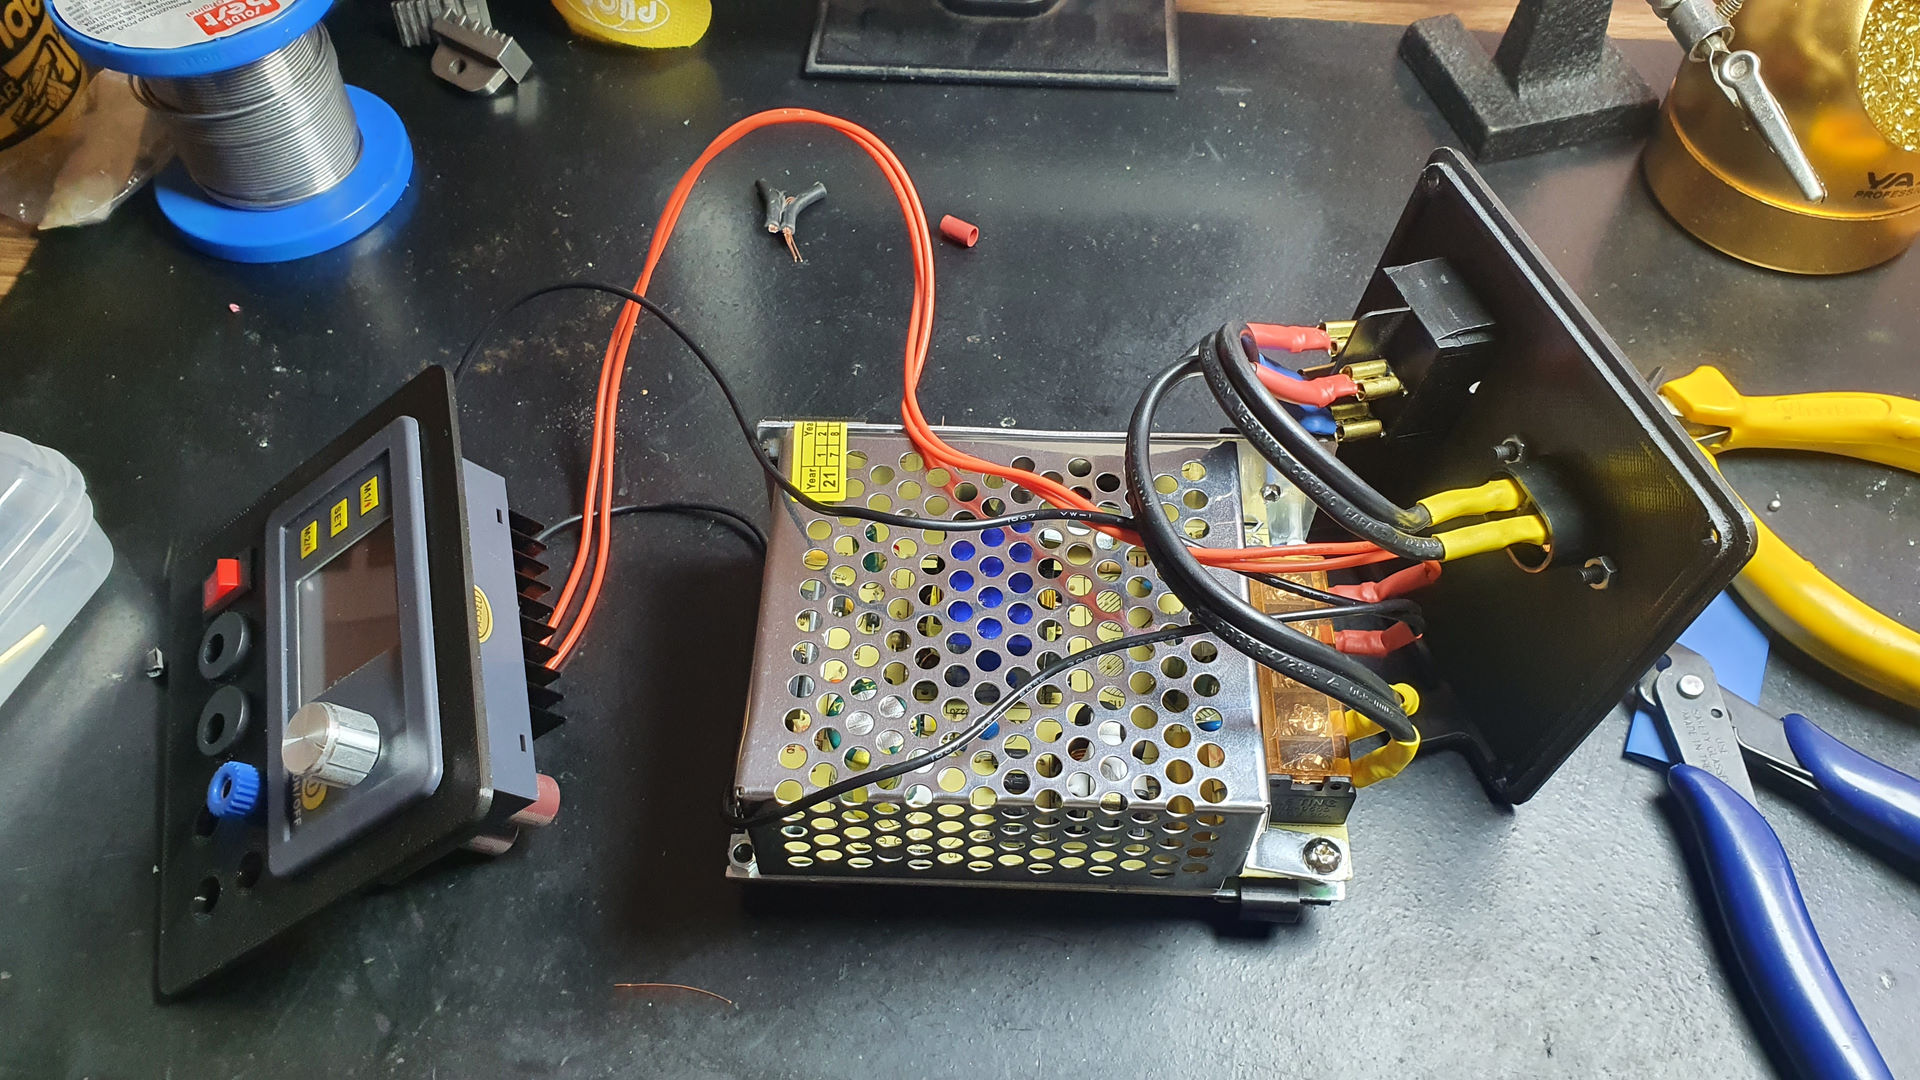
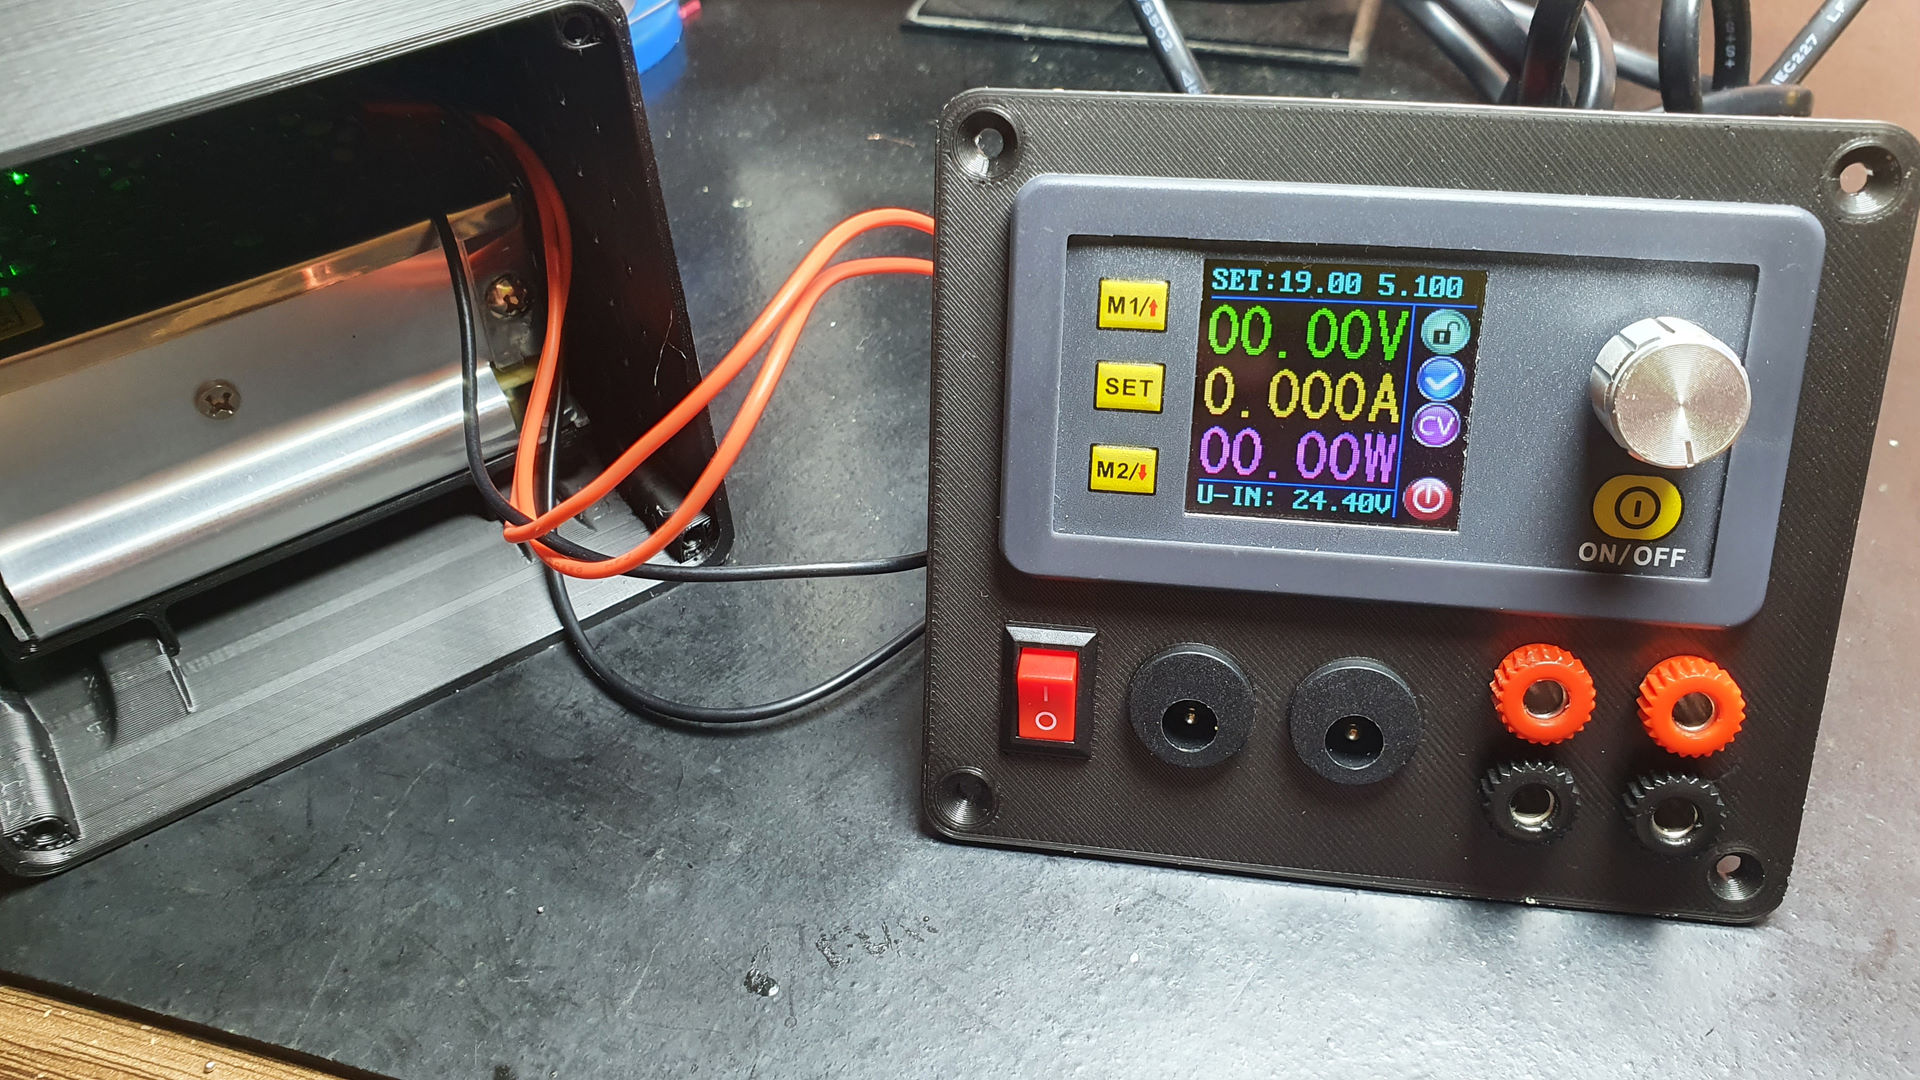
The assembly sequence follows in the photos below:
The assembly was fairly simple, but it was necessary to solder the cables to some components (the J4 and banana sockets).
I could have joined the wires, for each pole, by soldering them together and wrapping them with eletrical tape, but I decided to use Waggo-type connectors as they are much safer, provide a better finish and allow for simple maintenance, if necessary.
Also, it’s nice to mention I used 2 wires for everything as the wire gage I had might not be able to handle 5A if used only one wire.
Final Result
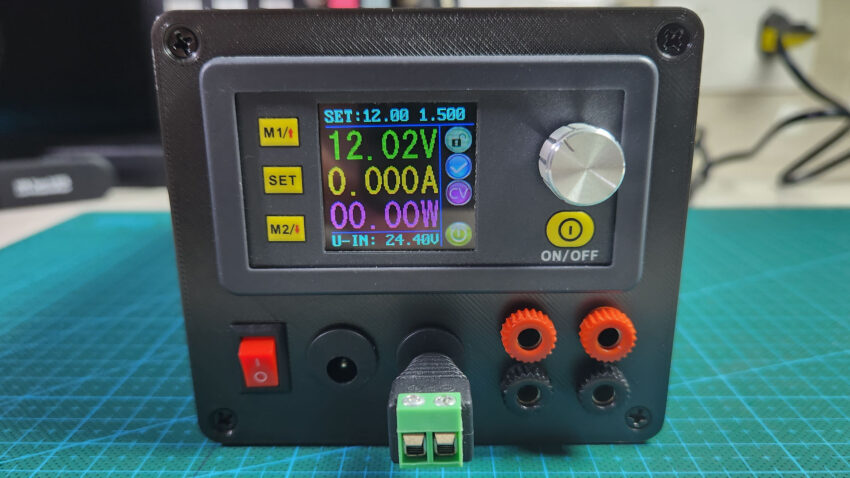
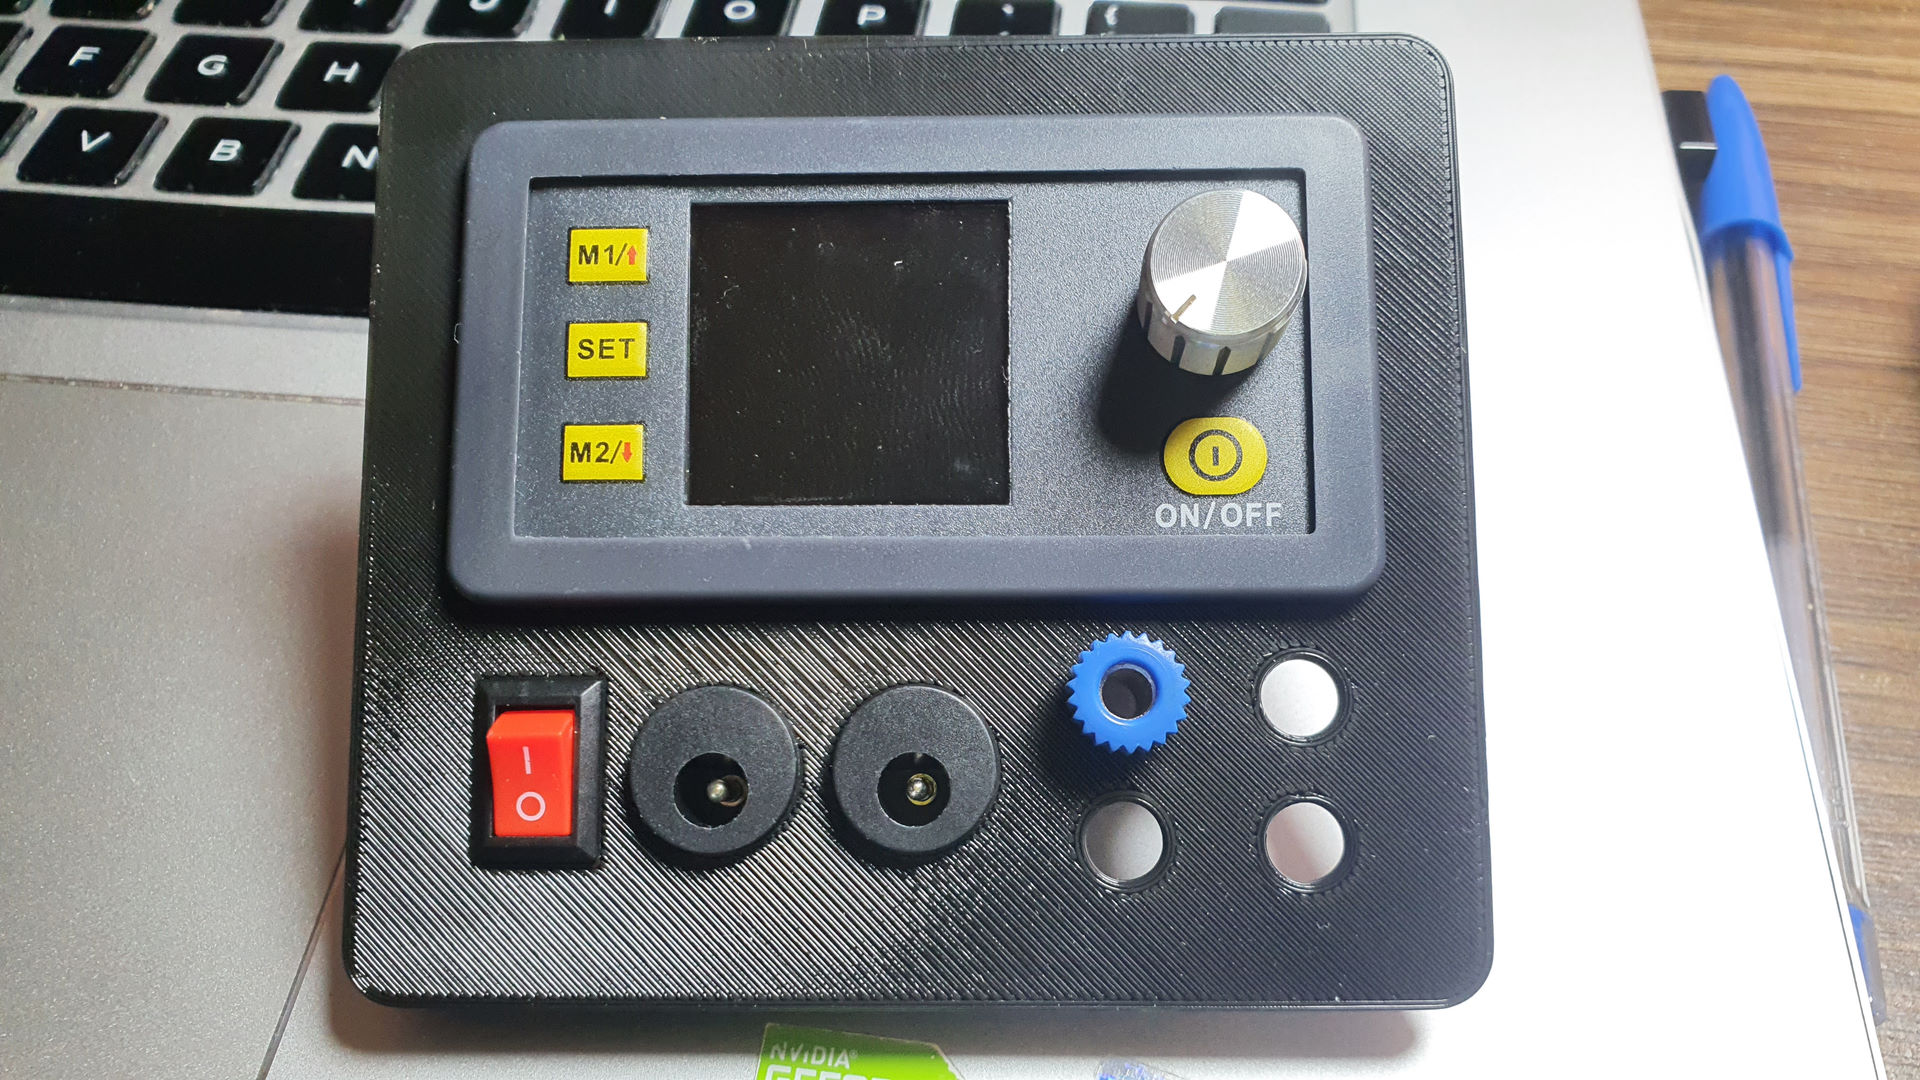
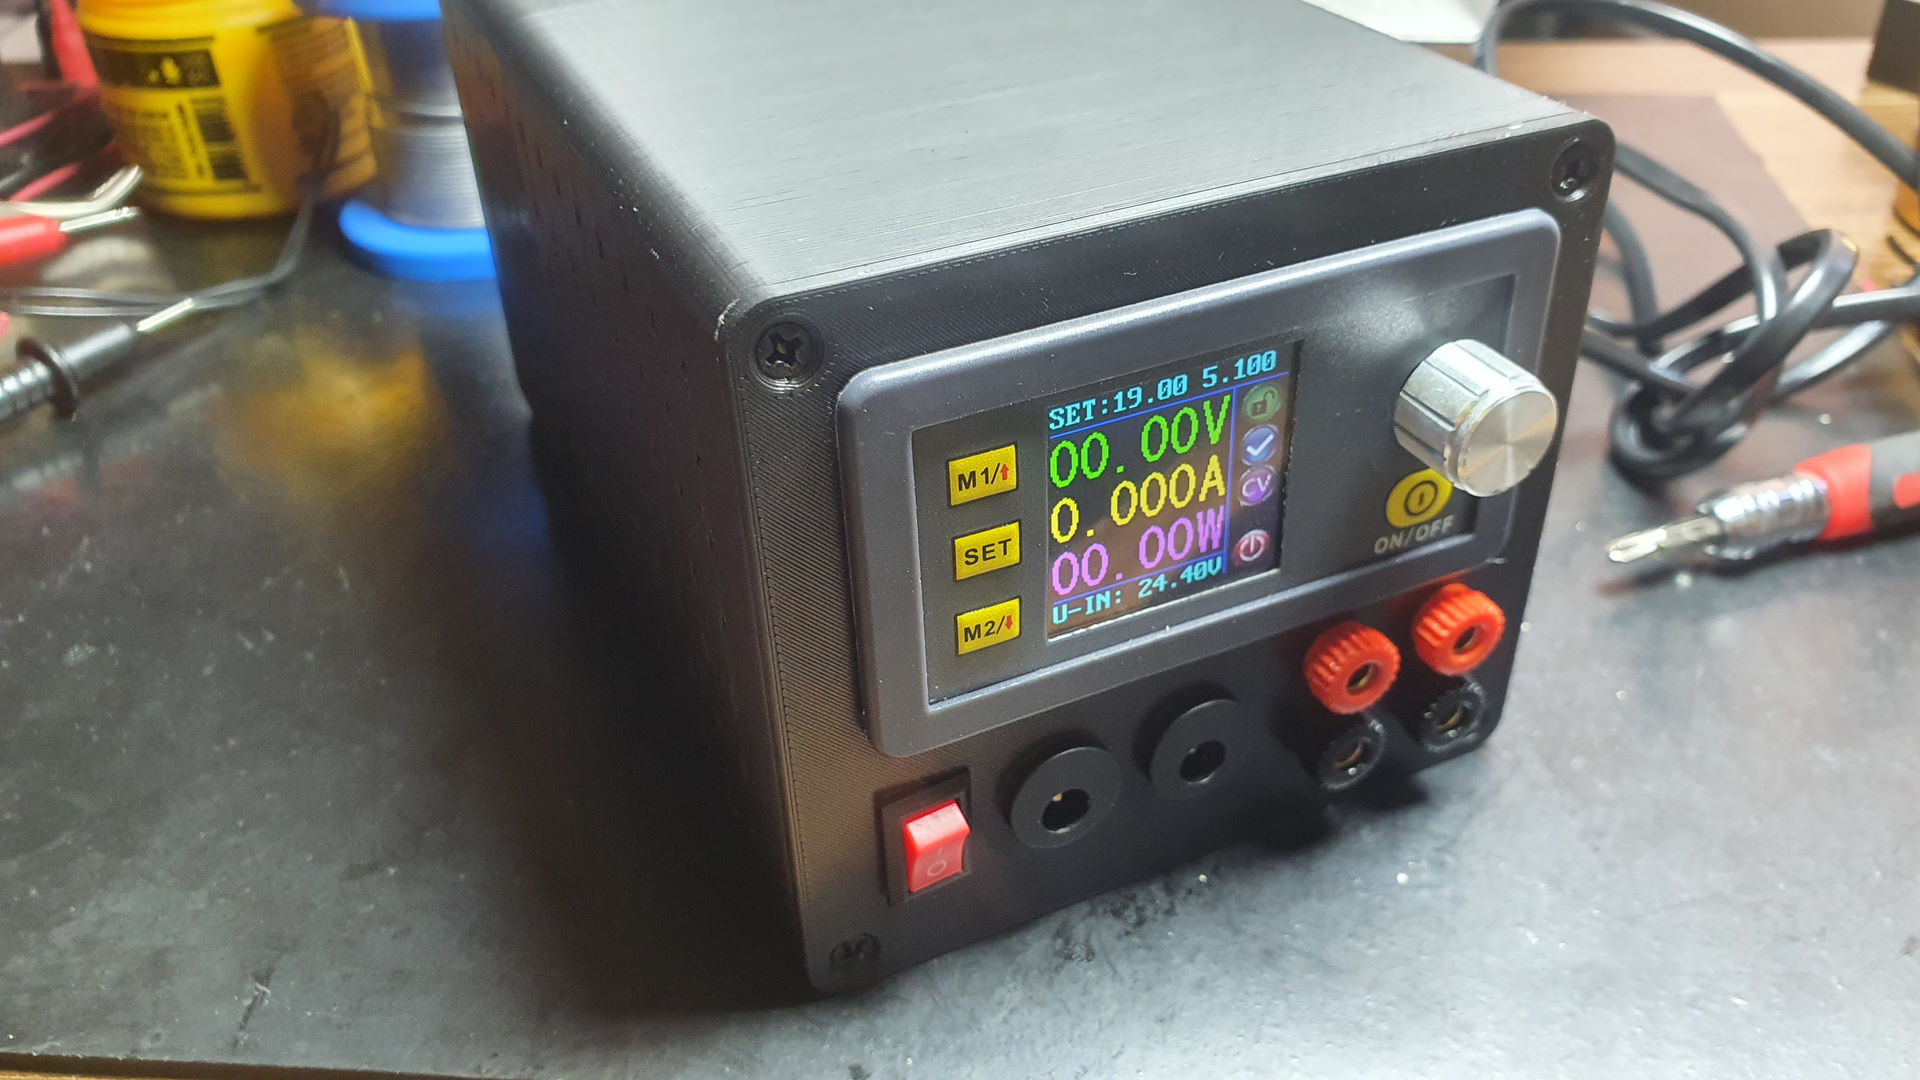
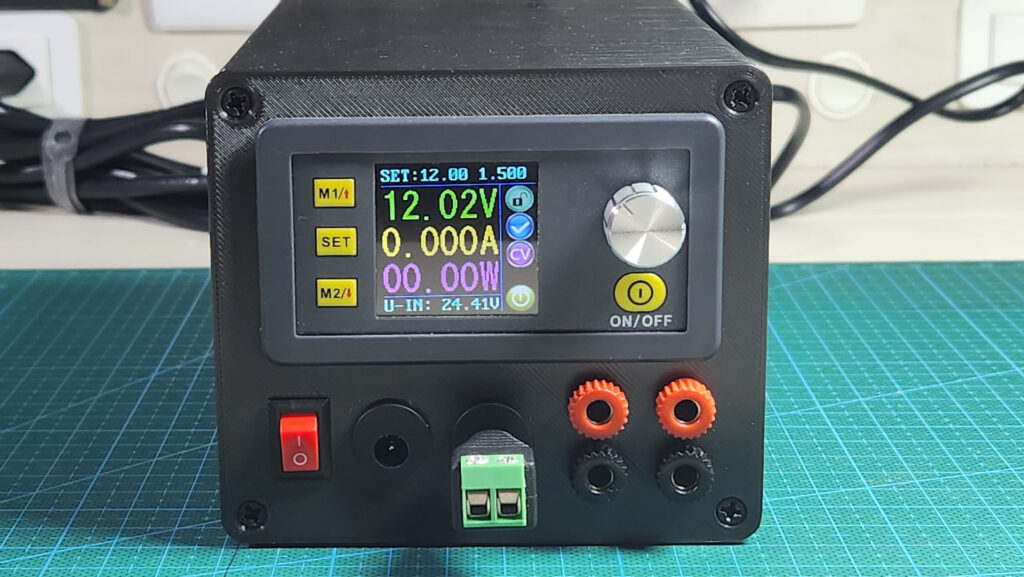
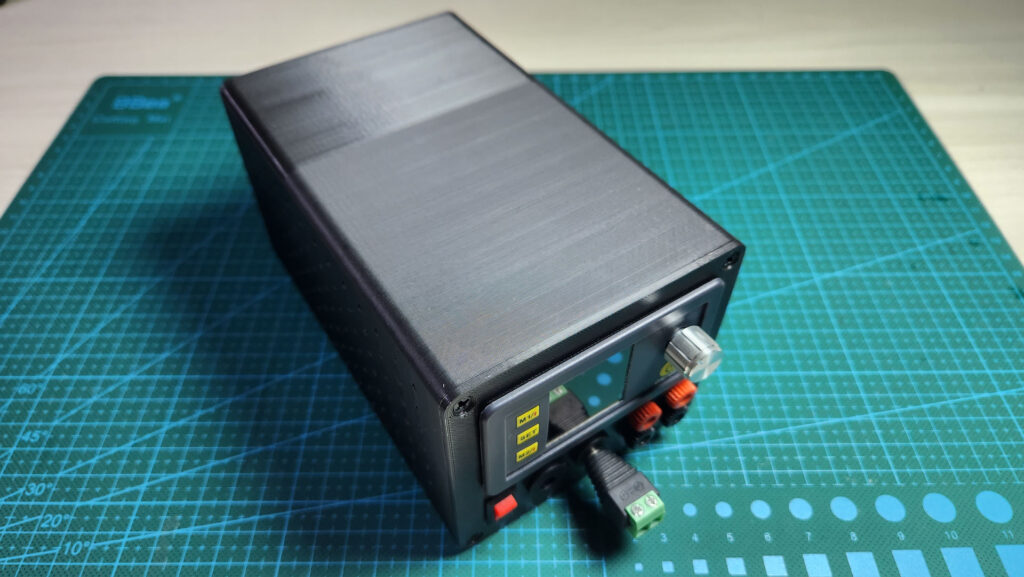
I must confess that the end result was quite satisfactory. Obviously I’m biased when I say this, but the design was very pleasant in a fairly compact size.
Regarding its operation, it is quite flexible, allowing you to select voltages from 0-24V, with the possibility of limiting the current between 0 and 5A. In addition, it is also possible to create up to 9 profiles, in order to select a voltage / current quickly, without the need to manually change it using the knob.
Two profiles are directly accessible via buttons M1 and M2, for the others, it is necessary to enter the profile list and select one of them using the knob. Which is sometimes even faster than manual selection.

